

With the end of year school concert season upon us here are some tips on getting the great concert photos!
1. GET CLOSE!!!!

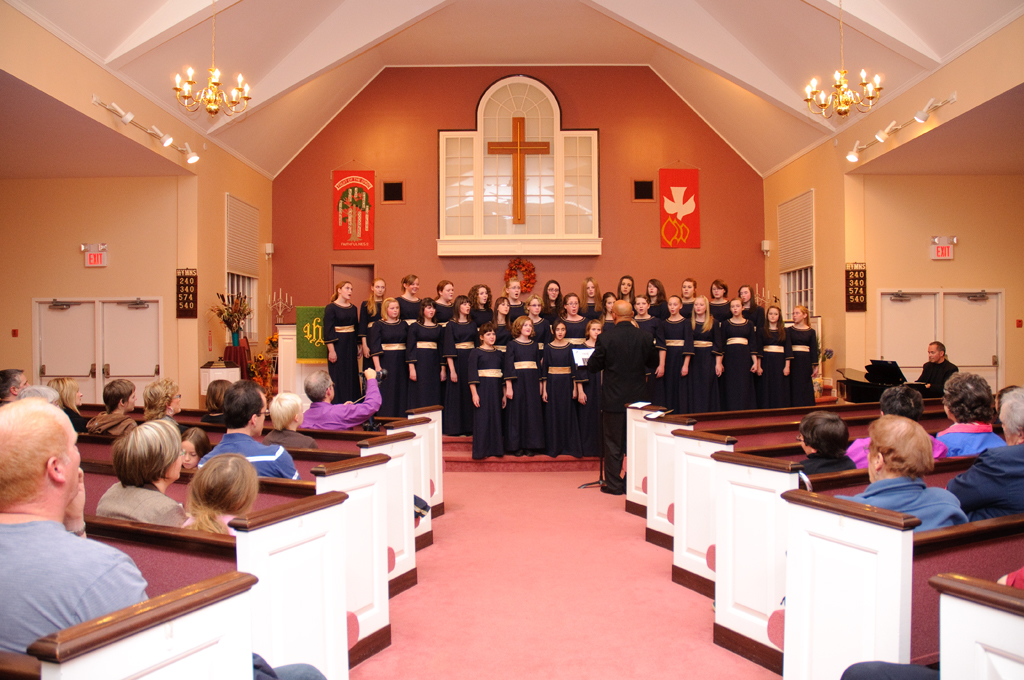
If you stand and take pictures from the back of the crowd, your image will look like the one above.
Dark and underexposed, because the light from the flash can’t reach that distance.


LIGHT AND EXPOSURE
TRYING TO SHOOT WITHOUT FLASH
Unless the concert is at a real theatre with proper stage lighting, there most likely there will not be enough light to get a handholdable shutter speed. One option is to turn the ISO up to 1600, but that is going to make the images very noisy and soft. You could try putting the camera on a tripod, but if the subject moves at all, they will be blurred.
So most likely to get any sharp pictures, you will have to use flash.
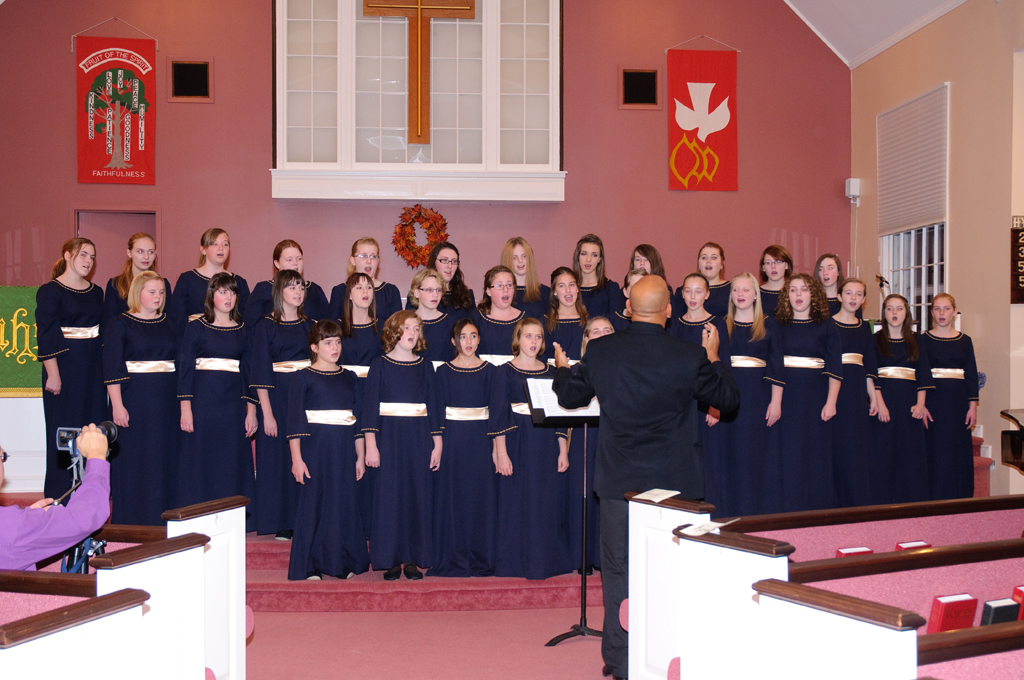
The image below was shot with a higher ISO, and looks ok online but won’t print very well.

SHOOTING WITH FLASH
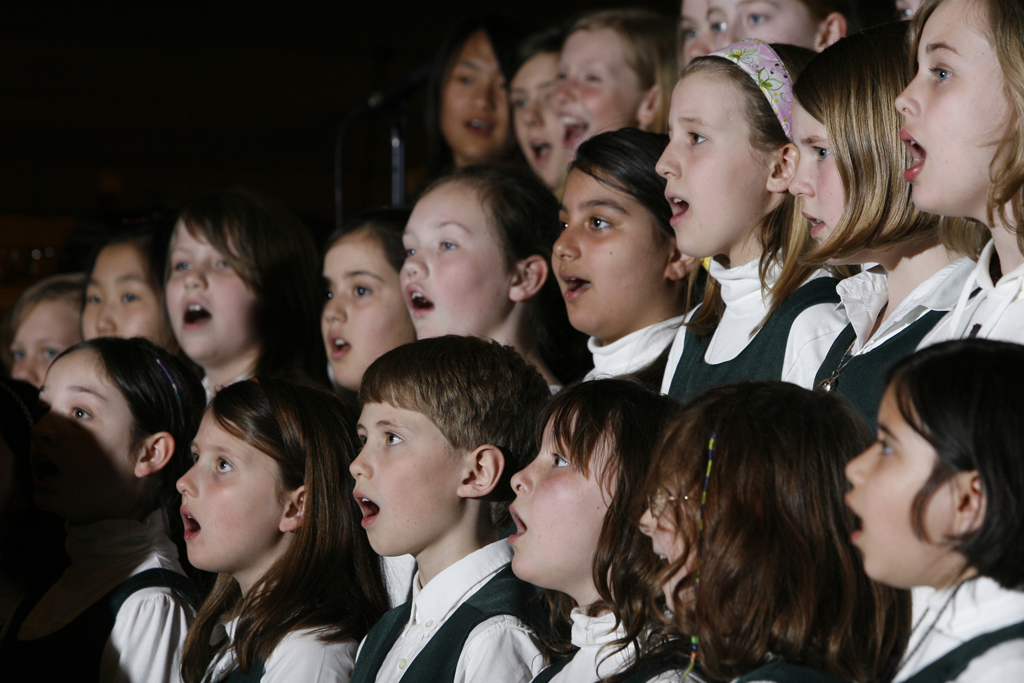
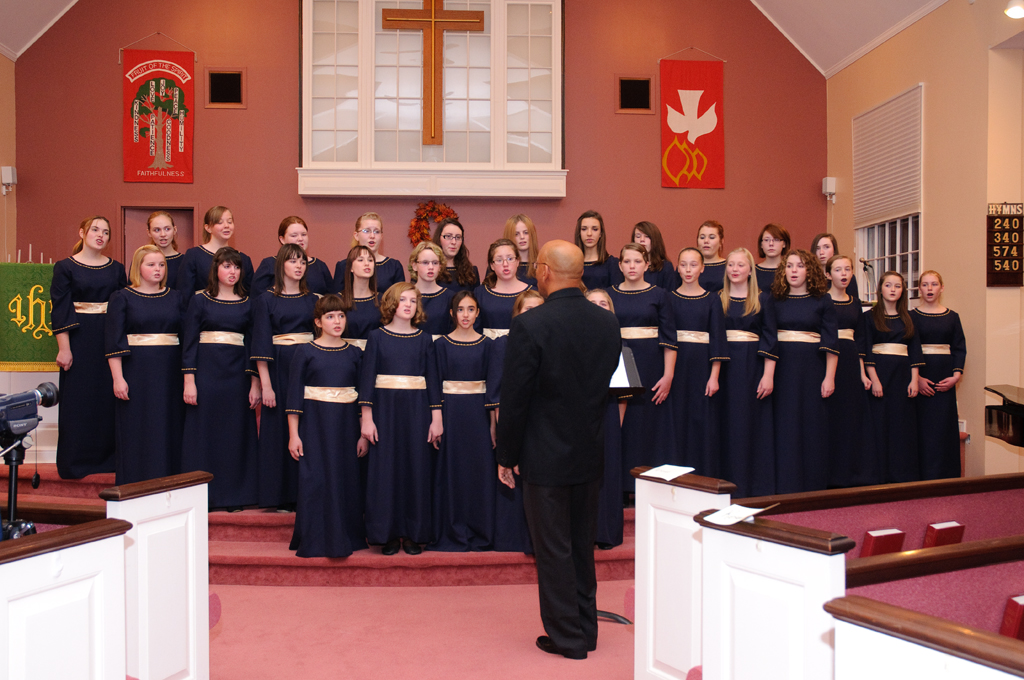
Again, you want to GET CLOSE. Standing from the back and using the flash will not get you good shots. The problem with flash of course is that it is very harsh. If you have a ceiling that is low enough (12 feet or less), try to bounce the flash. Compare the two below. The first is taken with direct, the second with bounce. You will have to open your aperture up more to let in more light (F5.6/F4.5)
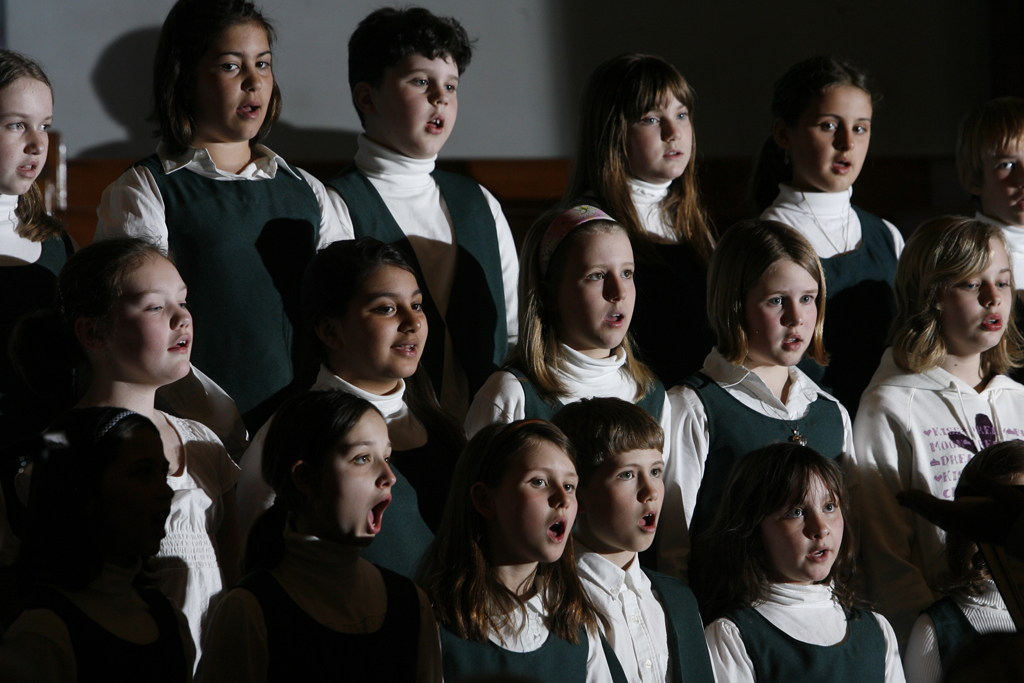
Here is a closer one with bounce flash and you can see how nice and soft the light is! But this will only work if you get close with a powerful flash!

MORE TIPS BELOW!
I hope you find these tips useful!
If so, it would be awesome if you could download the FREE version of my LearnPhoto365 Photography Assignment Generator Apps on the app store, a unique photography app that’s meant to inspire you to take great photos!
Perfect for anyone taking part in a Photo 365 challenge, there are over a hundred individual assignments and hundreds of thousands of potential random ones. Versions available for iPhone/iPod and iPad, including free versions so you can try them out! Full details, including reviews and tour videos of the apps can be found at www.learnphoto.ca/apps Even if you only download the free version that would help get it up the app store lists!
WHAT MODE/EXPOSURE TO USE?
1. Use MANUAL(M) mode. Chances are the automatic modes like shutter/aperture priority are not going to give you proper exposure or they will use too slow shutter speeds giving lots of blur. That’s not what you want!
2. Choose ISO 400
3. Set the shutter speed to 1/125th of a second.
4. Set the aperture to F5.6 or F8. Yes, by doing this your camera meter isn’t zeroed, it’s in the minus. That’s fine.
5. Pop up or turn on your flash and set it to TTL mode (or use Manual Flash mode if you want)
6. Take a test shot.
If the image is too bright, use your FLASH EXPOSURE COMPENSATION( LIGHTNING BOLT SYMBOL+/- , found on the camera or under the functions menu) to turn the flash power down. Take another shot, and if the image is still too bright, turn it down more. If you are already at the lowest setting, turn your aperture to a higher number(ex-F8 to F11)
If the image is too dark, use the FEC to turn the flash power up. Take another shot, and if the image is still too dark, turn it up more. If you are already at the highest power setting, turn your aperture to a smaller number(ex-F8 to F5.6) to let in more light. If it’s still too dark, turn up the ISO…or GET CLOSER!
RED EYE
Yeah, that’s going to happen with direct flash. So you’ll want to use the red eye removal tool in photoshop, picasa, or at the kiosk. Forget red eye reduction mode…just remove it afterward.
And don’t forget to look for those fun, kids being kids moments!

ADVANCED USERS
Even better would be to set up a flash on a stand in a corner so you can direct it at the stage at a 45 degree angle and trigger it wirelessly. Just make sure the stand is secure and that no one will knock it over (or steal it) Use the same settings above, and adjust the flash power MANUALLY to get the proper exposure, as the flash isn’t going to be moving.
By using these settings, you should get sharp images of your loved ones as they cap off the school year with song!
Any questions, send me an email noel@noelchenier.ca
Happy shooting!
Noel Chenier
———-
Photographer and teacher
Connect with Noel on INSTAGRAM or TWITTER or via EMAIL
Photography Assignment Generator Apps now available on the app store!
Noel’s Portfolio
Work Done by My Students!
(676)