PUMPKIN PIX
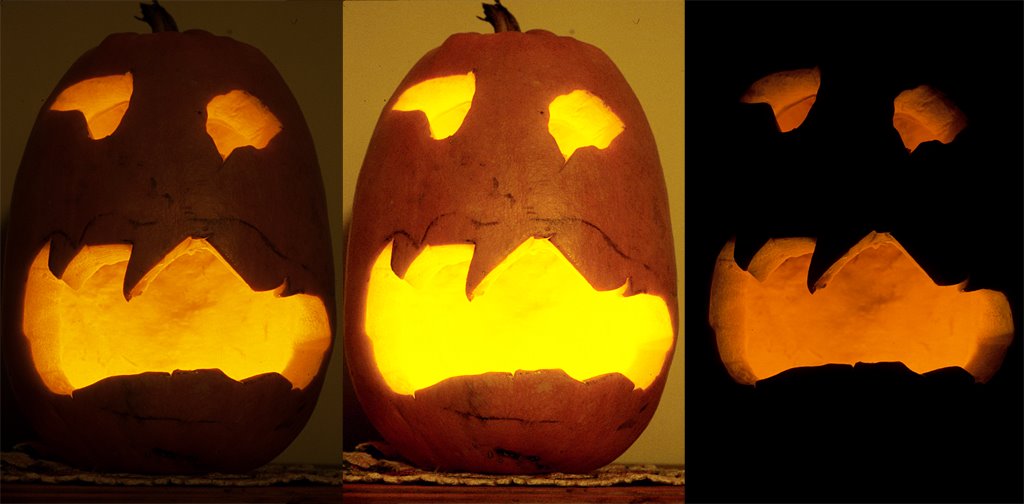
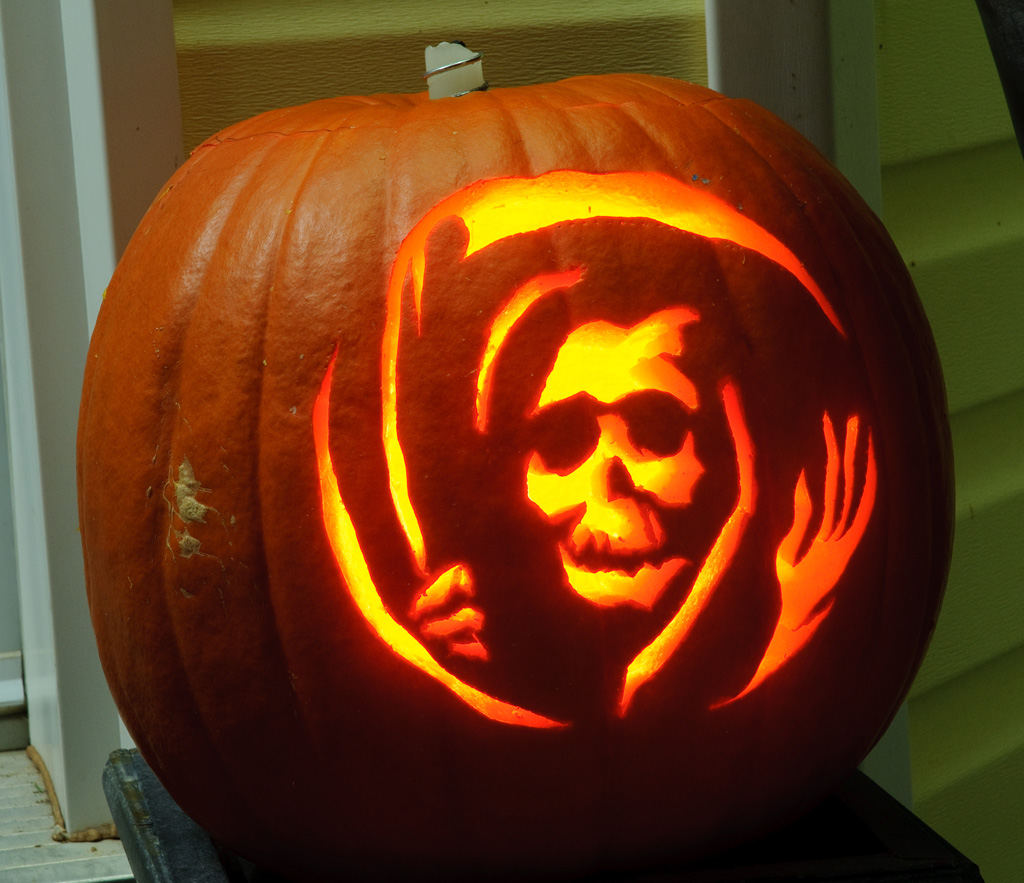
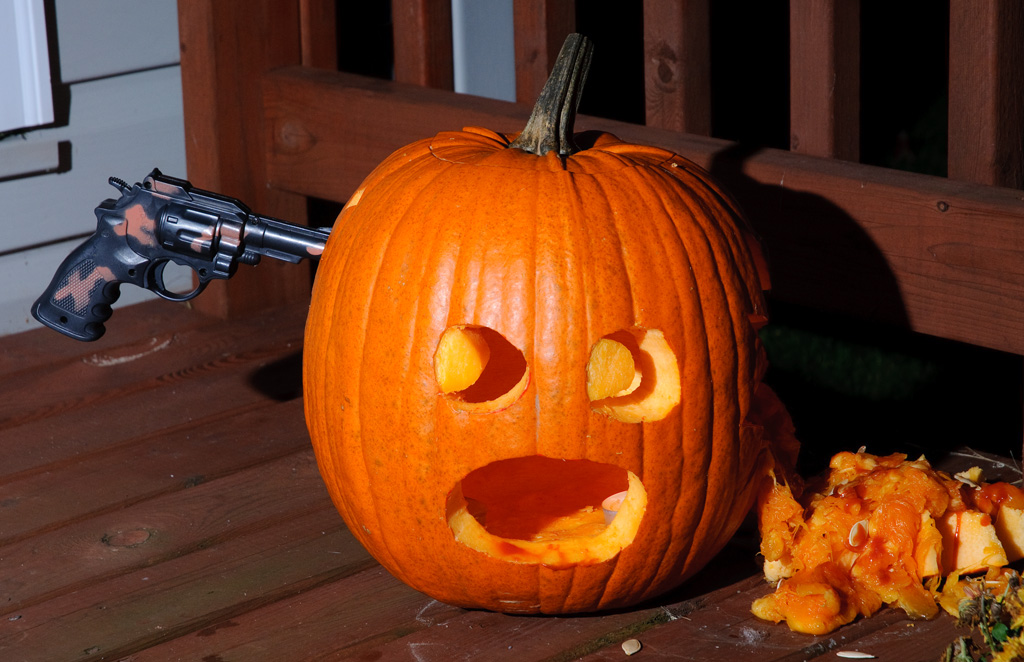
Great pumpkin shots are easy to do! Light em up with a candle and fire away, right? Sure, but you will have to do the proper metering to get the best shots. If you go with just what the meter wants, chances are you will get a pumpkin that is too dark on the exterior and too bright inside(photo on left). Instead, you could meter from the exterior skin of the pumpkin(get in close and fill the frame with only the pumpkin skin, or use your spot meter) or set your +/- in the PLUS, to get the middle photo. If you want just the light from the pumpkin, then you take your meter reading more from the light inside the pumpkin(get in close and fill the frame with only the light in the pumpkin, or use your spot meter) if using Manual(M) mode, or if you are using Shutter(TV/S) or Aperture Priority(A/AV) mode you will most likely have to set your exposure compensation(+/-) to the MINUS, probably -1 or -2. Remember to see it back to zero when you are done!
You may want to turn the lights down in the room to get more darkness. Also, a candle will give a warmer light than LED’s. To really warm up candle light, set the white balance to DAYLIGHT, or use TUNGSTEN if it’s too warm. If you find your LED light is too cool, try using SHADE or OVERCAST white balance to warm it up.
You will also need to use a tripod as the light will be very low and your shutter speeds will be slow. So you could also try zooming and panning to get some neat effects!
You can also use flash to light up the pumpkin too!
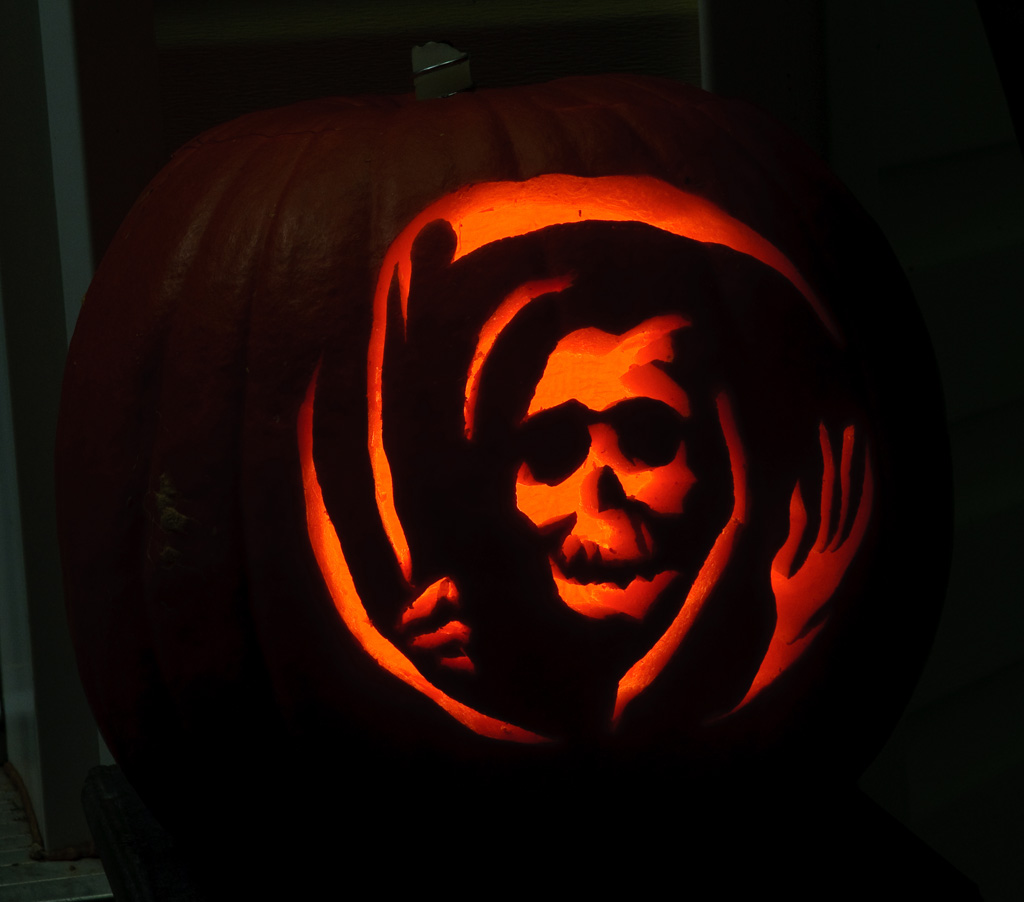
The first one below was exposed for the inside light only.
COSTUME SHOTS
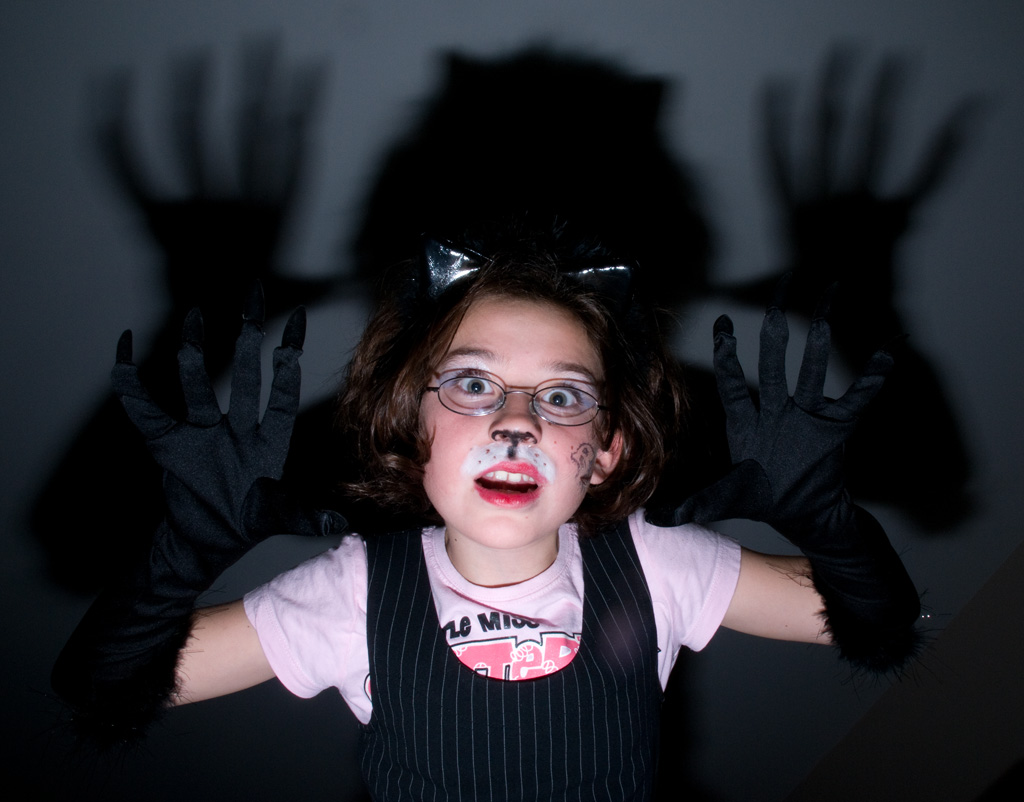
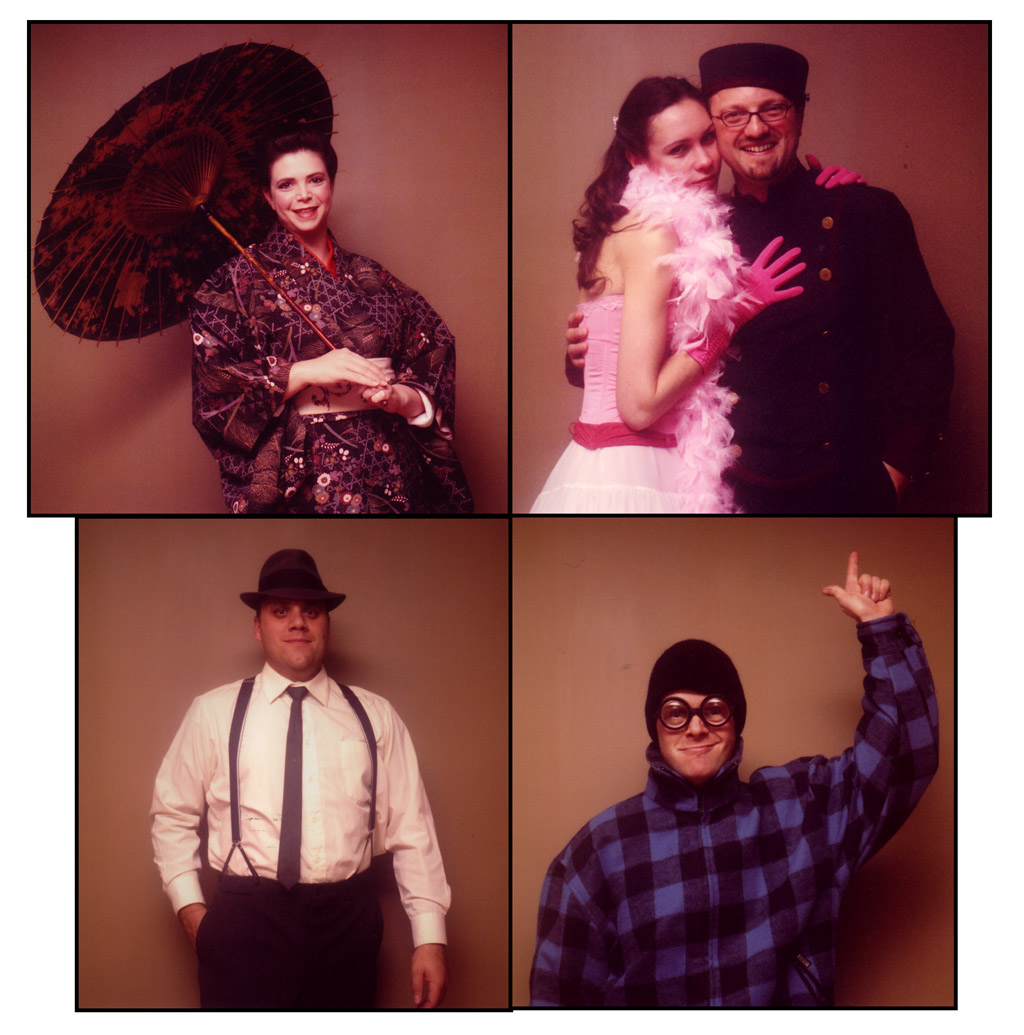
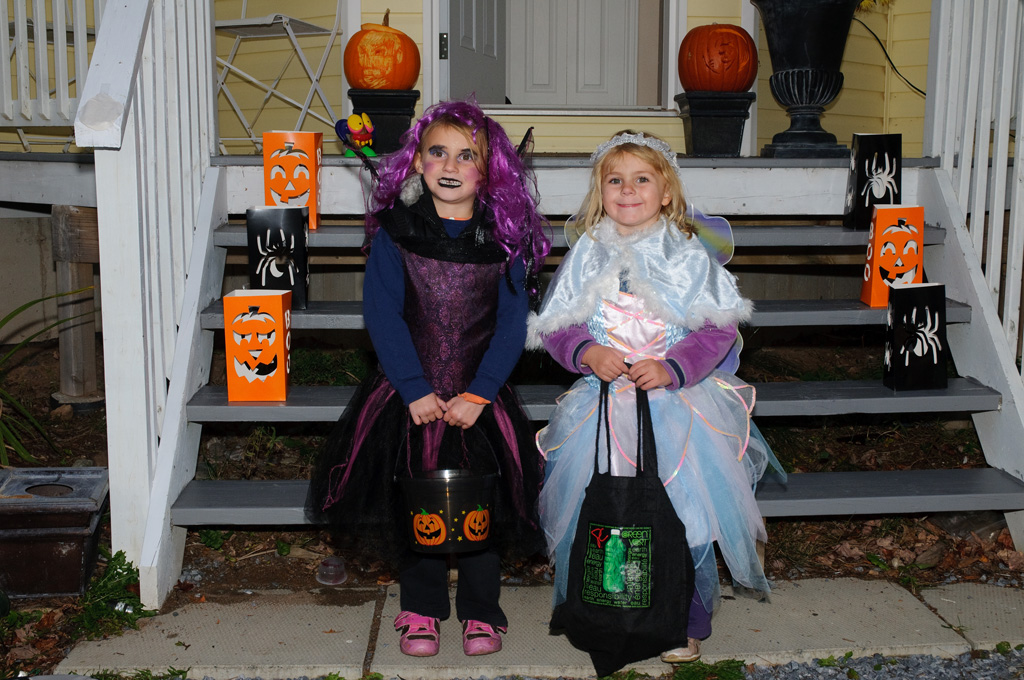
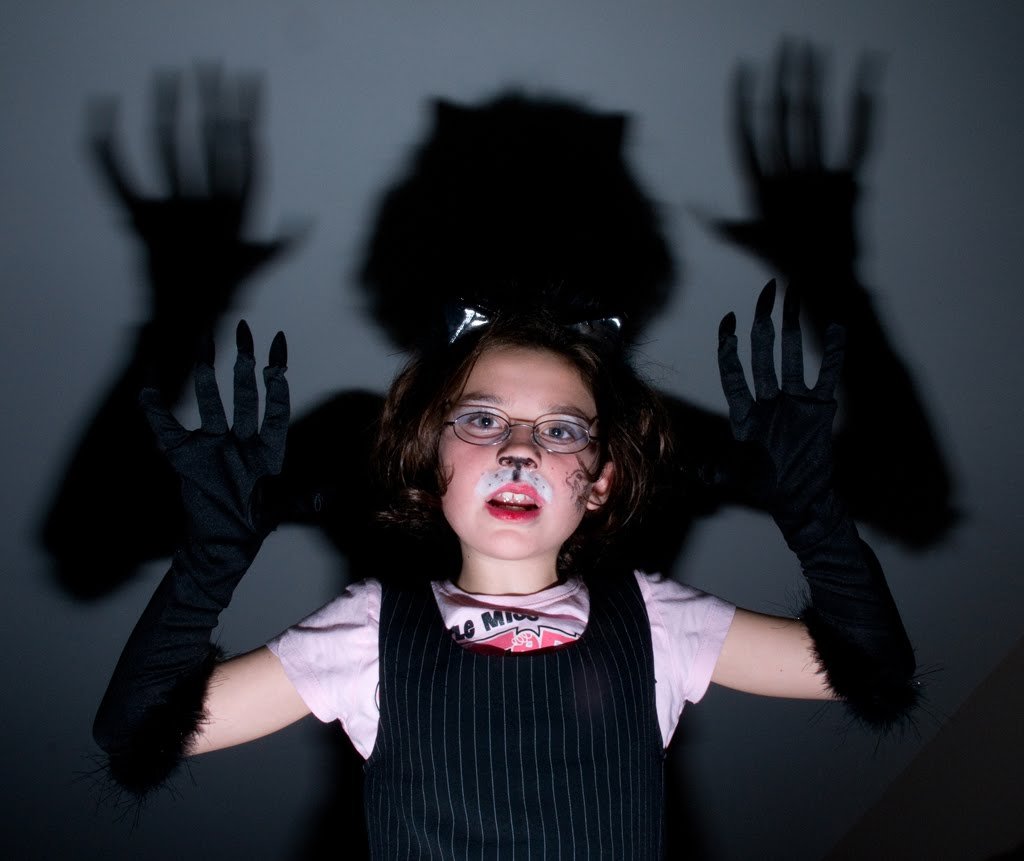
To get some great costume shots, I would suggest finding a nice plain wall you can stand the subject against. Then, use a flash bounced off the ceiling to get a softer light that won’t cast dark shadows against the wall.
You are wondering, Noel, how did you get that old kind of look on those pics? Well, they were taken using an old twin lens film camera, and I basically shot blindly with the flash with what I thought would be a good exposure and ended up underexposing every shot. So the old look is basically underexposed film printed lighter then scanned and worked a bit in photoshop. No, that wasn’t what I wanted to do. But when life gives you lemons, make lemonade….they look fine in black and white of course…
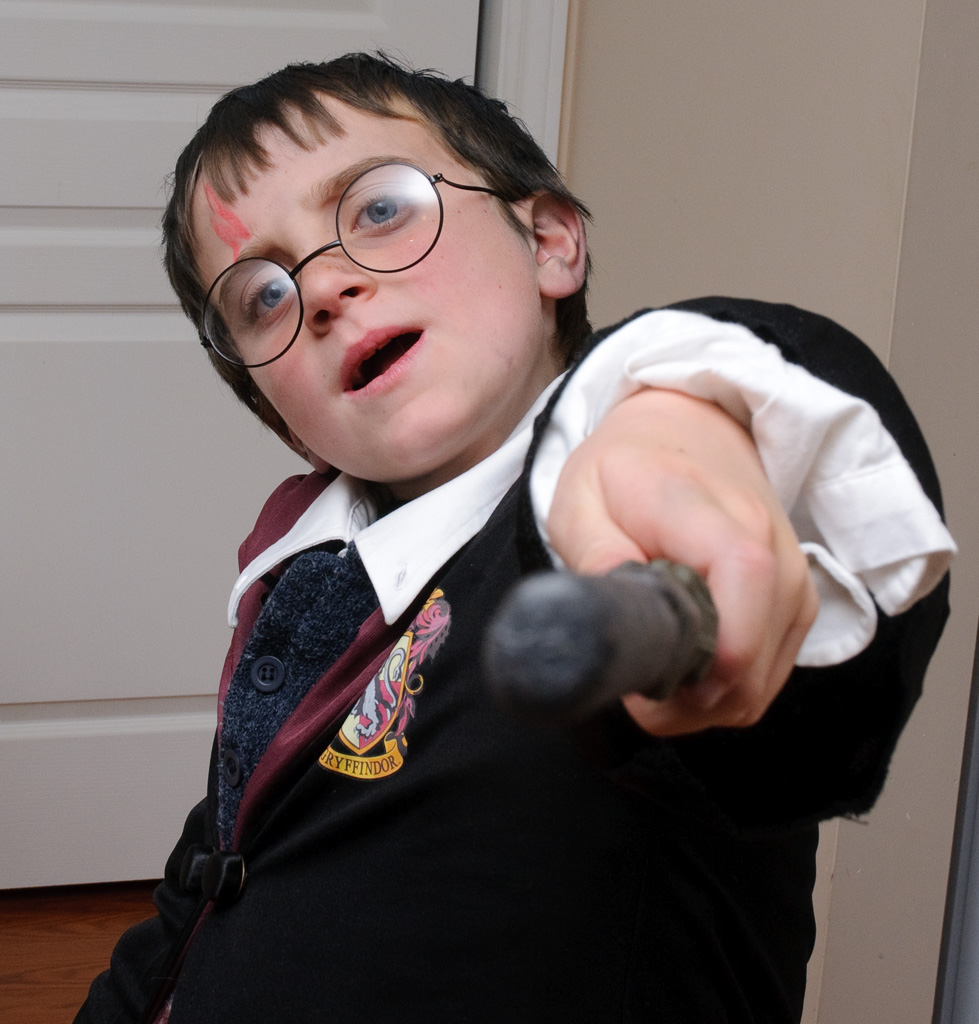
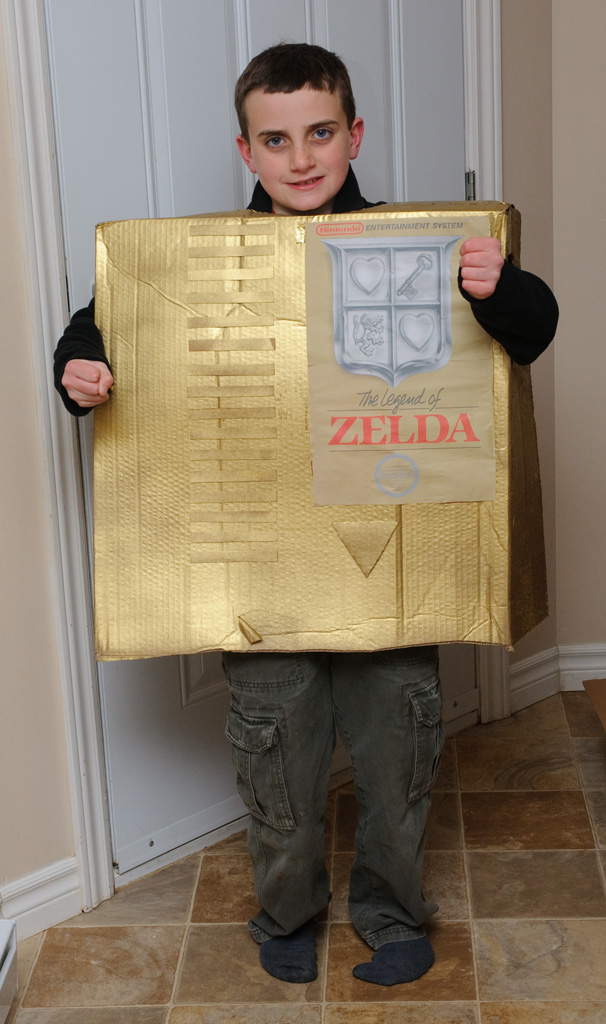
The images below were taken bouncing the flash off the ceiling with a less plain background. They still work!
MORE TIPS BELOW!
I hope you find these tips useful!
If so, it would be awesome if you would check out my LearnPhoto365 Photography Assignment Generator Apps on the app store, a unique photography app that’s meant to inspire you to take great photos!
Perfect for anyone taking part in a Photo 365 challenge, there are over a hundred individual assignments and hundreds of thousands of potential random ones. Versions available for iPhone/iPod and iPad, including free versions so you can try them out! Full details, including reviews and tour videos of the apps can be found at www.learnphoto.ca/apps Even if you only download the free version that would help get it up the app store lists!
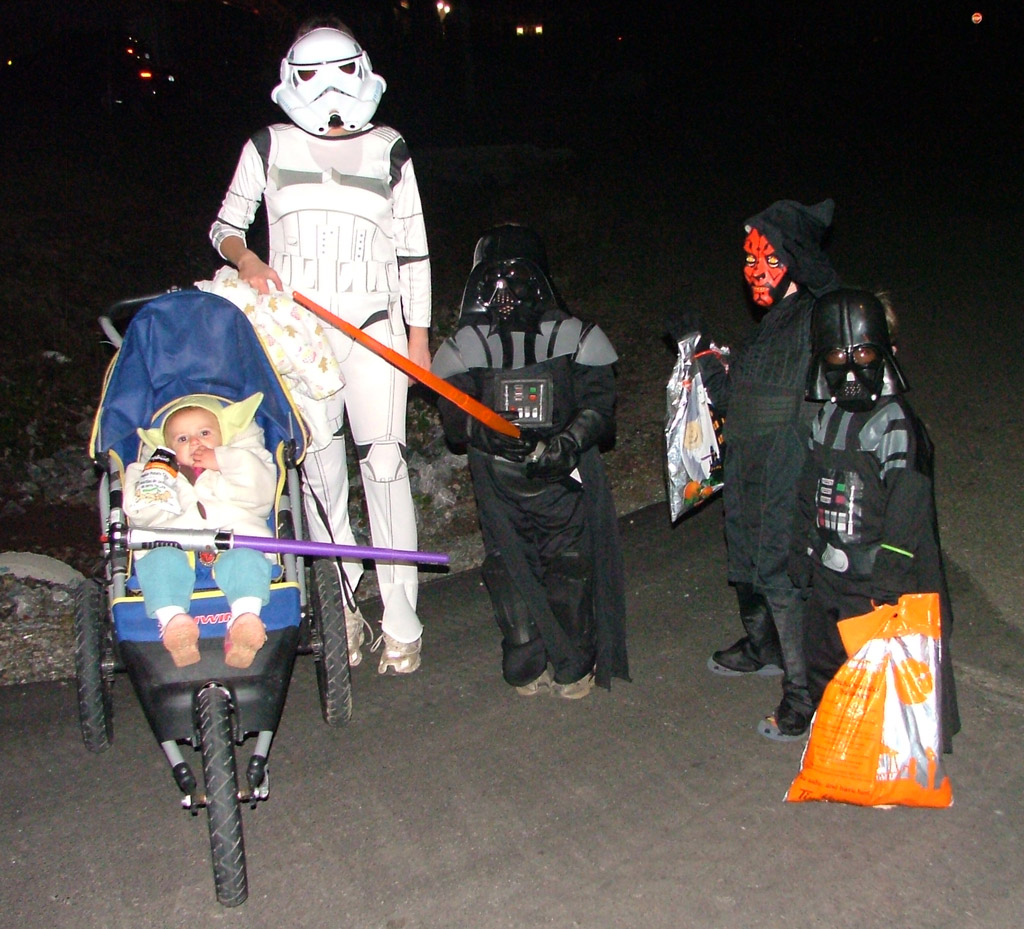
Obviously if you are going to get shots of the kiddies trick or treating in their costumes, you will have to use flash as it will be very dark. Use MANUAL shooting mode(M), set the shutter speed to 60th/second and pick an aperture of F8, pop up the flash and use the flash exposure compensation if it’s too bright or too dark.
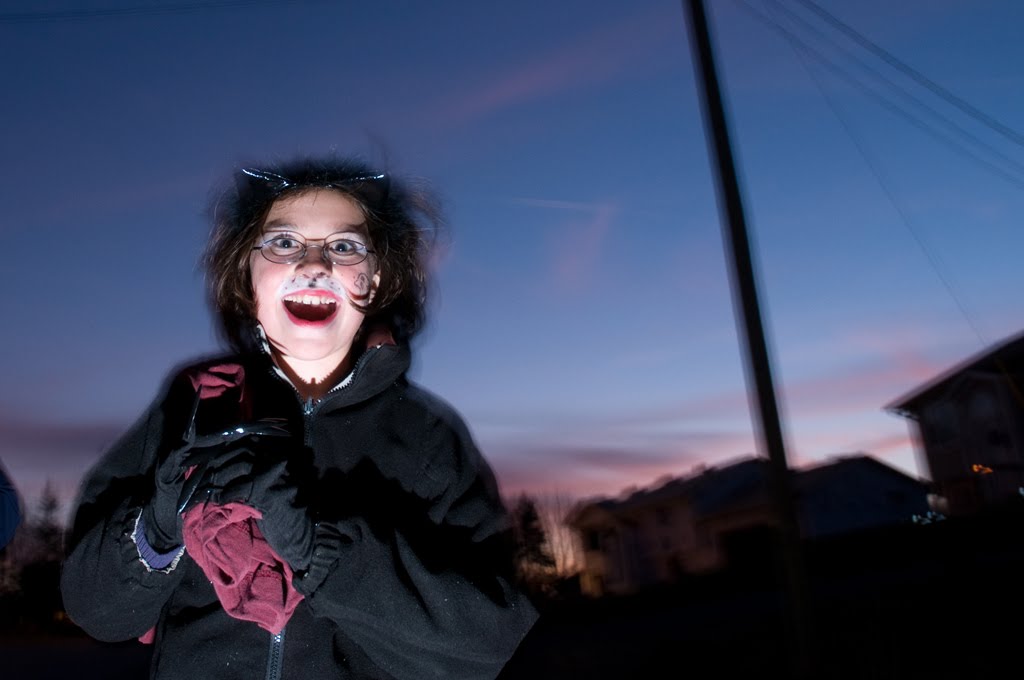
If you want to try to get some more ambient light, turn the shutter speed lower(1/15th or 1/8th) to get more light and some funky blur.
MONSTER LIGHTING!
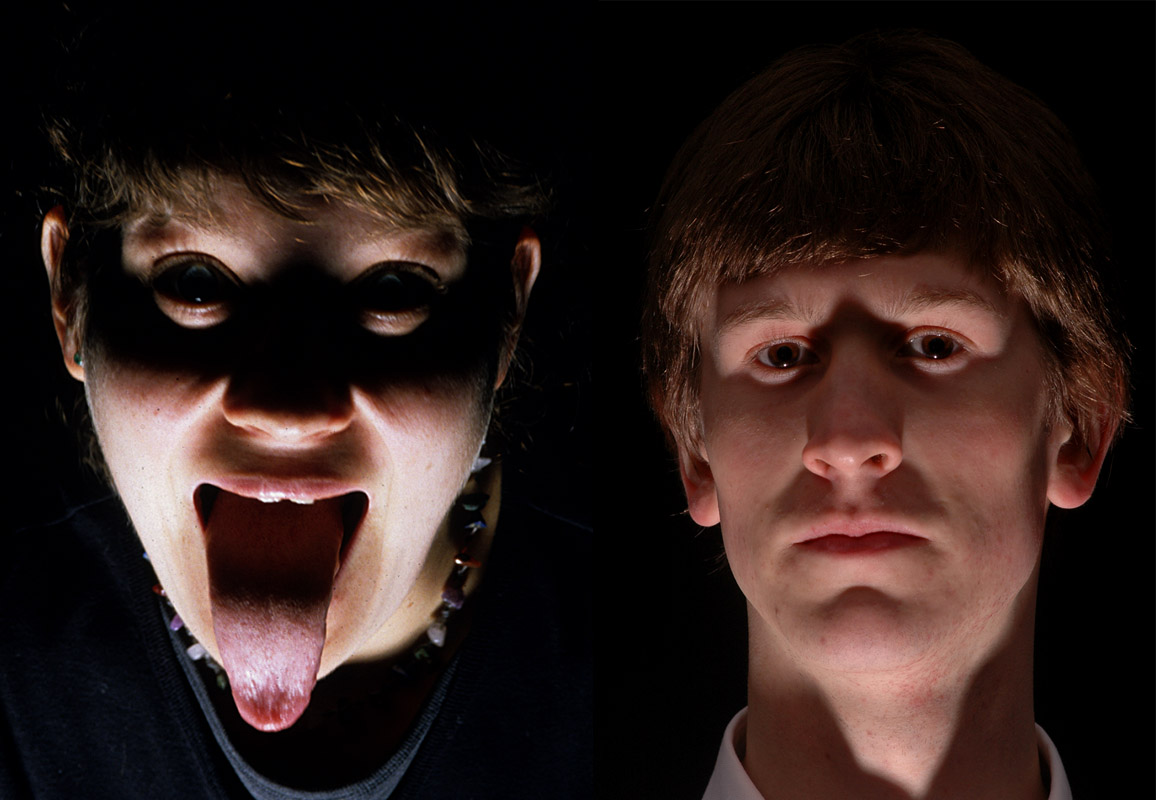
If you want some spooky shots, use MONSTER LIGHTING! You want to have a light source that comes from below, either a high powered lamp, flashlight, or your flash. Place it right underneath the subject’s face so you get lots of creepy shadows, as get them to make a scary face. If you are using a lamp or flashlight, make sure that you take your meter reading more from the brighter areas(zoom in on them or use your spot meter) if using Manual(M) mode, or if you are using Shutter(TV/S) or Aperture Priority(A/AV) mode you will most likely have to set your exposure compensation(+/-) to the MINUS, probably -1 or -2. Remember to see it back to zero when you are done!
If you are using your flash, you will need to use an off camera flash cord or trigger it wireless and hold it under the person’s face. Try a manual setting of 60th/second at F16 or F22, and adjust the flash power as necessary!
Good luck, and Happy Halloween! Post some pix on the gallery if you get some good ones!
Noel Chenier
———-
Photographer and teacher
Connect with Noel on INSTAGRAM or TWITTER or via EMAIL
Photography Assignment Generator Apps now available on the app store!
Noel’s Portfolio
Work Done by My Students!
(550)

