
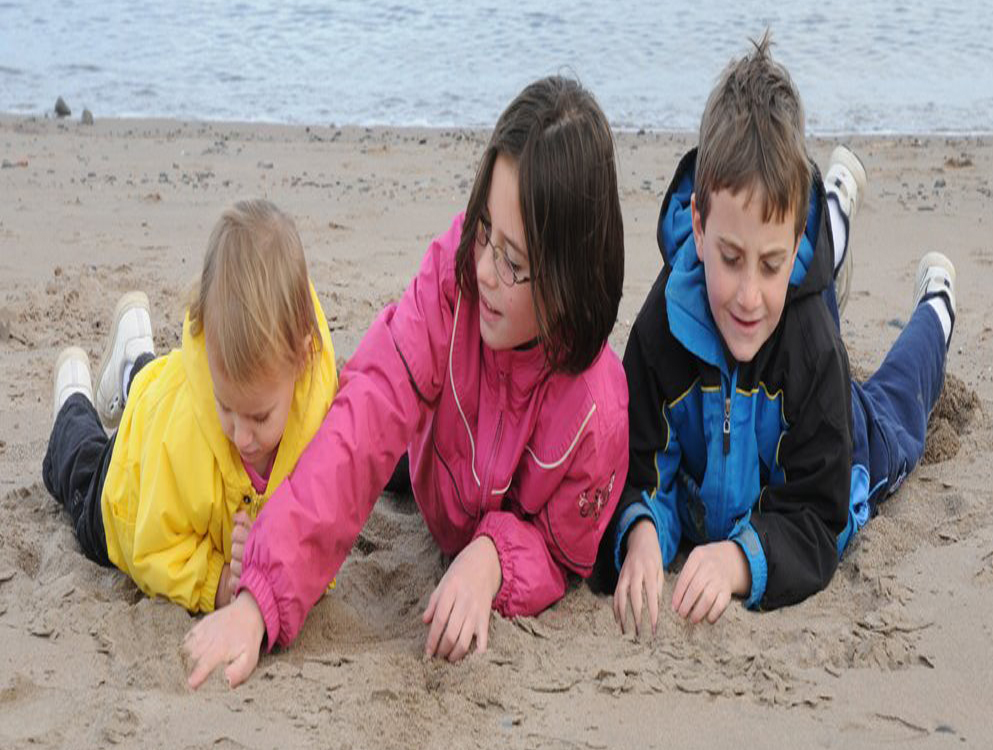
Ever take a photograph to get printed at the photo lab, and it comes back squished(image above) or cropped completely different from how you cropped it? I’m going to help you prevent that from ever happening again!
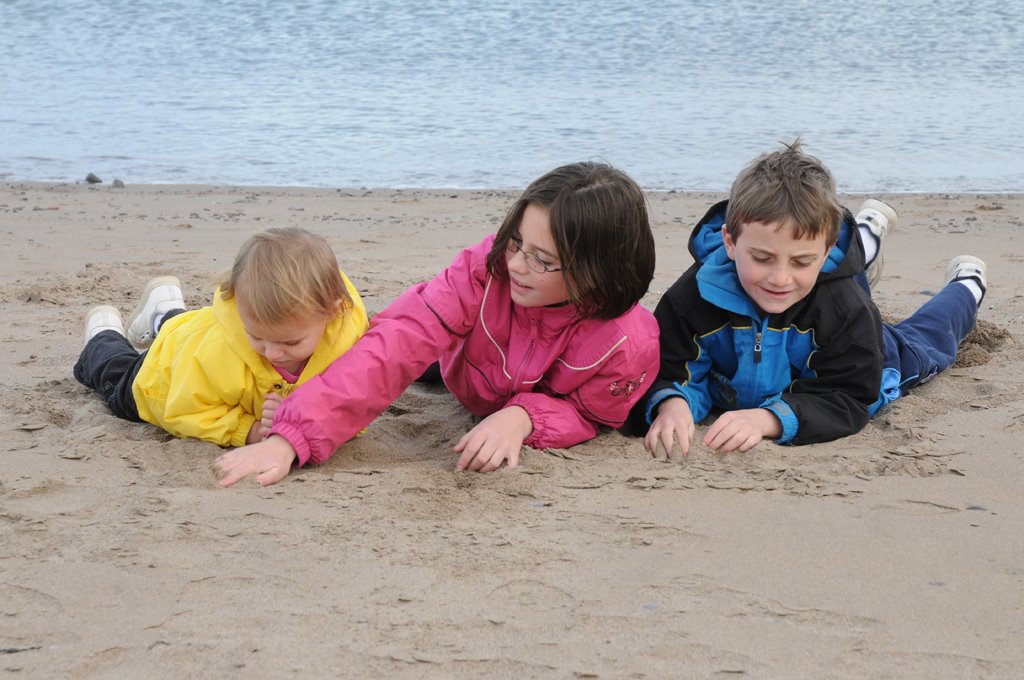
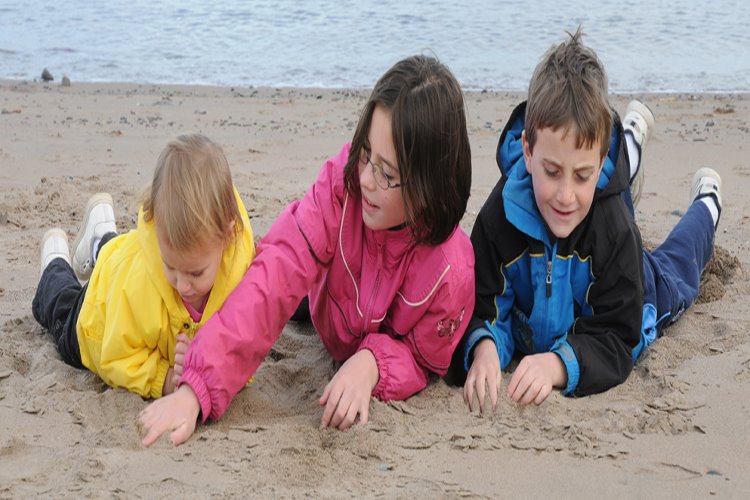
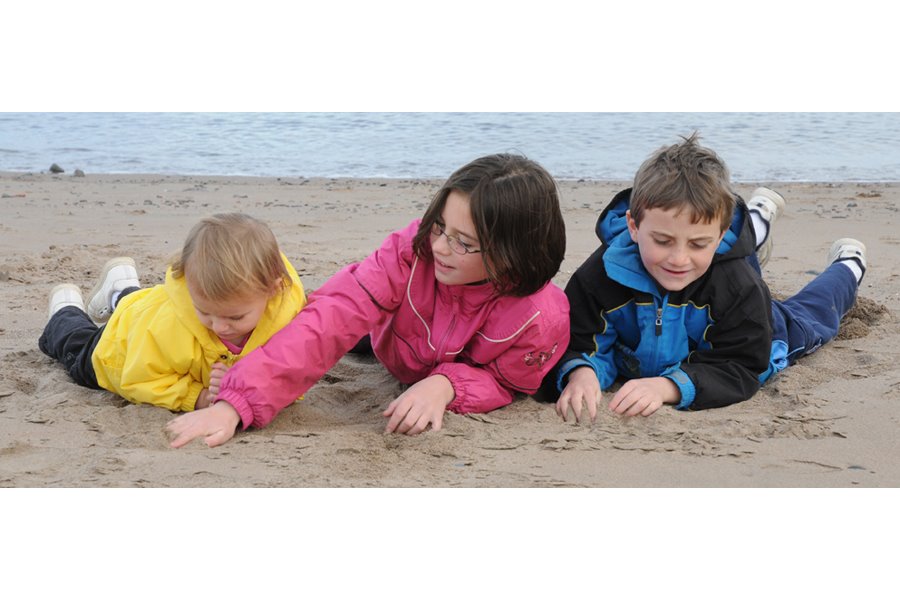
So here is my original photo. Nice enough picture of my three munchkins at the nature park, but I want to get rid of the excess sand and water. So in Photoshop, I get out my crop tool and crop it panoramic.

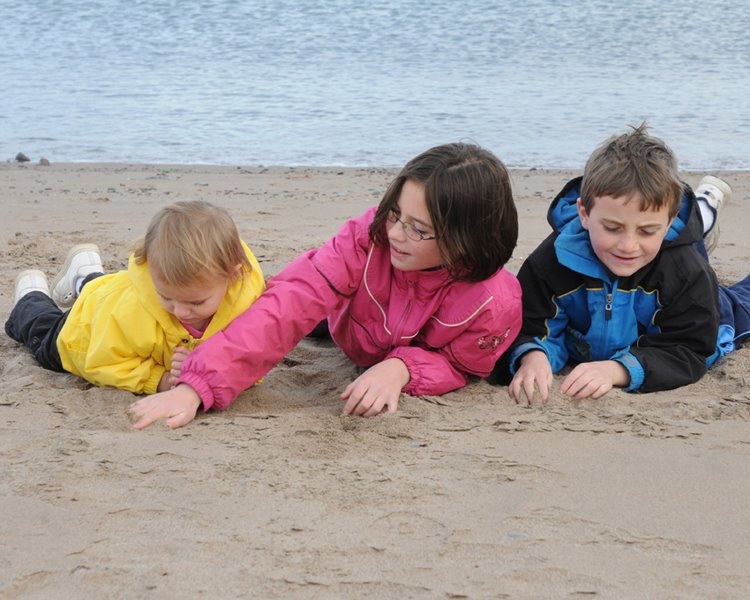
There. Much better, really focuses on them. So I take my card to my favorite lab to get a 4″x6″ print made. And what I get back is this:
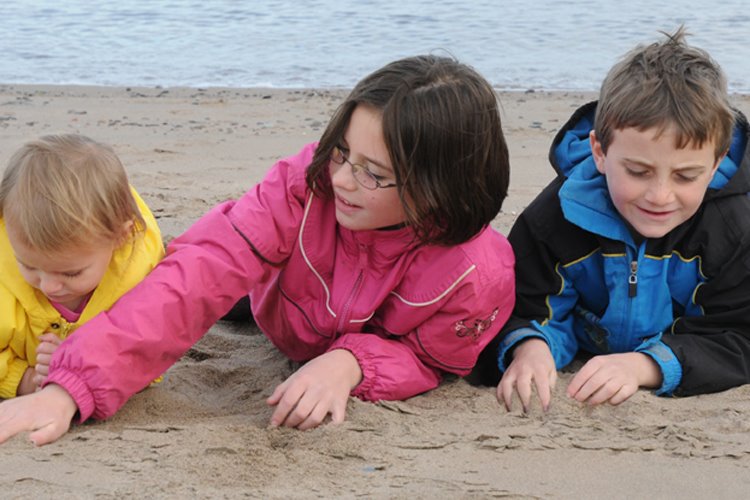
An image totally cropped in. Or THIS!!!!!
An image where they have been squished! What the heck went wrong?
A full frame image is the same height/width ratio as a 4″x6″ print. By cropping an image, I’ve just made it a completely different ratio. So, the machine printing the image will either crop out parts to make it fit that ratio, or squish or stretch the image to make it fit that ratio. You need to take a few seconds to prepare the image before saving it so that it will print correctly!
MORE TIPS BELOW!
I hope you find these tips useful!
If so, it would be awesome if you could download the free version of my LearnPhoto365 Photography Assignment Generator Apps on the app store, a unique photography app that’s meant to inspire you to take great photos!
Perfect for anyone taking part in a Photo 365 challenge, there are over a hundred individual assignments and hundreds of thousands of potential random ones. Versions available for iPhone/iPod and iPad, including free versions so you can try them out! Full details, including reviews and tour videos of the apps can be found at www.learnphoto.ca/apps Even if you only download the free version that would help get it up the app store lists!
HOW TO RESIZE IMAGES PROPERLY!
Step 1: RESIZE THE IMAGE
In Photoshop CS-CS4, select IMAGE->IMAGE SIZE. (IMAGE->RESIZE->IMAGE SIZE in Elements). The Image Size box will appear. If the image is a horizontal, select the WIDTH and type in the width of the print you want(In this case, we are doing a 4×6, so I type in 6. If the image was vertical, I’d select the height first). By selecting 6″, you can see the Height went to 2.477″. If I were to leave it like this, I’d get the squished or cropped print.

Step 2: INCREASE THE CANVAS SIZE
This is the key second step. In Photoshop CS-CS4, select IMAGE->CANVAS SIZE. (IMAGE->RESIZE->CANVAS SIZE in Elements) The Canvas Size box will appear. Make sure that RELATIVE is UNCHECKED.
Now, I will type in 4″ for the HEIGHT(or change the width if the image was a vertical). Then I pick my CANVAS EXTENSION COLOR(WHITE or BLACK). Then click OK.
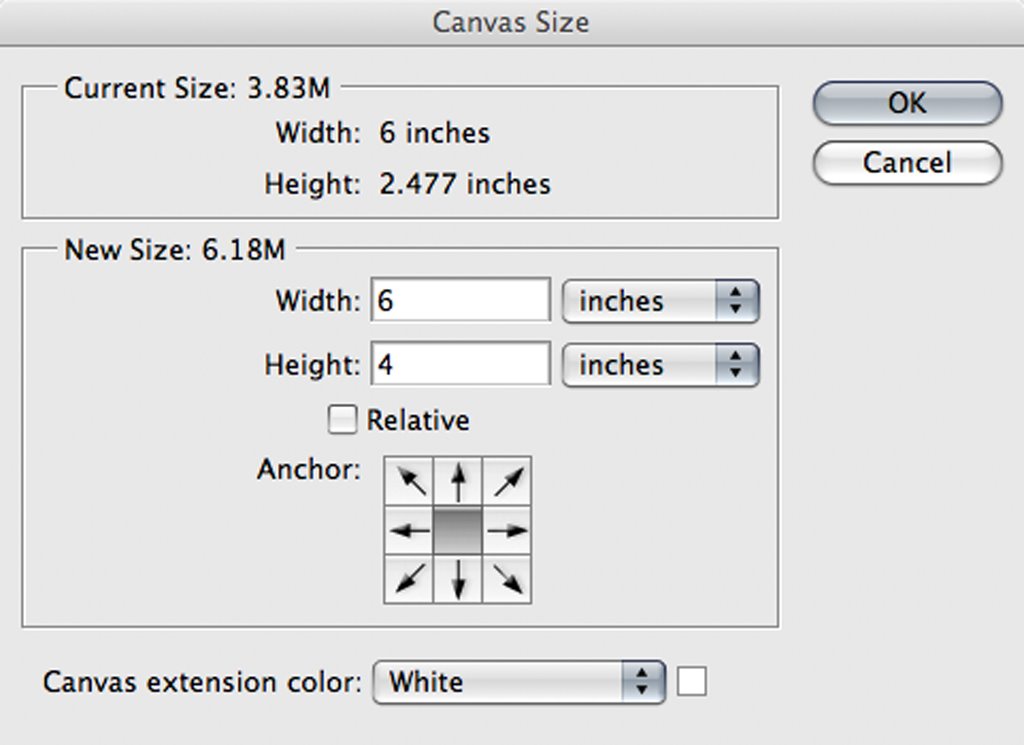
And there you go! The image below is now 2.477″x6″, but fits on a 4″x6″ canvas! So my print will not be cropped or squished, it will print correctly!
One other thing to mention! 8″x10″ is considered a standard size for making a larger print. However, this is not the same ratio as the full frame captured! The same ratio print would be an 8″x12″! So if you print a frame 8″x10″, you end up losing an inch on either side of the frame!
The image below was printed 8″x10″ instead of 8″x12″and I lost the edges.
CROPPING TO THE RIGHT SIZE
To ensure your print is the exact size you want, use the CROP tool and set a specific size that you want it to crop to!
Pick the CROP tool, then type in the HEIGHT, WIDTH, and RESOLUTION (200-300) that you want. So below, I put in a width of 12 inches, height of 8 inches, and resolution 250. Then I use the crop tool and select the part of the image I want and it’s ready to print at the right size!
![]()
 Then when I send the picture to the lab, and TELL THEM TO PRINT 8″x12″, you get a full frame image on an 8×12!
There! Now you should be able to get the exact size prints you want from your favourite lab, with no squishing, stretching, or cropping!
Happy shooting!
Noel Chenier
www.learnphoto.ca
Connect with Noel on:
INSTAGRAM: http://www.instagram.com/nchenier
TWITTER: @noelchenier http://www.twitter.com/noelchenier
(515)
I get asked this question all the time. Excellent and concise explanation Noel. I’m refering people here from now on. :-)<BR/><BR/> – Silas
Thanks Silas<BR/><BR/>Refer away!
Thanks… this really helps alot.
Thanks Noel, I recently discovered the latter problem when trying to have an 8 x 10 printed… Thanks for both of the examples! Much appreciated! Shasta<BR/><BR/>PS Do you have an explanation anywhere regarding resampling vs not resampling image – I’m a little confused on that. I tried to resize a photo basically to make it smaller for the desktop, but when I changed the actual measurement
Hi Shasta<BR/><BR/>Basically every image has a certain number of pixels. For exmaple, a 6 mega pixel image has 6million pixels. When you resize an image, there are two ways to do it<BR/><BR/>1) Resample image UNCHECKED<BR/>If resample image is unchecked, the image will be resized to the dimensions you specify, but will keep all the pixels(resolution)<BR/><BR/>For example, if an image is 4×6 at
Great post Noel!