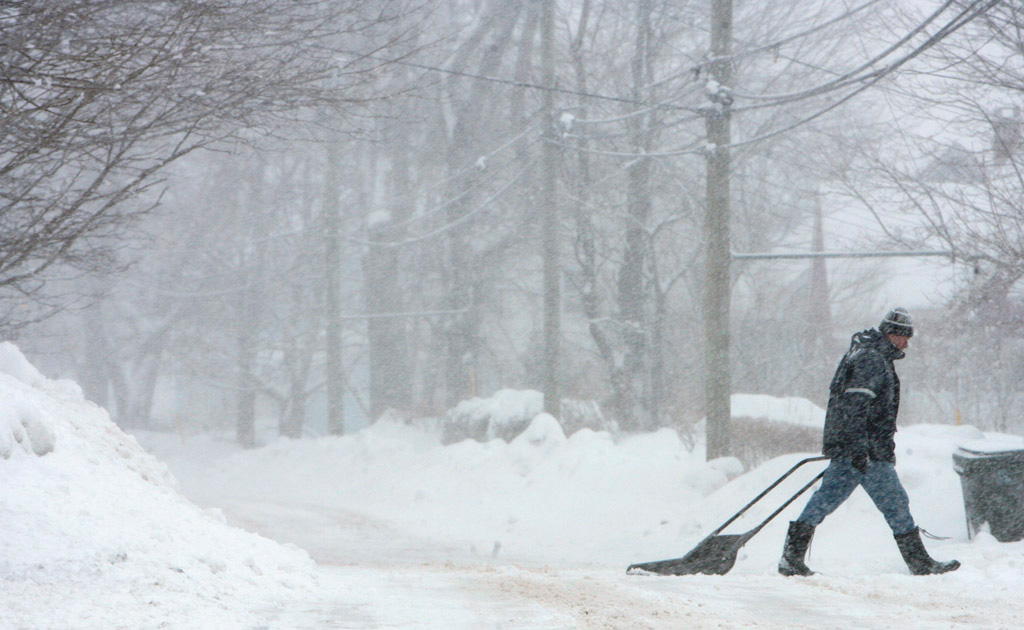
Snow. It’s a fact of life in Canada. Each winter, Canadians are subjected to hundreds of inches of white stuff that needs to be moved out of the way. And with each snowstorm, we get all bundled up, trudge out into the winter wasteland, and fire up the snowblower/pick up our trusty shovel.
And as a newspaper photographer, with each storm I documented these winter warriors…why don’t you? Here are some tips for getting the best photos!
CAMERA SETTINGS
ISO
This will depend on the conditions.
If the storm has passed and it’s a nice sunny day or if it’s slightly overcat, ISO 400 should be fine.
If it’s during the storm and the light is lower, ISO 800 or higher will be needed
WHITE BALANCE
As always, I recommend using the white balance setting that matches the light the subject is under. So if it’s sunny, put it on SUN/DAYLIGHT. If it’s overcast, OVERCAST/CLOUDY. Or you can shoot in RAW and then adjust later.
DRIVE MODE
If you are planning on shooting action/freezing, I would use the continuous shooting mode.
SHUTTER SPEEDS
The shutter speed you choose will depend on what you want to do and how fast the subject is moving or how much you want to freeze the flying snow!
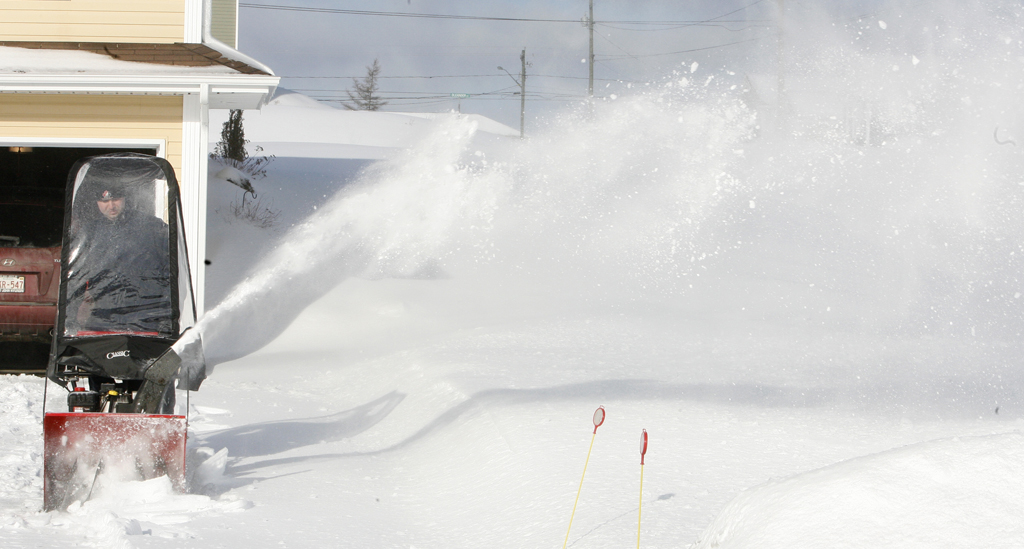
Unless they need maintenance, most snowblowers chuck that snow pretty fast. So if you really want to freeze the snow, you need faster speeds like 1/1000th or higher. (This will be difficult under lower light, so as I mentioned you might need to bump up your ISO)
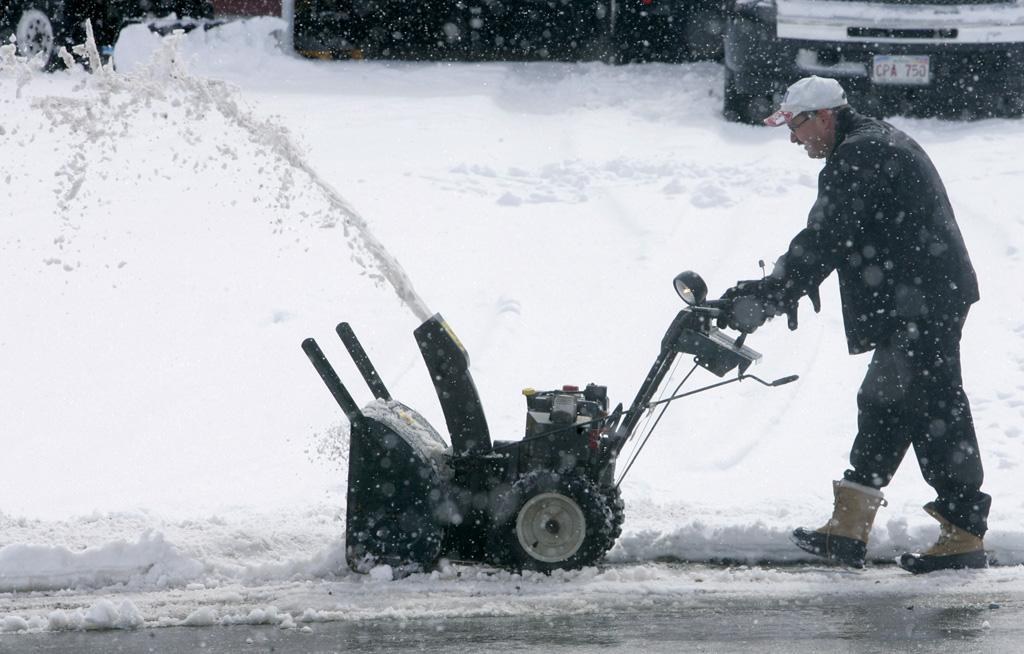
But you can also get some interesting shots using a bit slower speeds, like 1/250th, which can create some interesting blur with the thrown snow. But it will still be fast enough to freeze the person walking the blower.
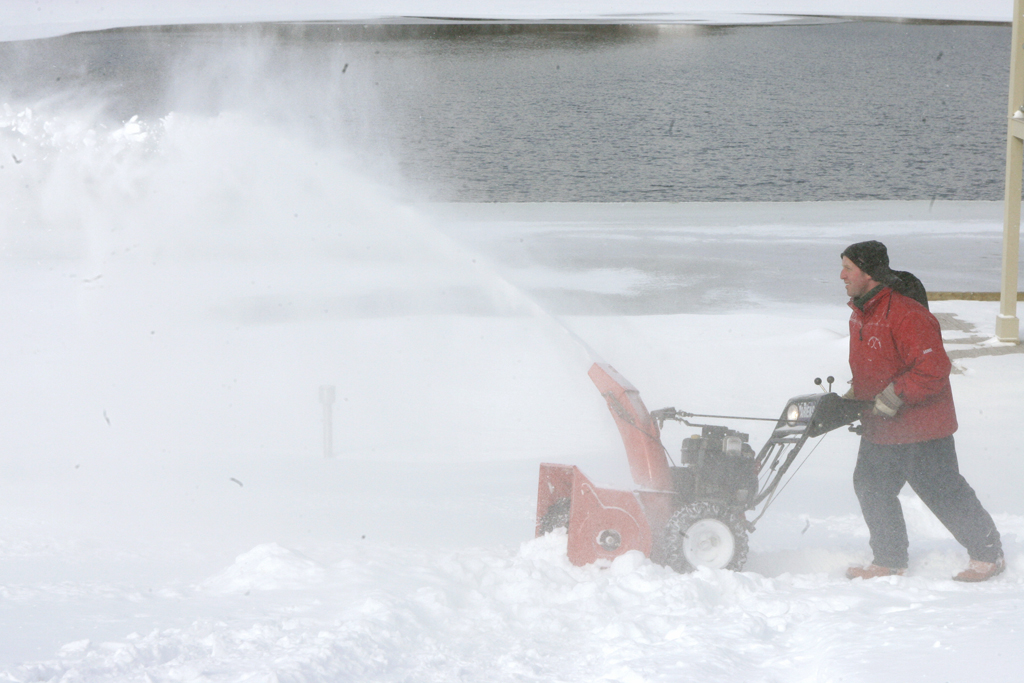
METERING WARNING!
All that lovely snow sure looks nice and bright…which will totally fool the meter and result in underexposure if you meter with it in the frame!
If you are in manual mode (M), you need to select the shutter speed you want to use, and then either fill the frame with a mid-tone subject or use the spot meter on a mid-tone subject, then adjust the aperture to get the meter zeroed. When you recompose the photo, the meter will most likely move to the plus side. This is correct, ignore it, and just take the photo.
If you are in shutter priority mode (TV/S), you will need to use the exposure compensation to adjust the meter into the PLUS.
COMPOSITION
As always, it’s great to try different angles and points of view when shooting.
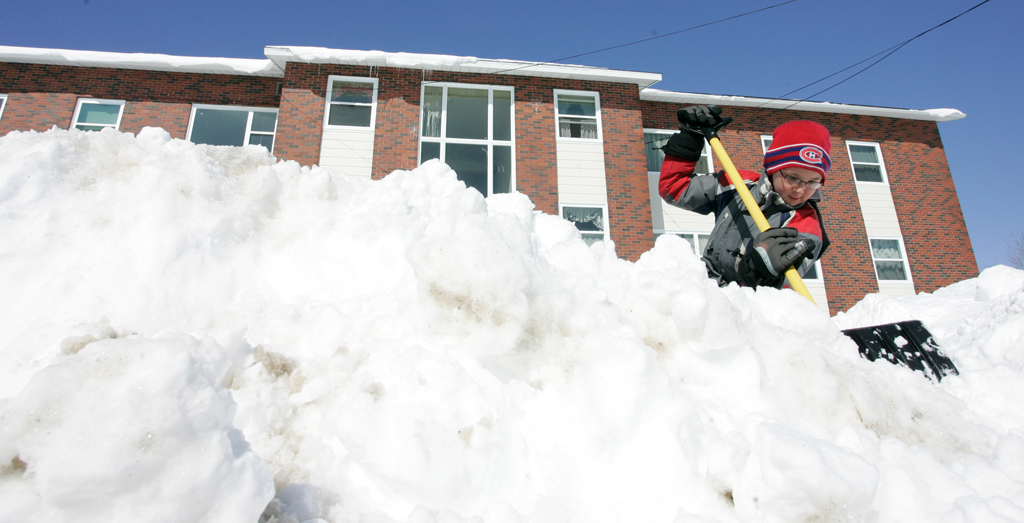
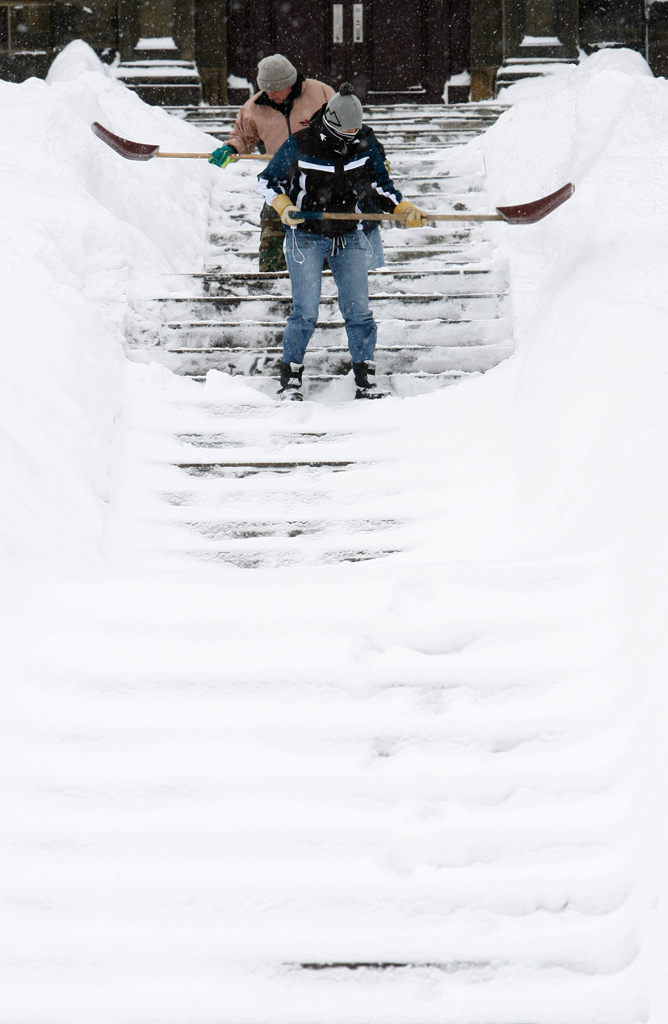
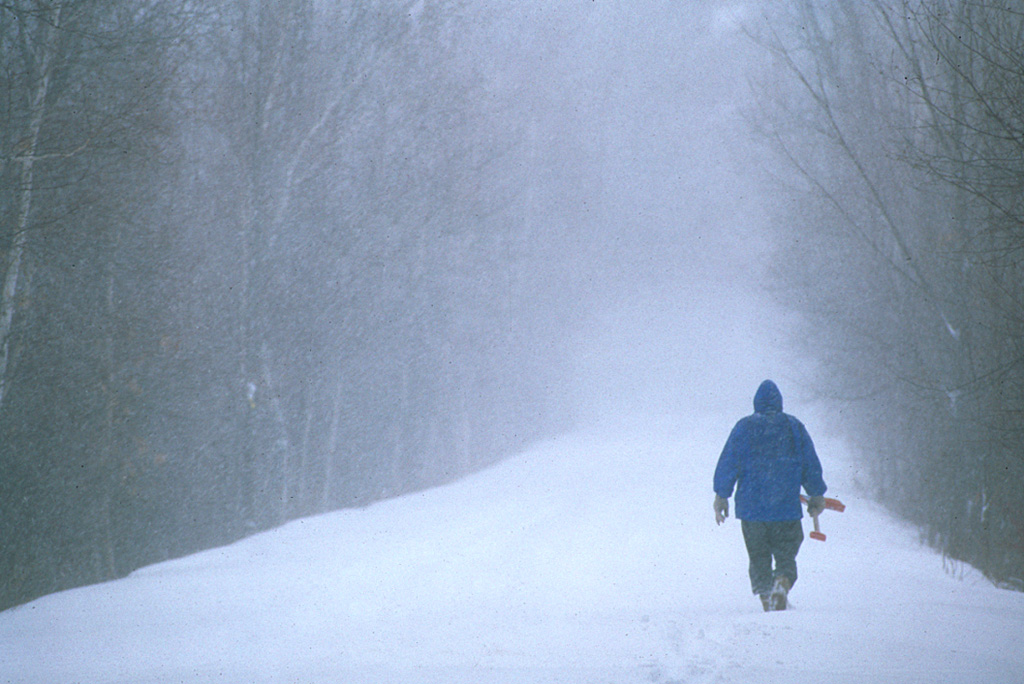
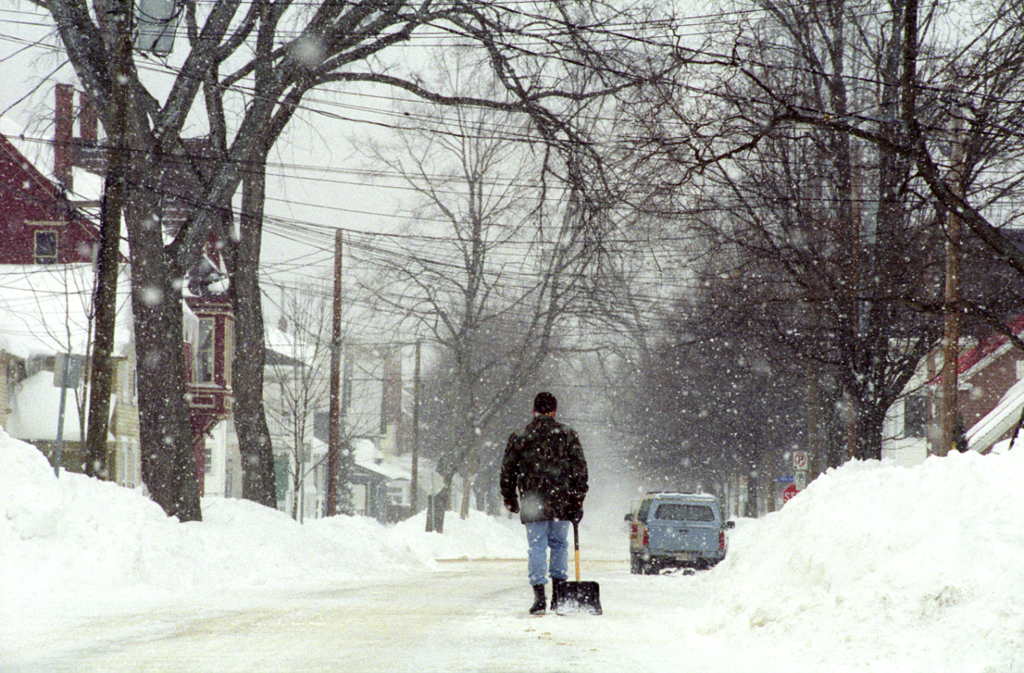
Try different angles on the subject. Frontal, side, behind, at an angle to see which ones work the best.
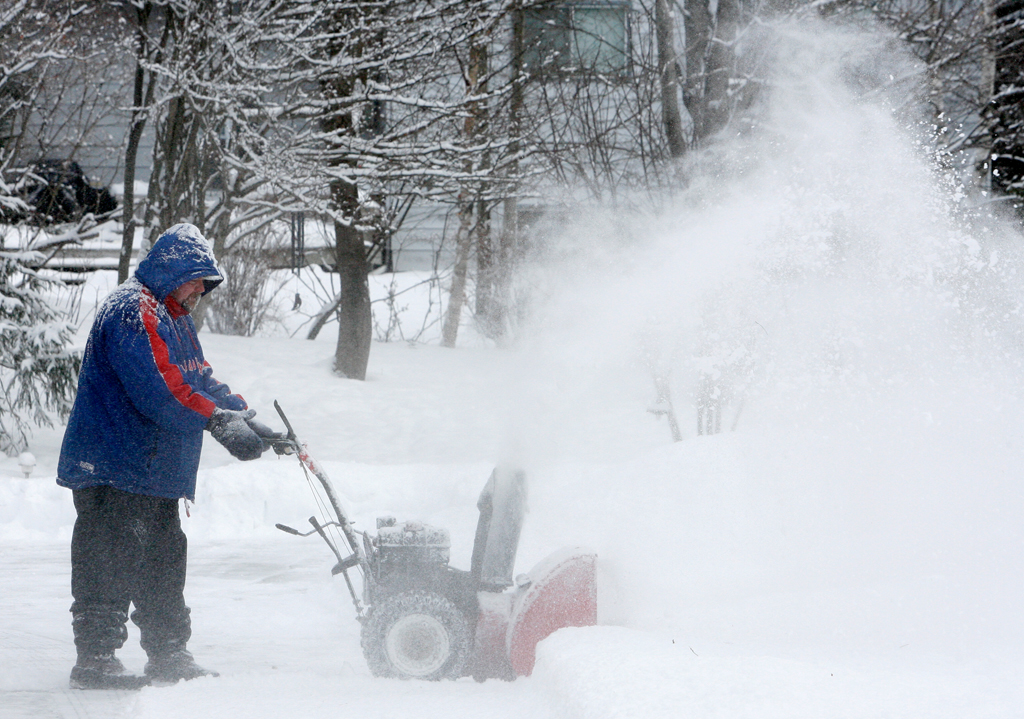
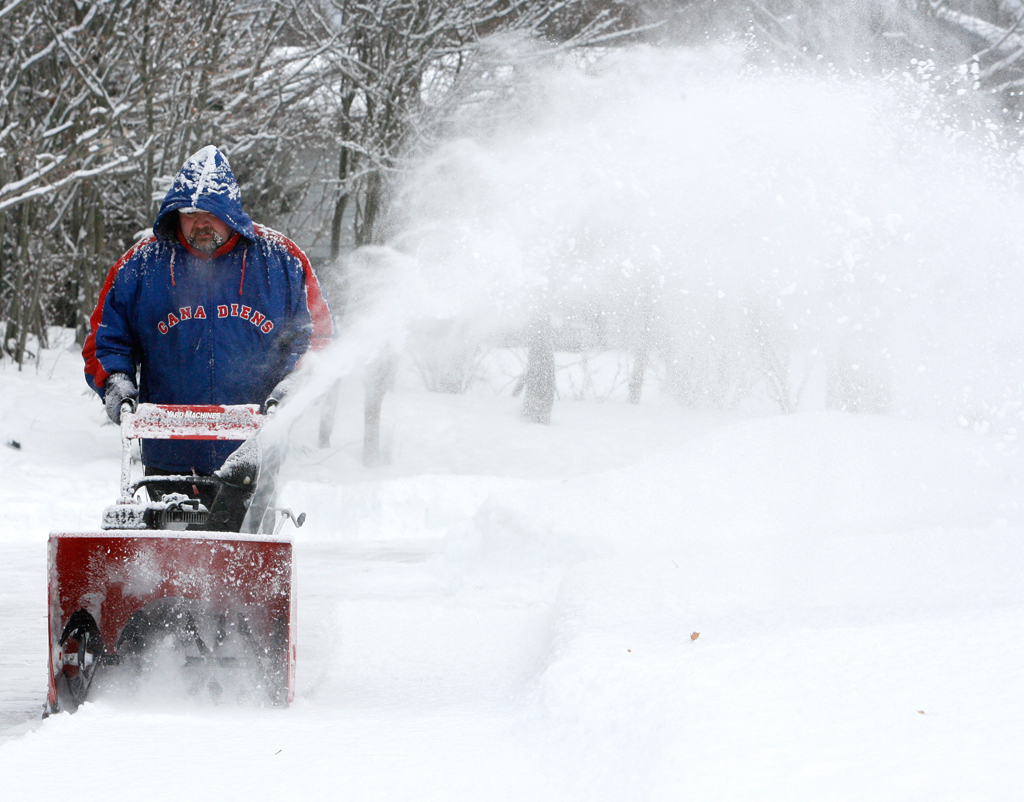
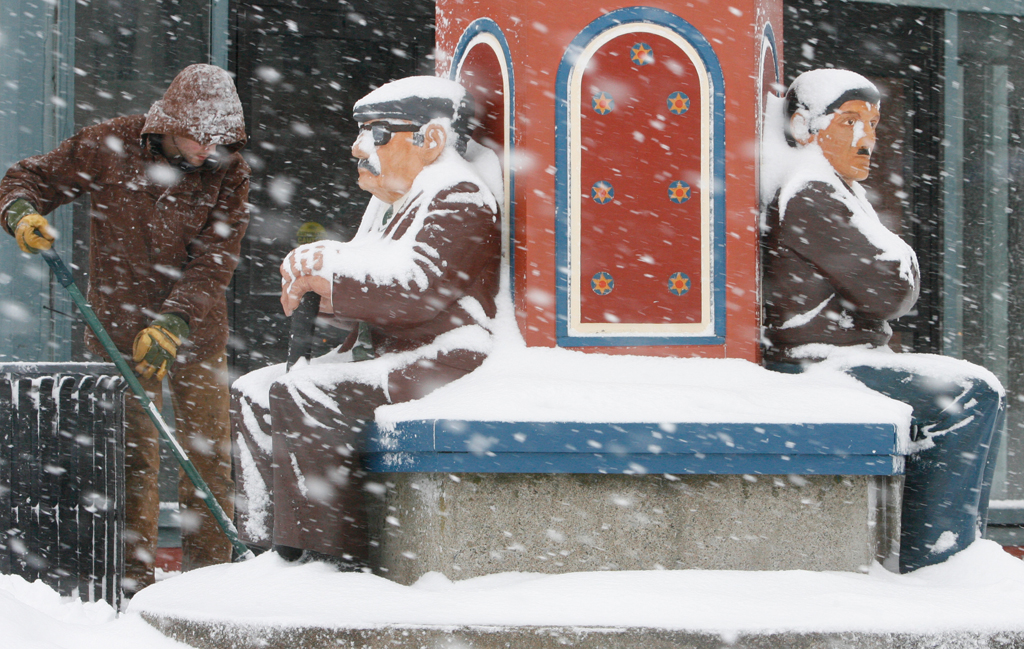
Try horizontal and vertical compositions, and don’t forget to use your different lenses! Wide angles can show more of the snowy landscape, or you can zoom in on ice/snow covered faces.
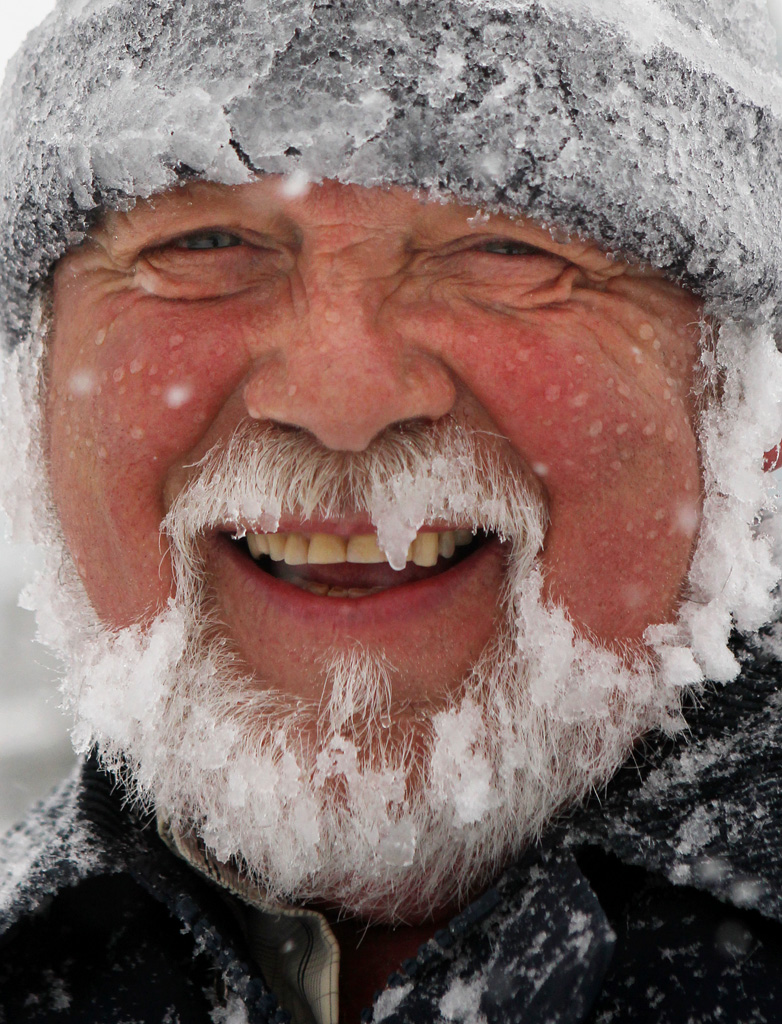
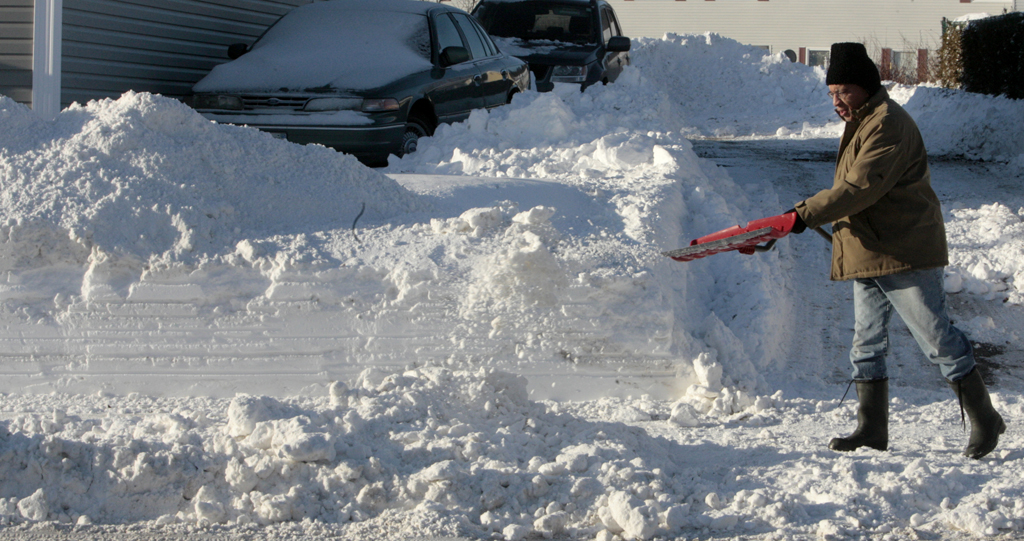
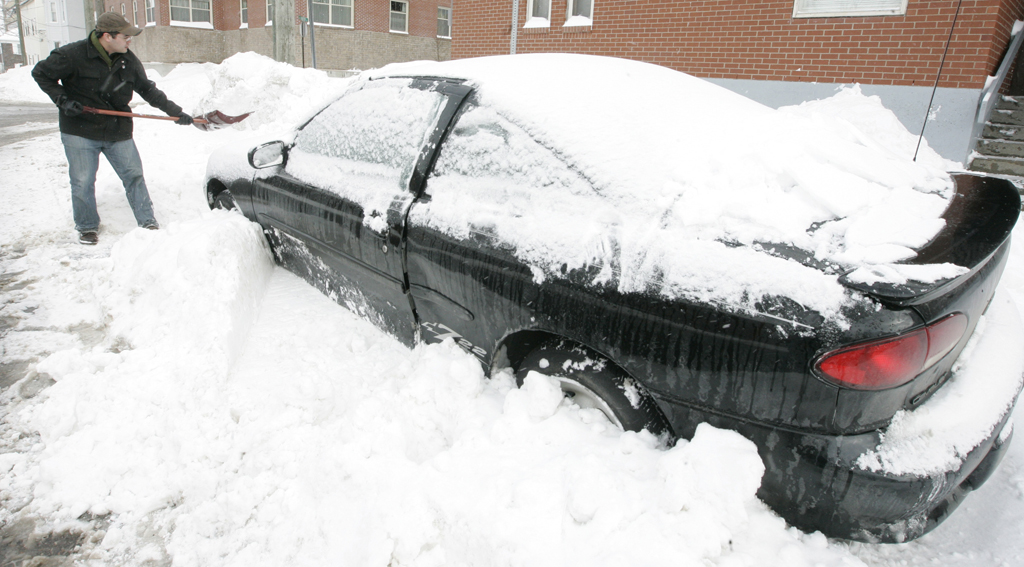
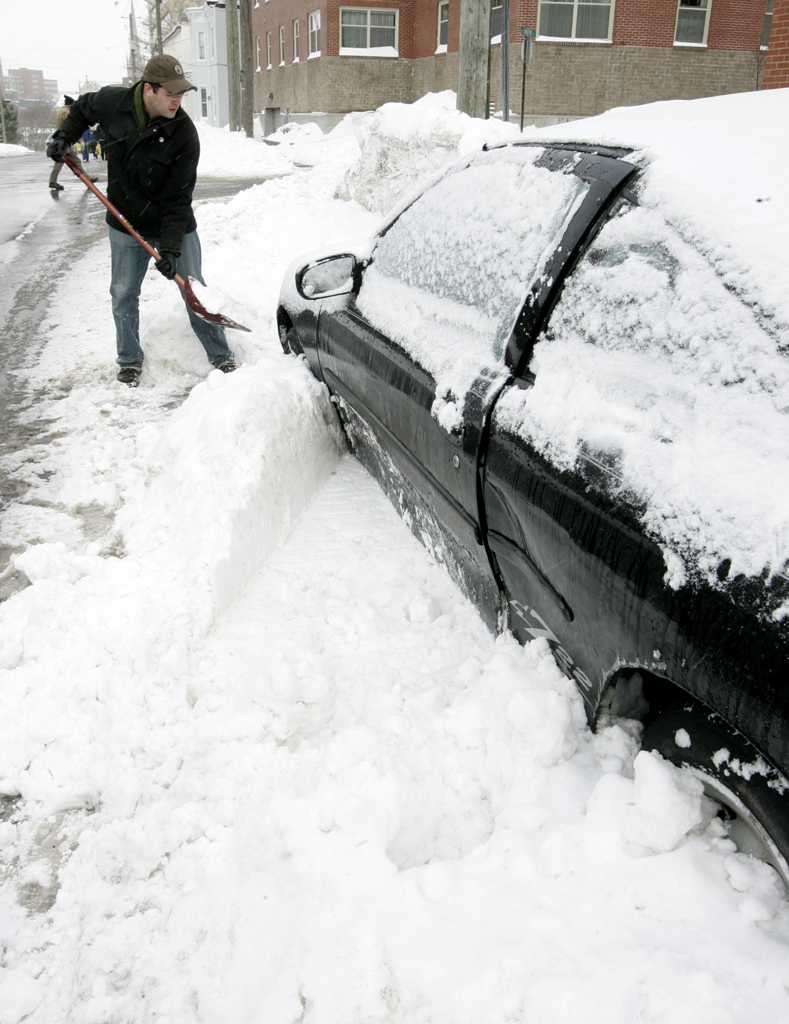
Don’t forget to look for interesting backgrounds, colors, or other elements to use in the frame to make a more interesting image.

CUTENESS
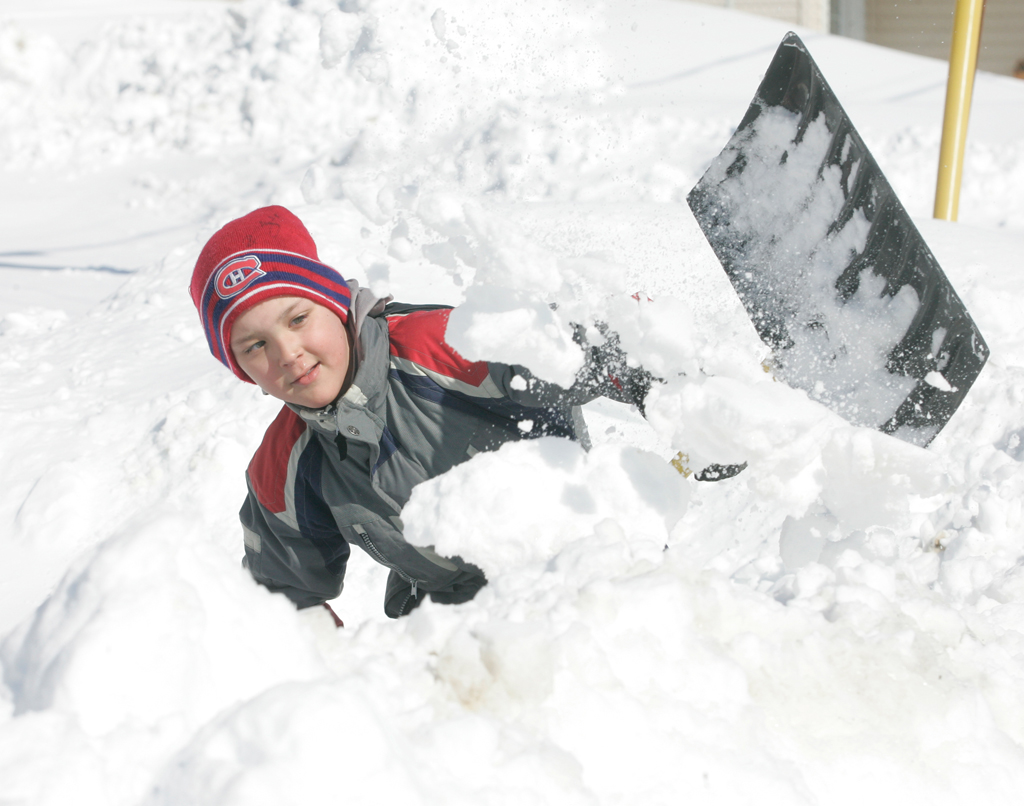
And of course if it’s kids or animals out in the storm, document all that cuteness as well!
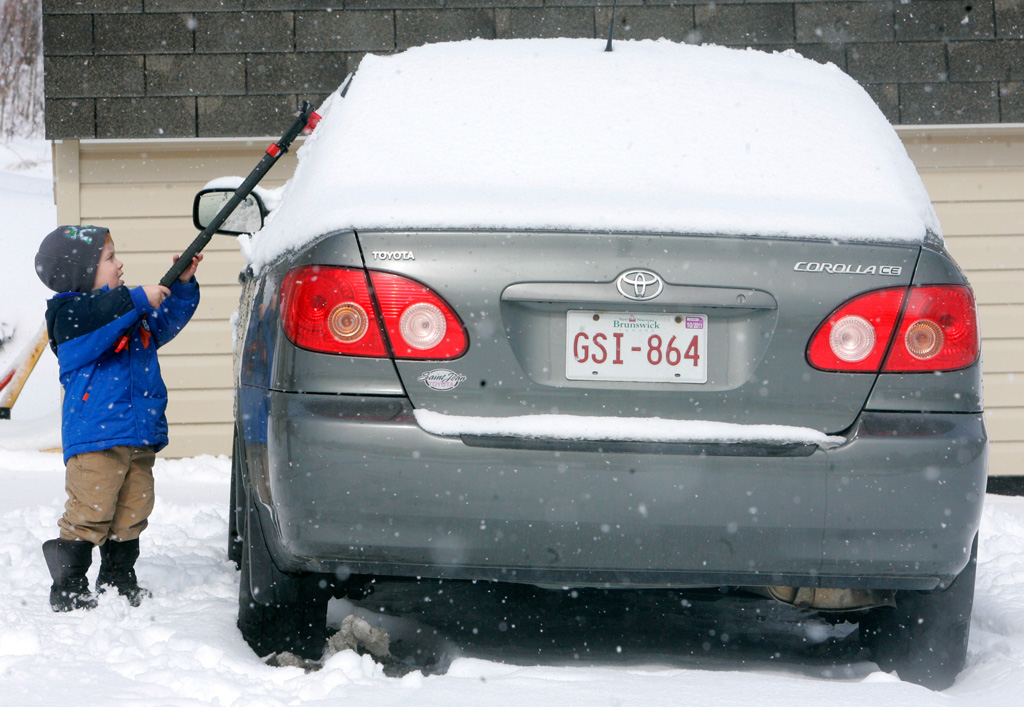
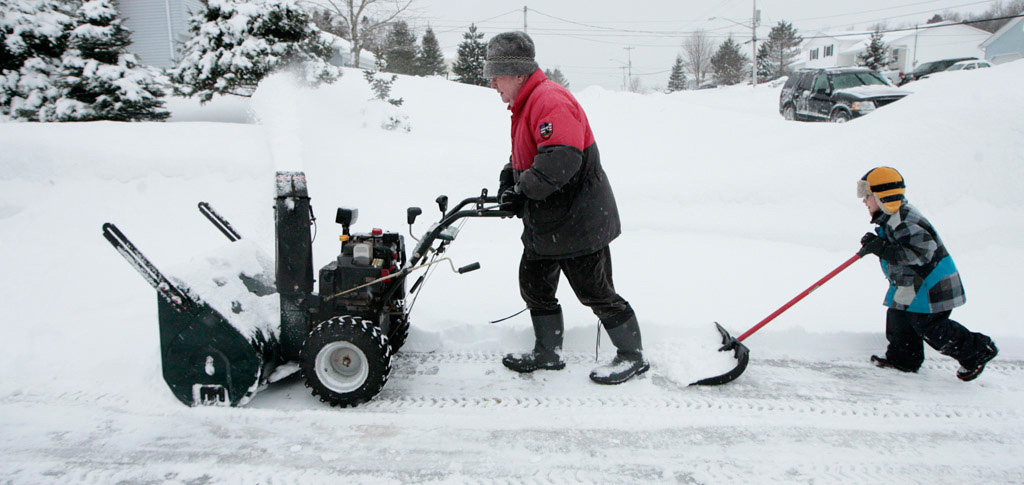
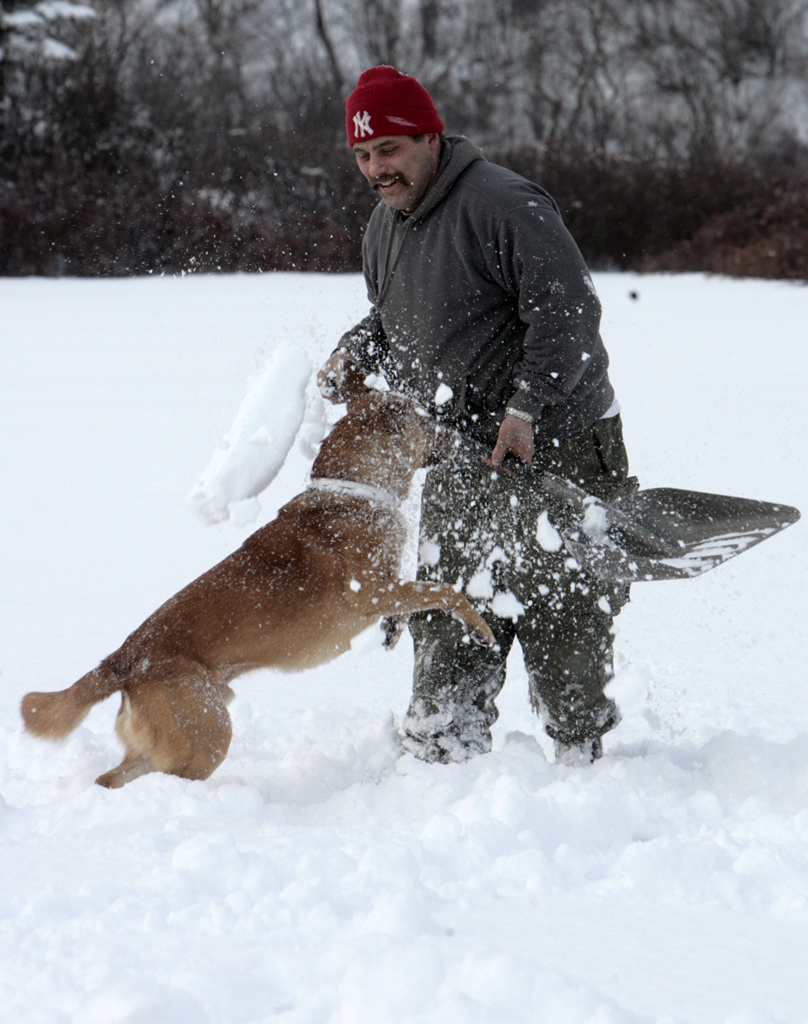
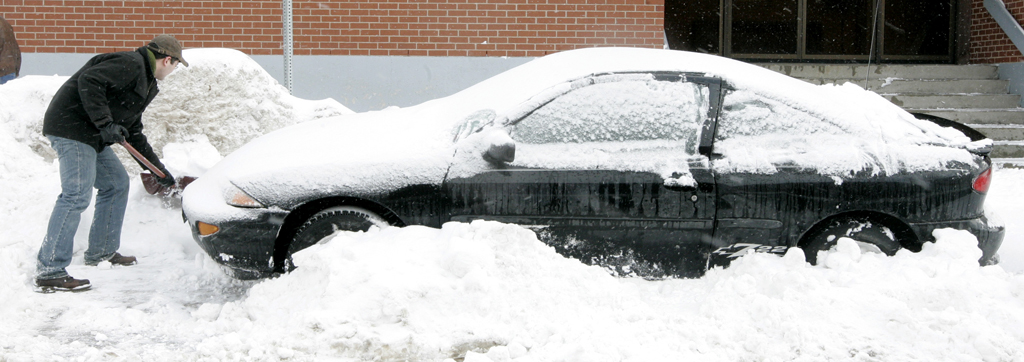
And depending on the kind of winter you’ve had…sometimes you just need to document the futility of it all…
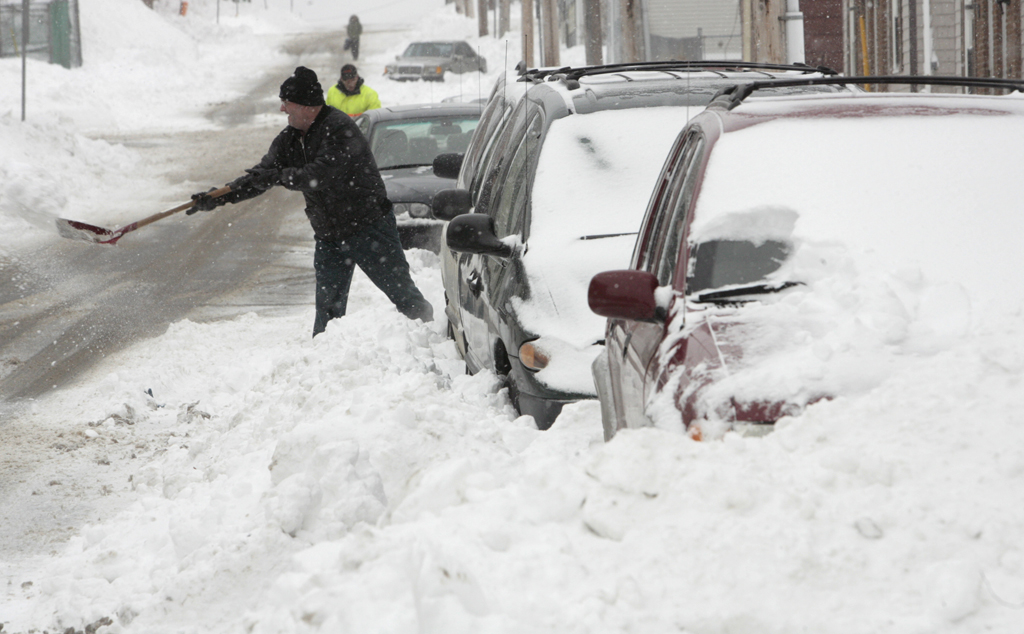
Once all the hard work is done, you can then have some fun in the snow and go sliding! Here’s some tips on photographing that.
Happy shovelling!
Want to make sure you get all the latest posts and info? Subscribe!
Noel Chenier
———-
Photographer and teacher
Connect with Noel on INSTAGRAM or TWITTER or via EMAIL
Photography Assignment Generator Apps now available on the app store!
Noel’s Portfolio
Work Done by My Students!
(645)

