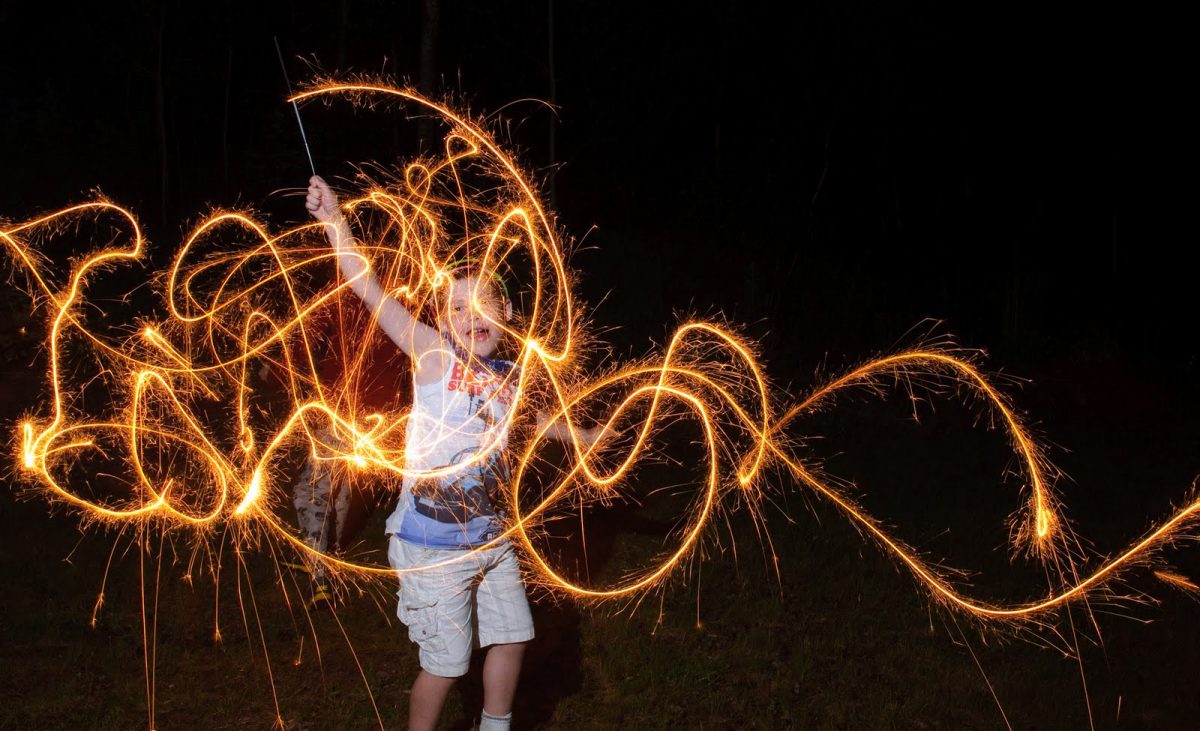
With New Brunswick Day(or whatever Province-you-are-in day) coming up, I thought I’d share some tips on getting some interesting images with sparklers!
CAMERA SETTINGS:
ISO: 400
APERTURE: F11 to start(adjust if necessary)
SHUTTER SPEED: Anywhere from 1″ and longer.
LENS: A normal lens works great, you can use wide angle if you are in a cramped space.
FLASH: External flash preferred, but pop-up will do. Being able to shoot with the flash off-camera is ever better! Because TTL will probably mess up the exposure, I’d suggest using manual power (if you have it on your pop-up)and just adjust the power level until you get the distance you want. Because you are shooting at a smaller aperture size, you’ll probably have to set the flash power to 1/4 to 1/1(full)
WHITE BALANCE: Daylight/Full Sun will make the sparklers nice and warm, Tungsten/Incandescent will take out the yellow and make them white(but if you use flash, the light from the flash will go blue). If you shoot in RAW, you can always change it after.
TRIPOD keeps the lines nice and straight
REMOTE TRIGGER (helps prevent camera shake blur, even when on a tripod)
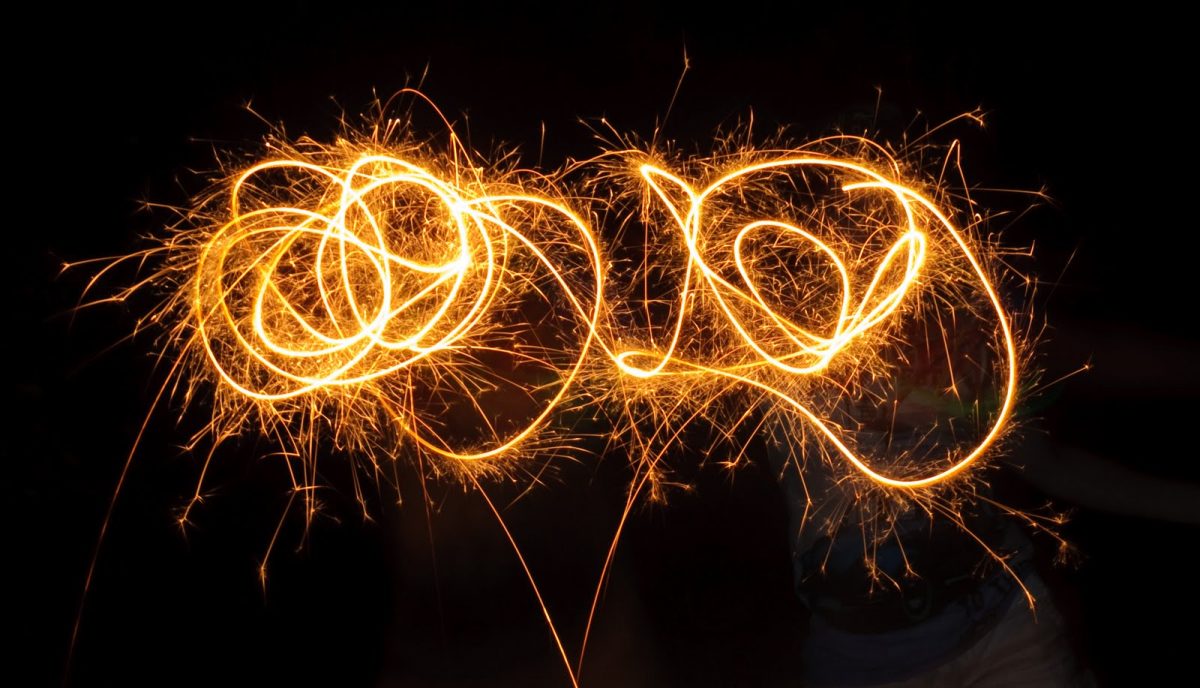
SPARKLER LIGHT ONLY
If you want just the light of the sparklers and no people in the photograph, don’t use the flash.
Set the camera up on the tripod, set the length of time you want to record the sparklers Anywhere from one second (1″) to thirty seconds (30″) is good to start. Have the person move back and forth through the viewfinder.
The only problem is if the person holding the sparkler stays in the same spot, the light will build up and you will begin to record them. They won’t be sharp either.
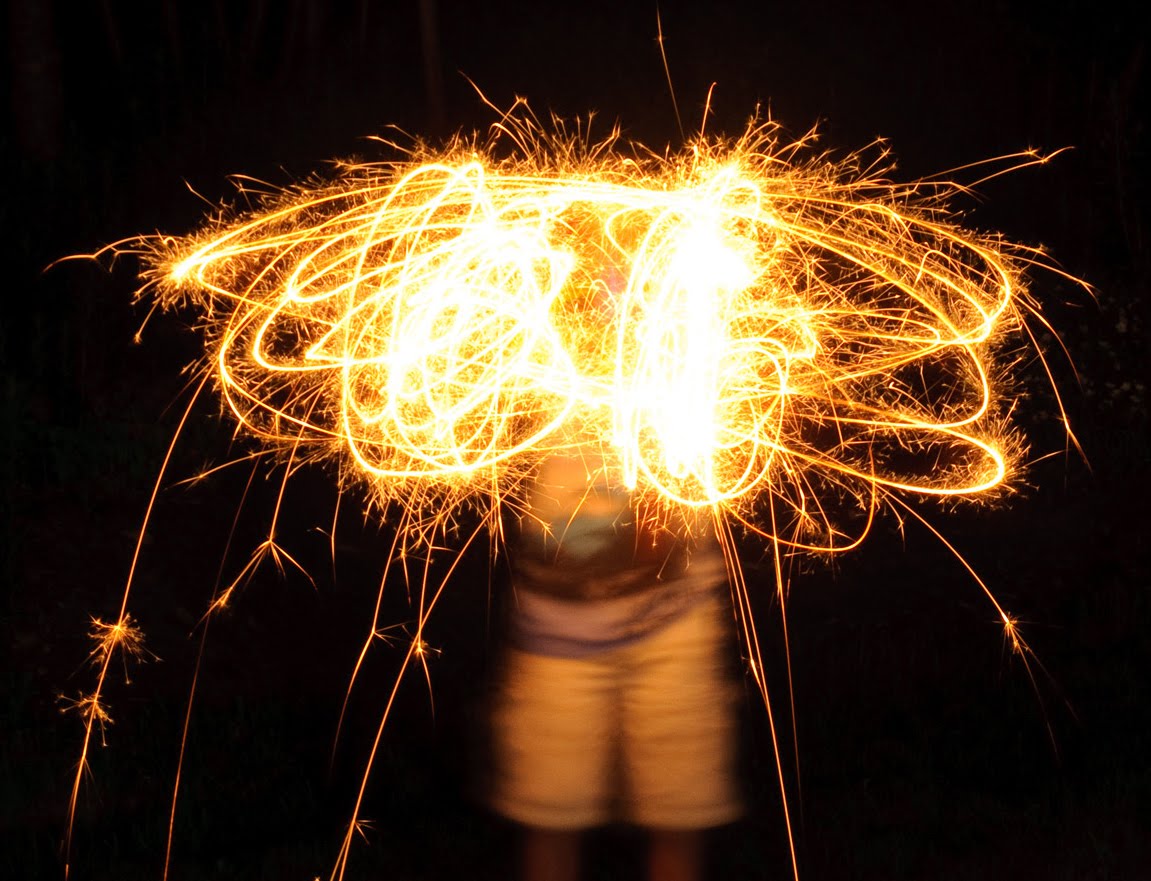
SPARKLER AND PERSON
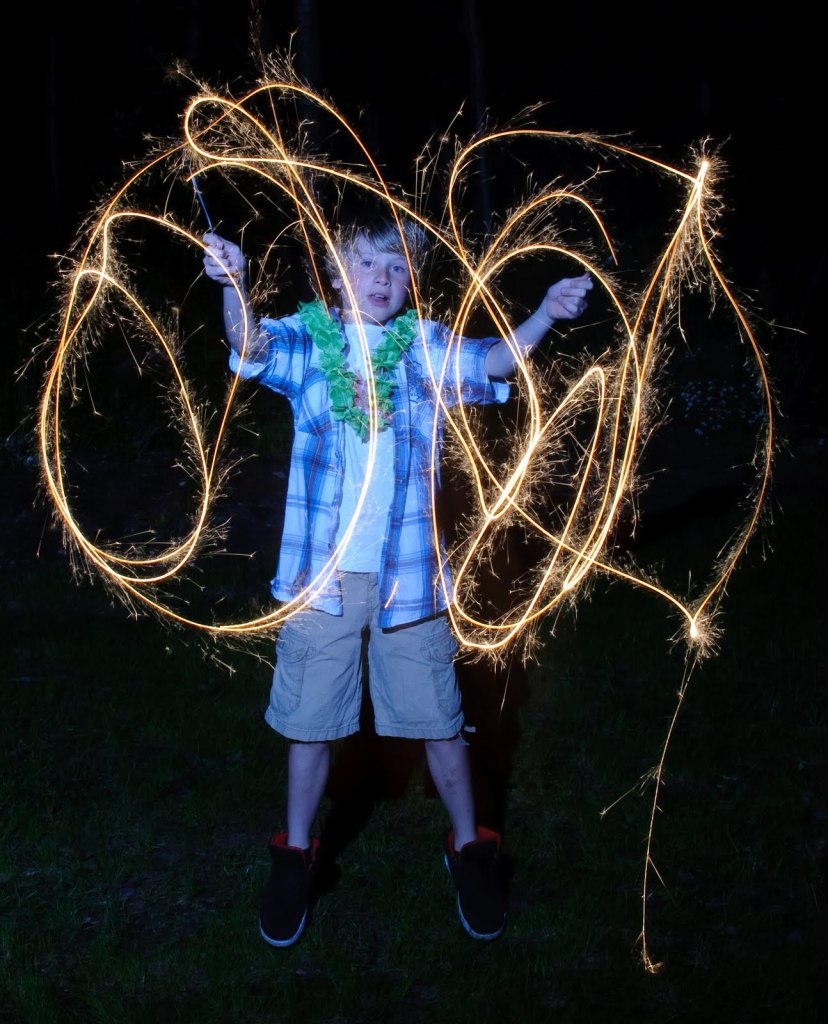
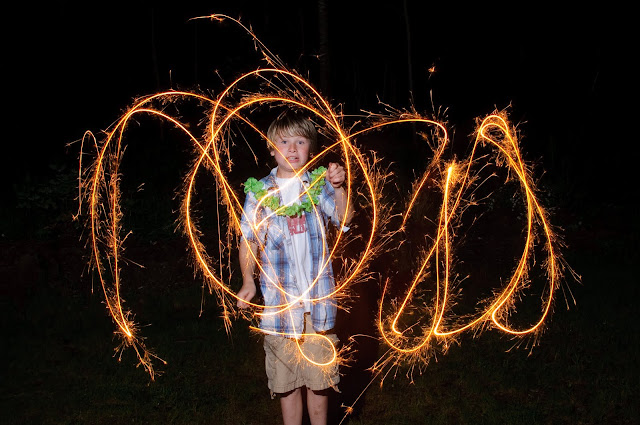
If you want to get a person with the sparkler, then you will use the same technique above, but you’ll hit them with the flash to light them up!


Even better….
SPARKLERS IN BOTH HANDS!

WHITE BALANCES
If you shoot with daylight balance, you’ll get a nice warm light with the sparklers.
If you shoot with the white balance set to tungsten or incandescent, it will take away the warmth and make the light white.
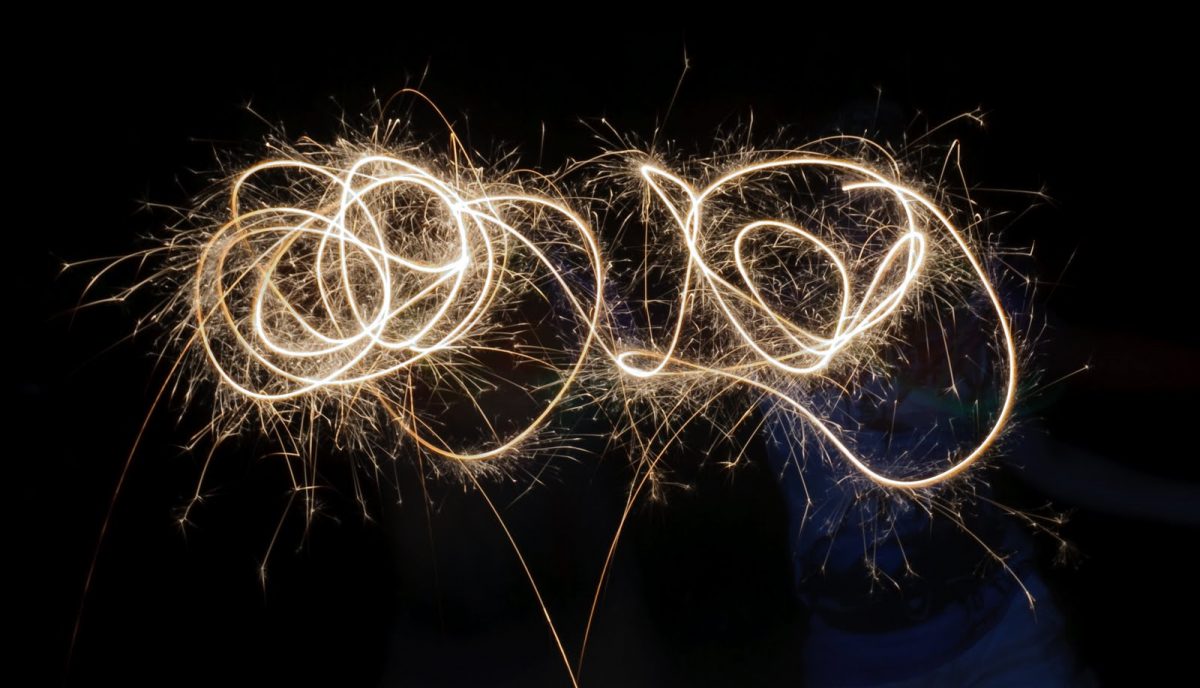
However, only use this if you are shooting just the lights, because it will turn the light from the flash blue as the flash is balanced for daylight.
ANOTHER FLASH TIP!
One of the things you will want to do is make sure your camera is set to fire the flash at the END of the exposure, not the start.
This is usually marked as REAR on Nikon (usually found under your flash mode), SECOND CURTAIN sync on Canon’s (usually found under your flash control or custom functions)
That way you will have the lines of sparklers first, then the flash will light the person at the end of the trails. Below left is with front or first curtain sync, so the flash lights the person up at the start. Below right is on rear or second curtain sync, so the light trails are recorded first, then the person.
Noel Chenier———-
Photographer and teacher
Connect with Noel on INSTAGRAM or TWITTER or via EMAIL
Photography Assignment Generator Apps now available on the app store!
Noel’s Portfolio
Work Done by My Students!
(1300)

