
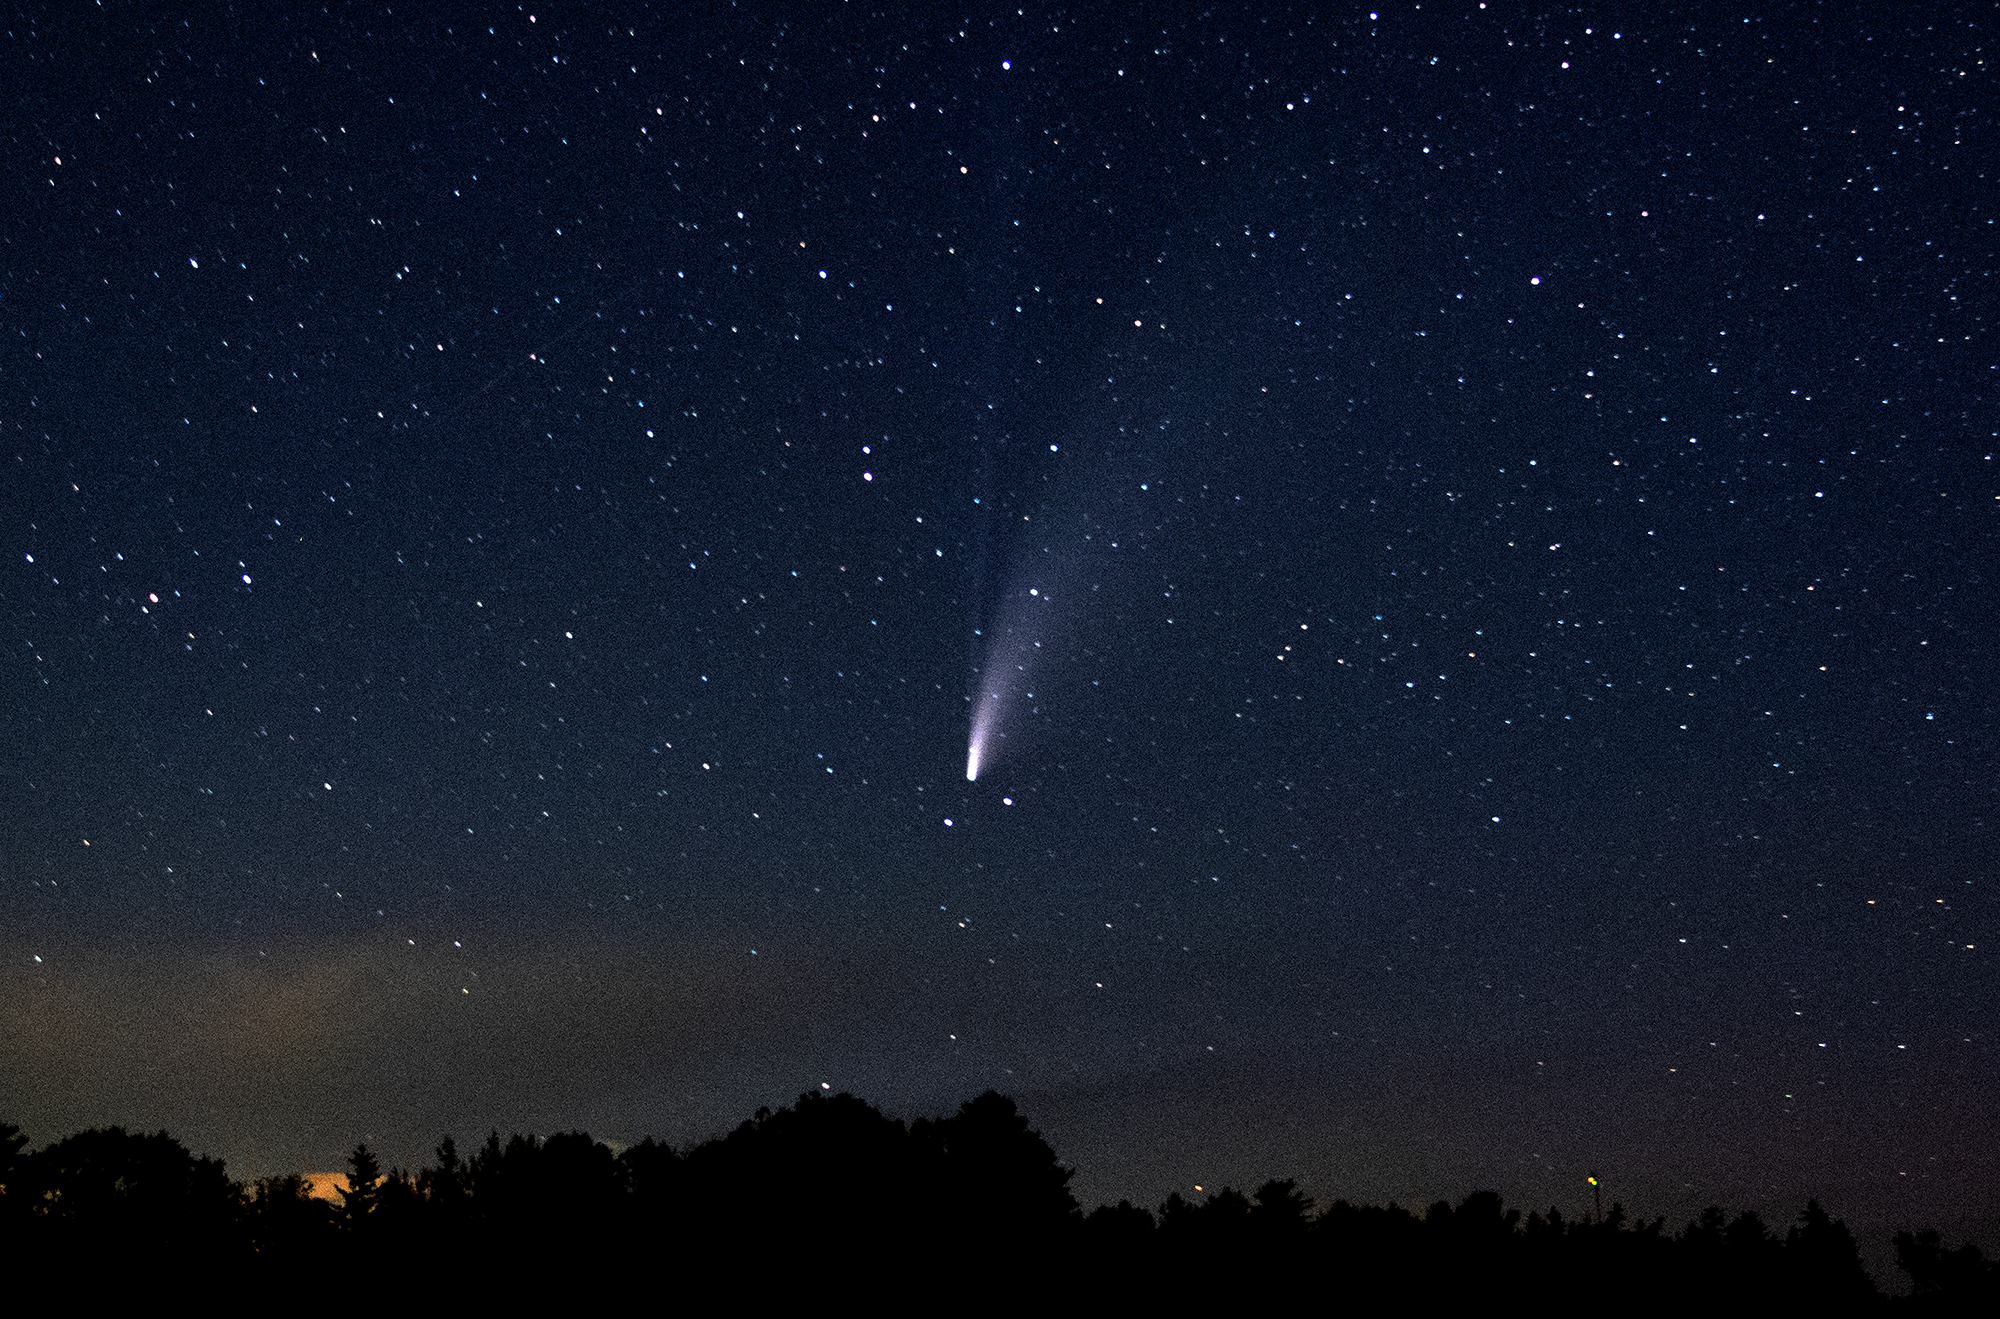
Comet C/2020 F3, AKA “NEOWISE” is gracing out sky for the next week. If you wanted to try to photograph it, I’ve got some tips for you. Now will be your only chance, since it won’t come back for another 6,800 years!
ABOUT THE COMET:
It was discovered on March 27, 2020 by NASA’s Near-Earth Object Wide-field Infrared Survey Explorer (hence the name NEOWISE) For more info on Neowise, check out this article on EarthSky.org. The night of July 22nd it will be it’s closest to the Earth.
CAVEAT
It’s not going to be easy to get a super HIGH QUALITY photo of the comet, as you will discover reading through these tips. The comment is not very bright, and unless you have very expensive lenses and other specialized equipment, you will have to use a very high ISO to record it. But I’d still say go ahead and do the best with what you have! They’ll look fine on social media.
PRE-SHOOTING PREPARATION:
Charge your batteries fully before going out. It might be a bit colder at night, and that can affect battery life. Just in case, bring some warm clothes, a hat, and gloves. Bring some hot beverages, some friends, and make it a fun outing! At least you’ll have someone to talk to between exposures. Might also want a chair to rest as you shoot.
Also bring a flashlight or LED keychain light so you can see what you are doing when changing your settings. A headlight looks dorky, but it let’s you works with both hands.
WHEN/WHERE TO GO AND SKY CONDITIONS:
The comet will be visible an hour after sunset.
You want to be as far away from the City/Town as possible to reduce the amount of light pollution.
Find a dark road out in the country somewhere far away from street lights.
Obviously it has to be a clear night that you can see the sky.
It’s also good to be at the highest altitude you can get.
If you want to try to plan your shot with a specific location or subject in the foreground, use an app like Sky View for IOS or Android or Sky Guide. It will allow you to determine where objects like constellations, planets, etc will be located at different dates/times.
FINDING THE COMET
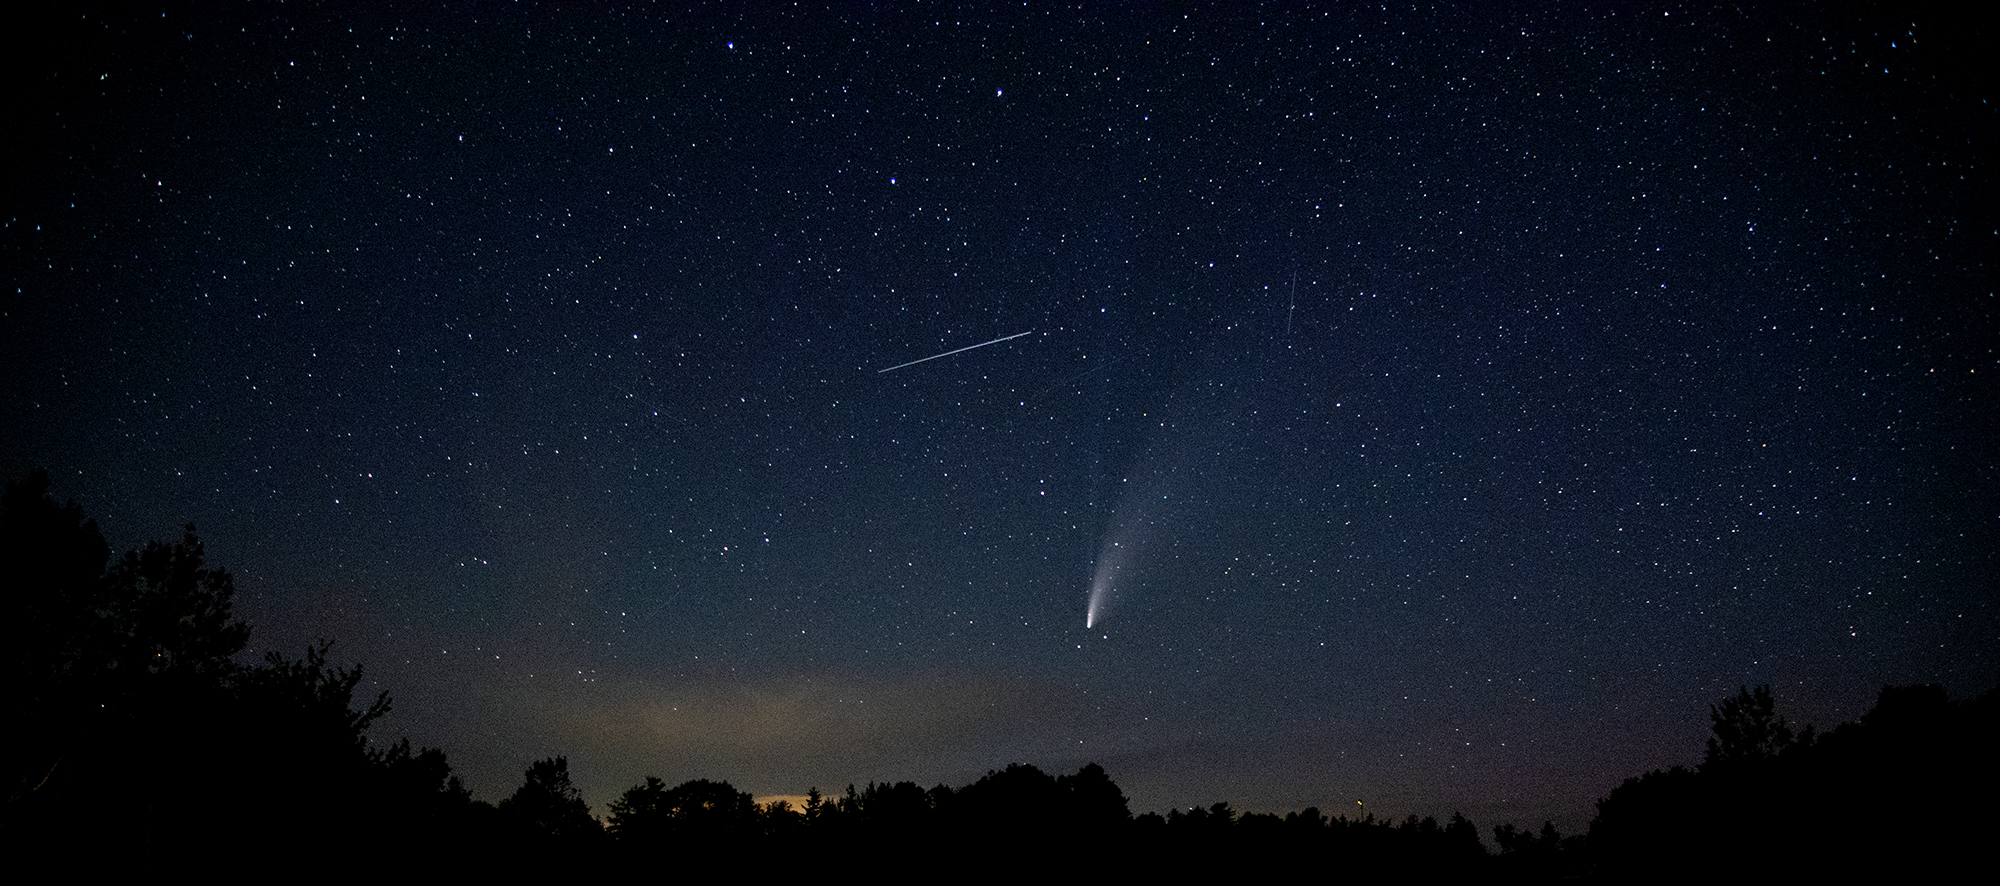
The comet will be visible in the North Western sky. On the night of the 20th it will be located directly below the Big Dipper and each night after look for it below and to the left.
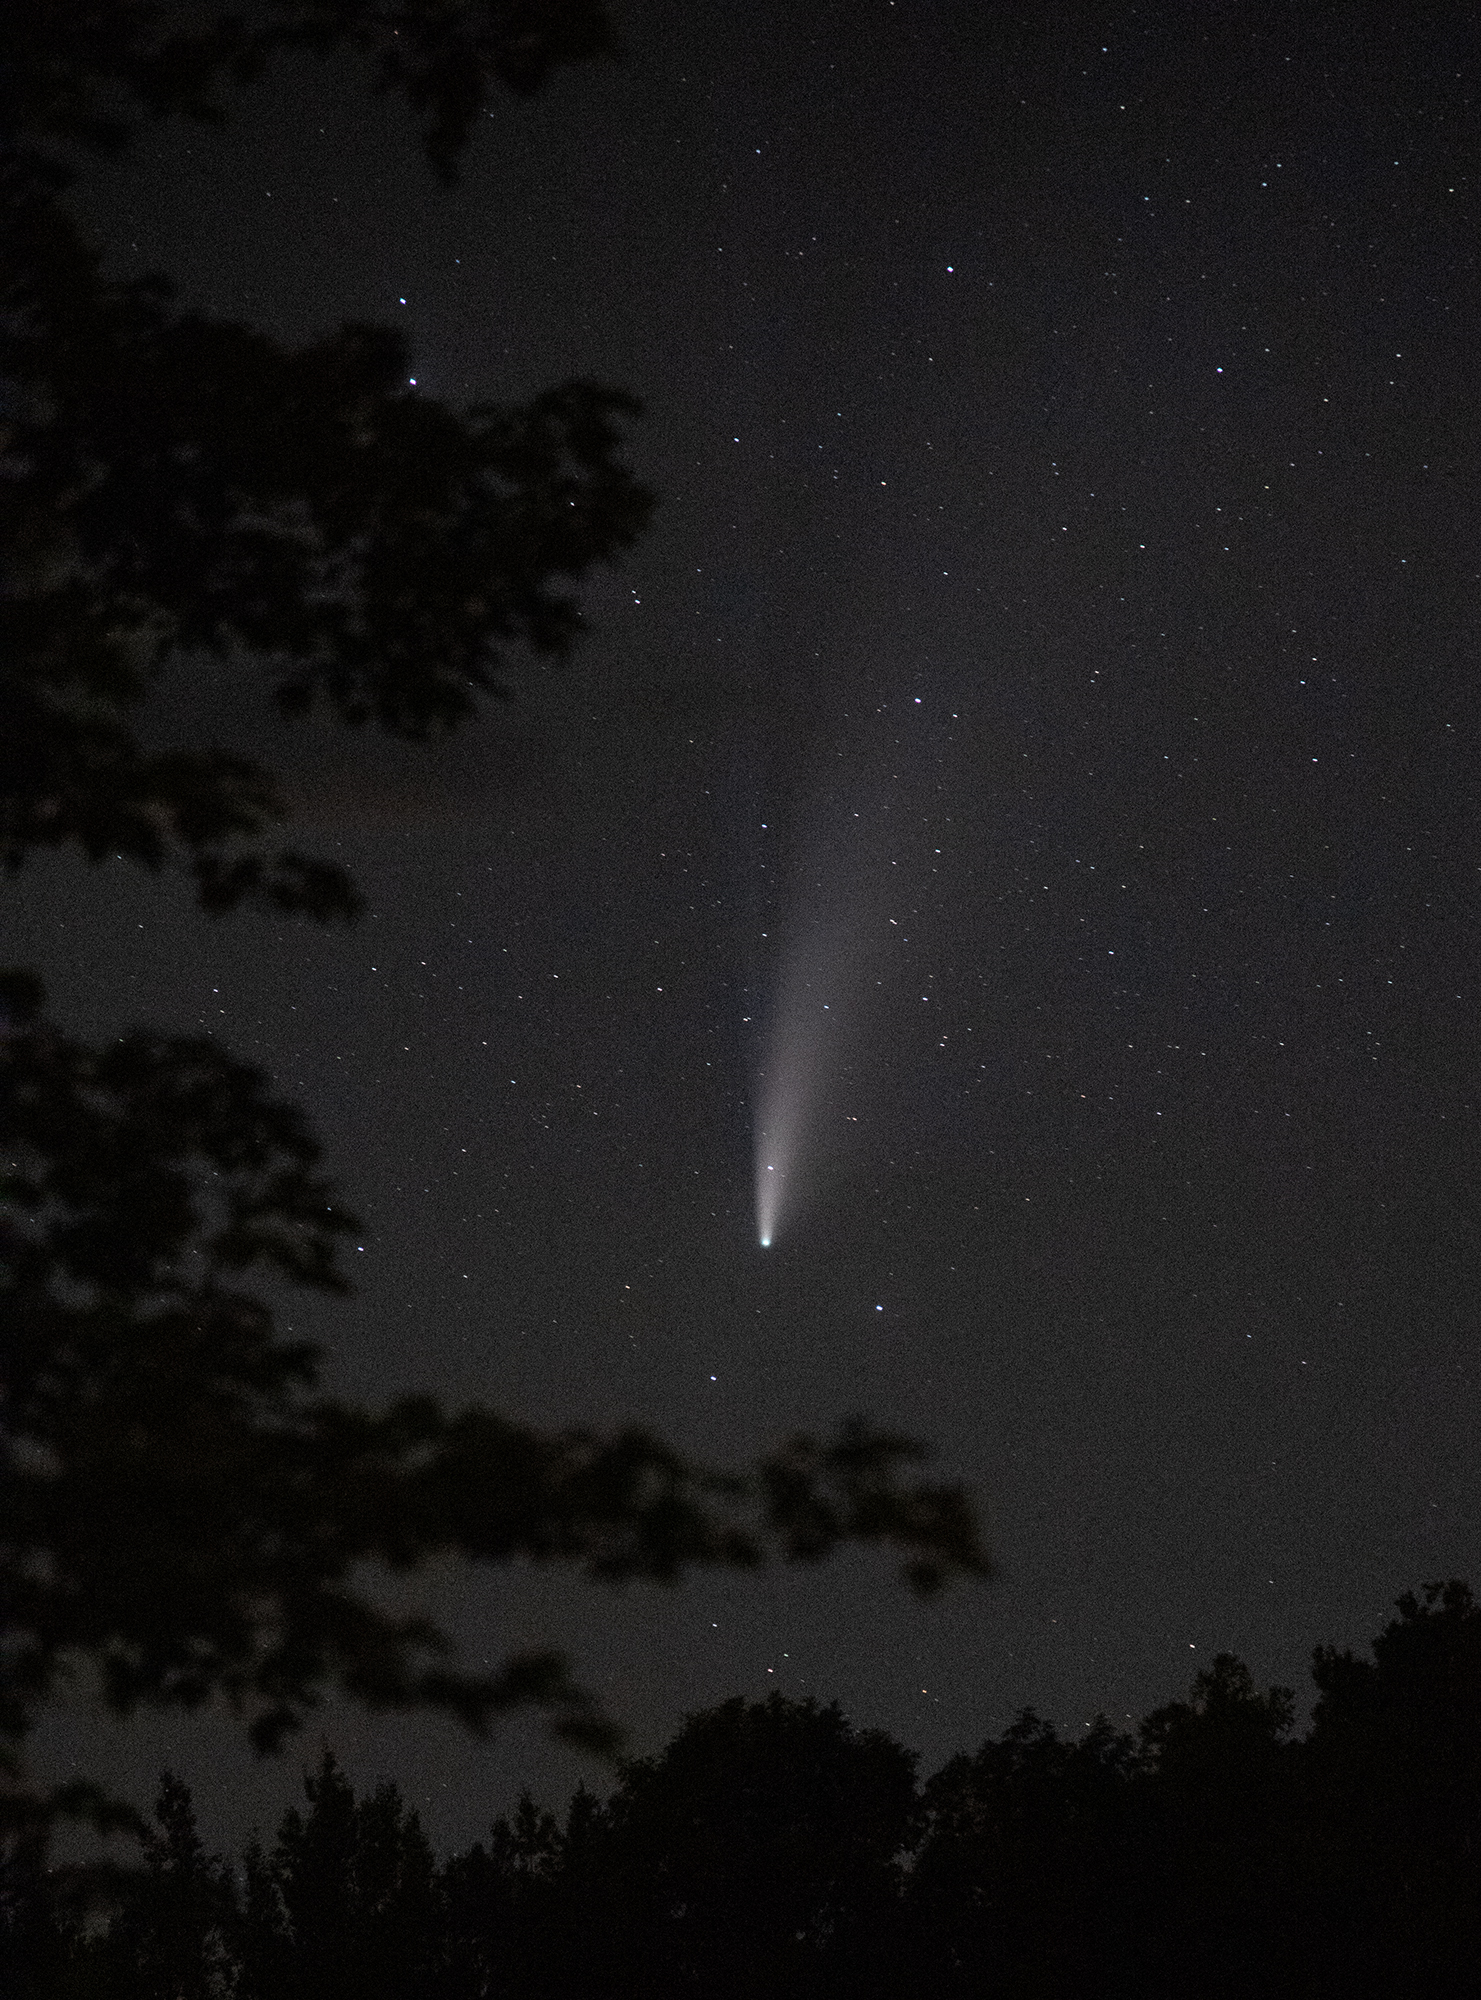
It will not be visible to the naked eye, it will appear as a fuzzy light object. A pair of binoculars might help spot the comet.
An easy way to find it is to just take some test shots with long exposures (explained below) to find it’s location.
DO I NEED A TRIPOD?
YES and the heavier the better!
REMOTE/CABLE RELEASE
Always better to use a remote control or cable release when shooting long exposures on a tripod, as it will ensure there is no pontential camera shake from pushing down the shutter button.
VR/IS/OIS
If you have any form of stabilizer on your lens, make sure you TURN IT OFF! When using a tripod, the stabilizer might actually create blur.
ISO:
If you have a wide aperture lens like a F1.2 to F2.8, start with 400 ISO and see how much detail you can pick up. If you aren’t getting enough details or don’t have a wider aperture lens (F4 or lower), try 800 ISO and then go higher if necessary. If your widest aperture is F5.6, be prepared to jack it up to 6400.
LENS:
A wide angle lens 10mm-35mm will provide a wide range of stars, but a smaller comet.
A normal lens 50mm you can get a bit of landscape/stars and a bit bigger comet.
Shorter telephotos like 70mm-135mm
Larger telephotos like 200mm or higher can get you much closer to the comet…but cause other issues (see below under shutter speeds).
WHITE BALANCE:
I would suggest shooting RAW, and then playing with the white balance if needed.
If you are shooting JPEG, do a test using DAYLIGHT/FULL SUN and see how it looks. If you do have things lit up by ambient light around you(like street lights, etc) you may want to use TUNGSTEN/INCANDESCENT instead, but it could make the sky go a bit too blue.
MORE TIPS BELOW!
I hope you find these tips useful! If so, it would be awesome if you would check out my LearnPhoto365 Photography Assignment Generator Apps on the app store and the Google Play store, a unique photography app that's meant to inspire you to take great photos!
 Perfect for anyone taking part in a Photo 365 challenge, there are over a hundred individual assignments and hundreds of thousands of potential random ones. Versions available for both iOS and Android including free versions so you can try them out! Full details, including reviews and tour videos of the apps can be found at www.learnphoto365.com/apps Even if you only download the free version that would help get it up the app store lists!
SHOOTING MODE:
This has to be MANUAL(M) as you need to set both the shutter speed and aperture. Your camera cannot meter properly for comet, or the stars!
SHUTTER SPEEDS:
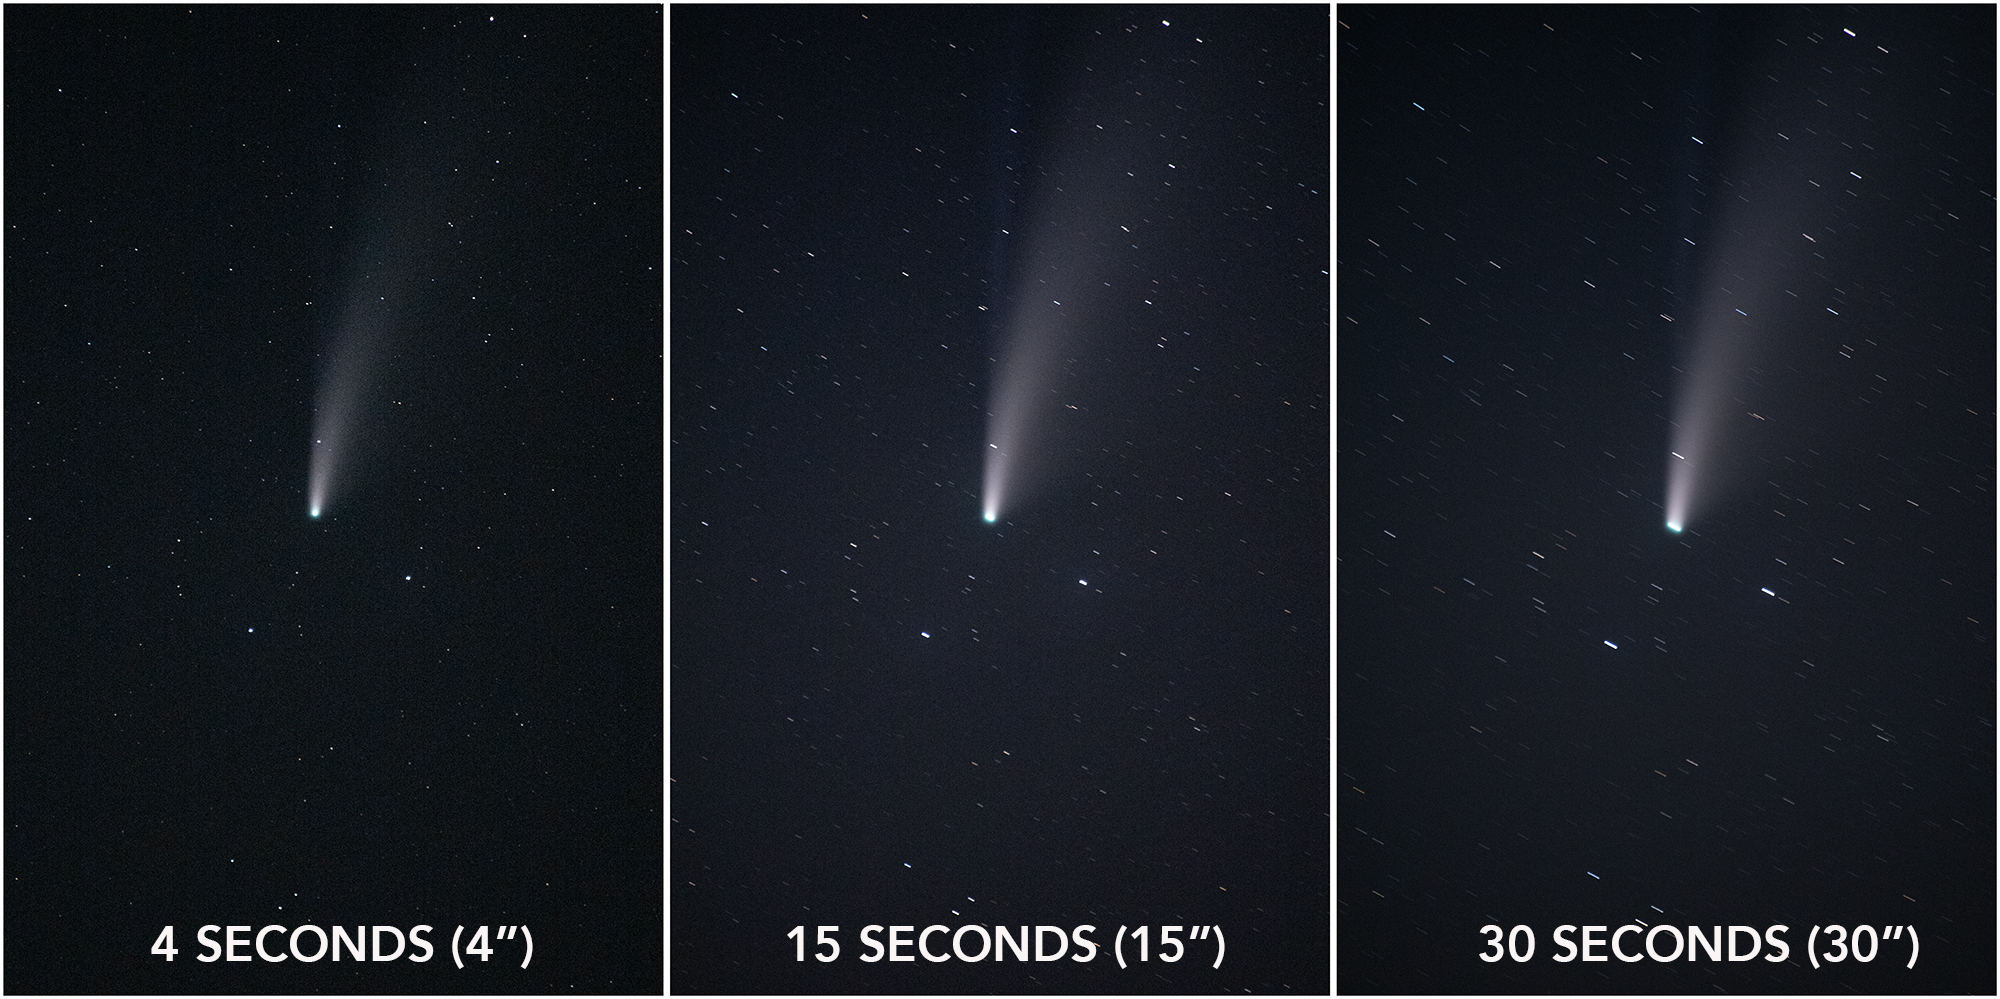
The longer the speed you use, the more the comet will be exposed, and the more stars you will get.
However, if you go too long, the stars will begin to form trails as the Earth rotates.
The other wrinkle is the lens you use. If you use wider angle lenses, you can use longer speeds, as the rotation isn’t as visible. If you use a zoom lens, your times will be much shorter as the movement will be exagerated when you are zoomed in.
To figure out how to long to shoot the stars without getting trails, you can use this general guide.
Divide 600 by the length of your lens, and that is how many seconds you should use.
For example, if you are using a 17mm lens, 600/17mm= 35 seconds. A 50mm lens would be 12 seconds (600/50=12). If you are using a 300mm lens, it would be 2 seconds. (600/300=2).
However that is just a guide, and I would suggest trying different speeds.
However, you can buy special equipment that will allow you to mount the camera and track the stars to counteract the Earth’s rotation. They are called “Equatorial Mounts”, and they aren’t cheap…but like any specialized area of photography, if it’s something you are serious about, you’ll invest money in it. They will allow you to use much longer exposures with your astrophotography. Here’s one for $400.
APERTURE/F-STOP:
Use your widest aperture (smaller number) to let in as much light as possible. Again, if you have a lens that has a really wide aperture(1.8/2.8) that is even better! A wider aperture will allow you to use shorter shutter speeds as well as potentially lower ISO’s to get better quality images.
FOCUS:
You have to use MANUAL focus and focus on the stars yourself.
However, you may find it hard to see them in the viewfinder, as your display will blind your eyes.
You will need to wait for it to go to sleep and shut off, then try to focus.
Even then, unless you have a really wide aperture lens, you may not be able to pick them out.
If you can find the brightest star in the sky, try focusing on that, then repositioning the camera.
If you still can’t pick out the stars, I’d suggest seting the focus on the lens to “Infinity” (the little looping symbol) and do some test shots. If the stars aren’t sharp, move the focus slightly and keep shooting until they are.
You could also try live view, but again, it may not pick up the stars.
OTHER SHOOTING TIPS:
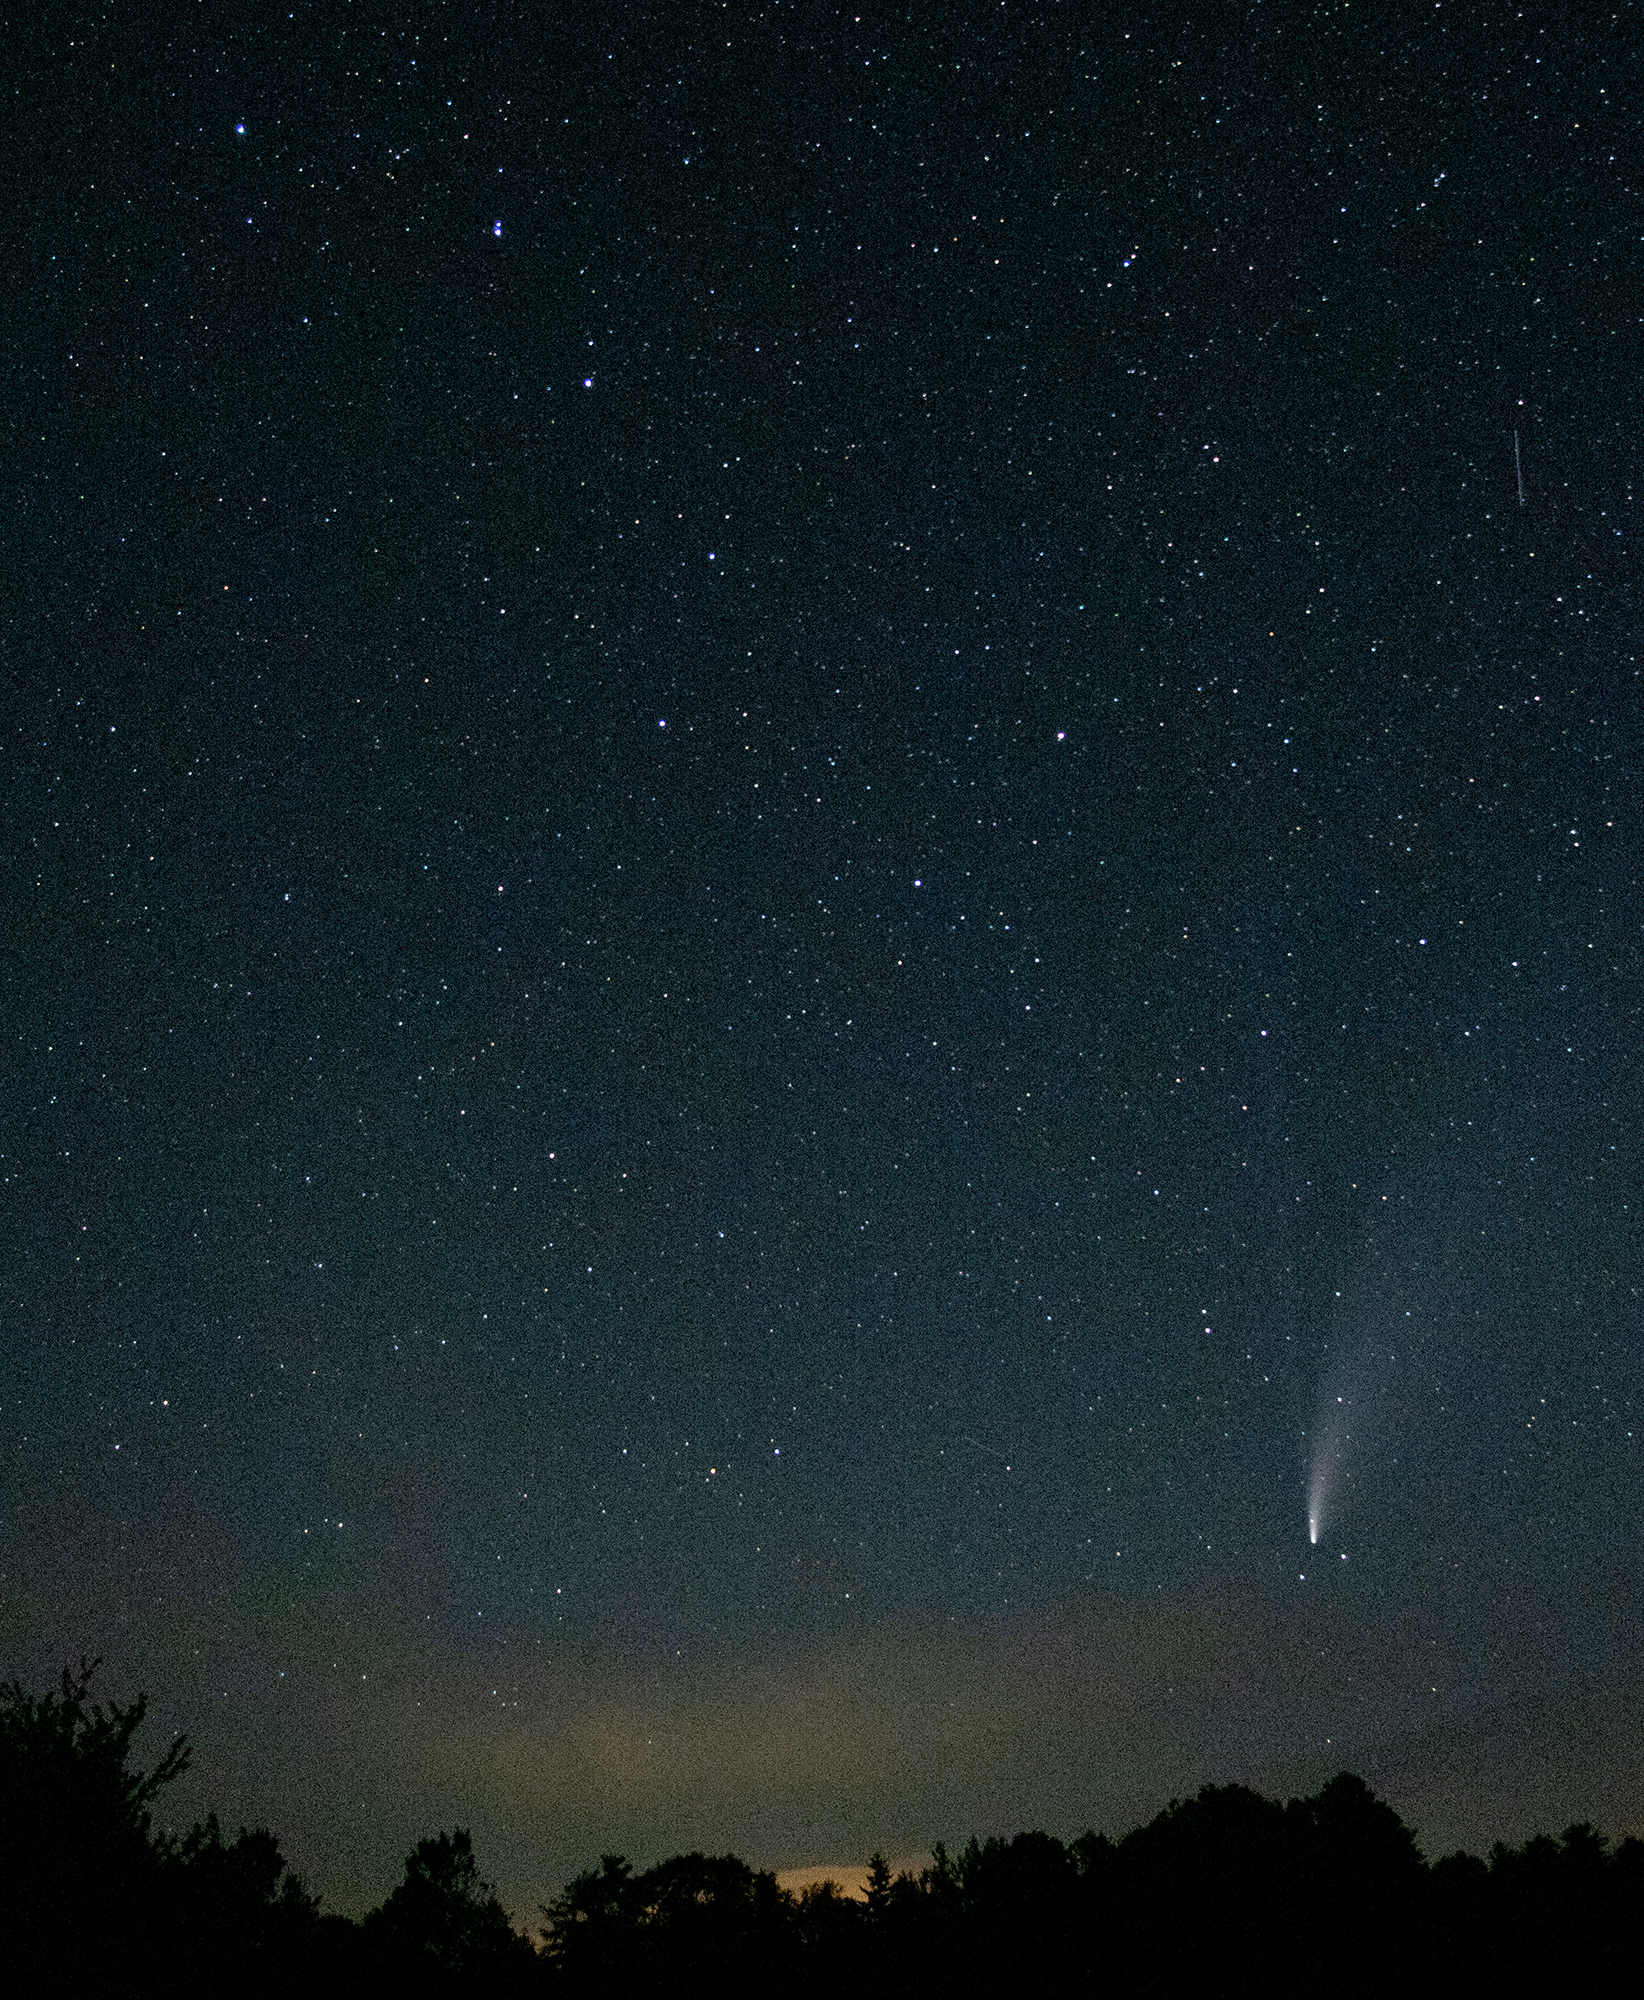
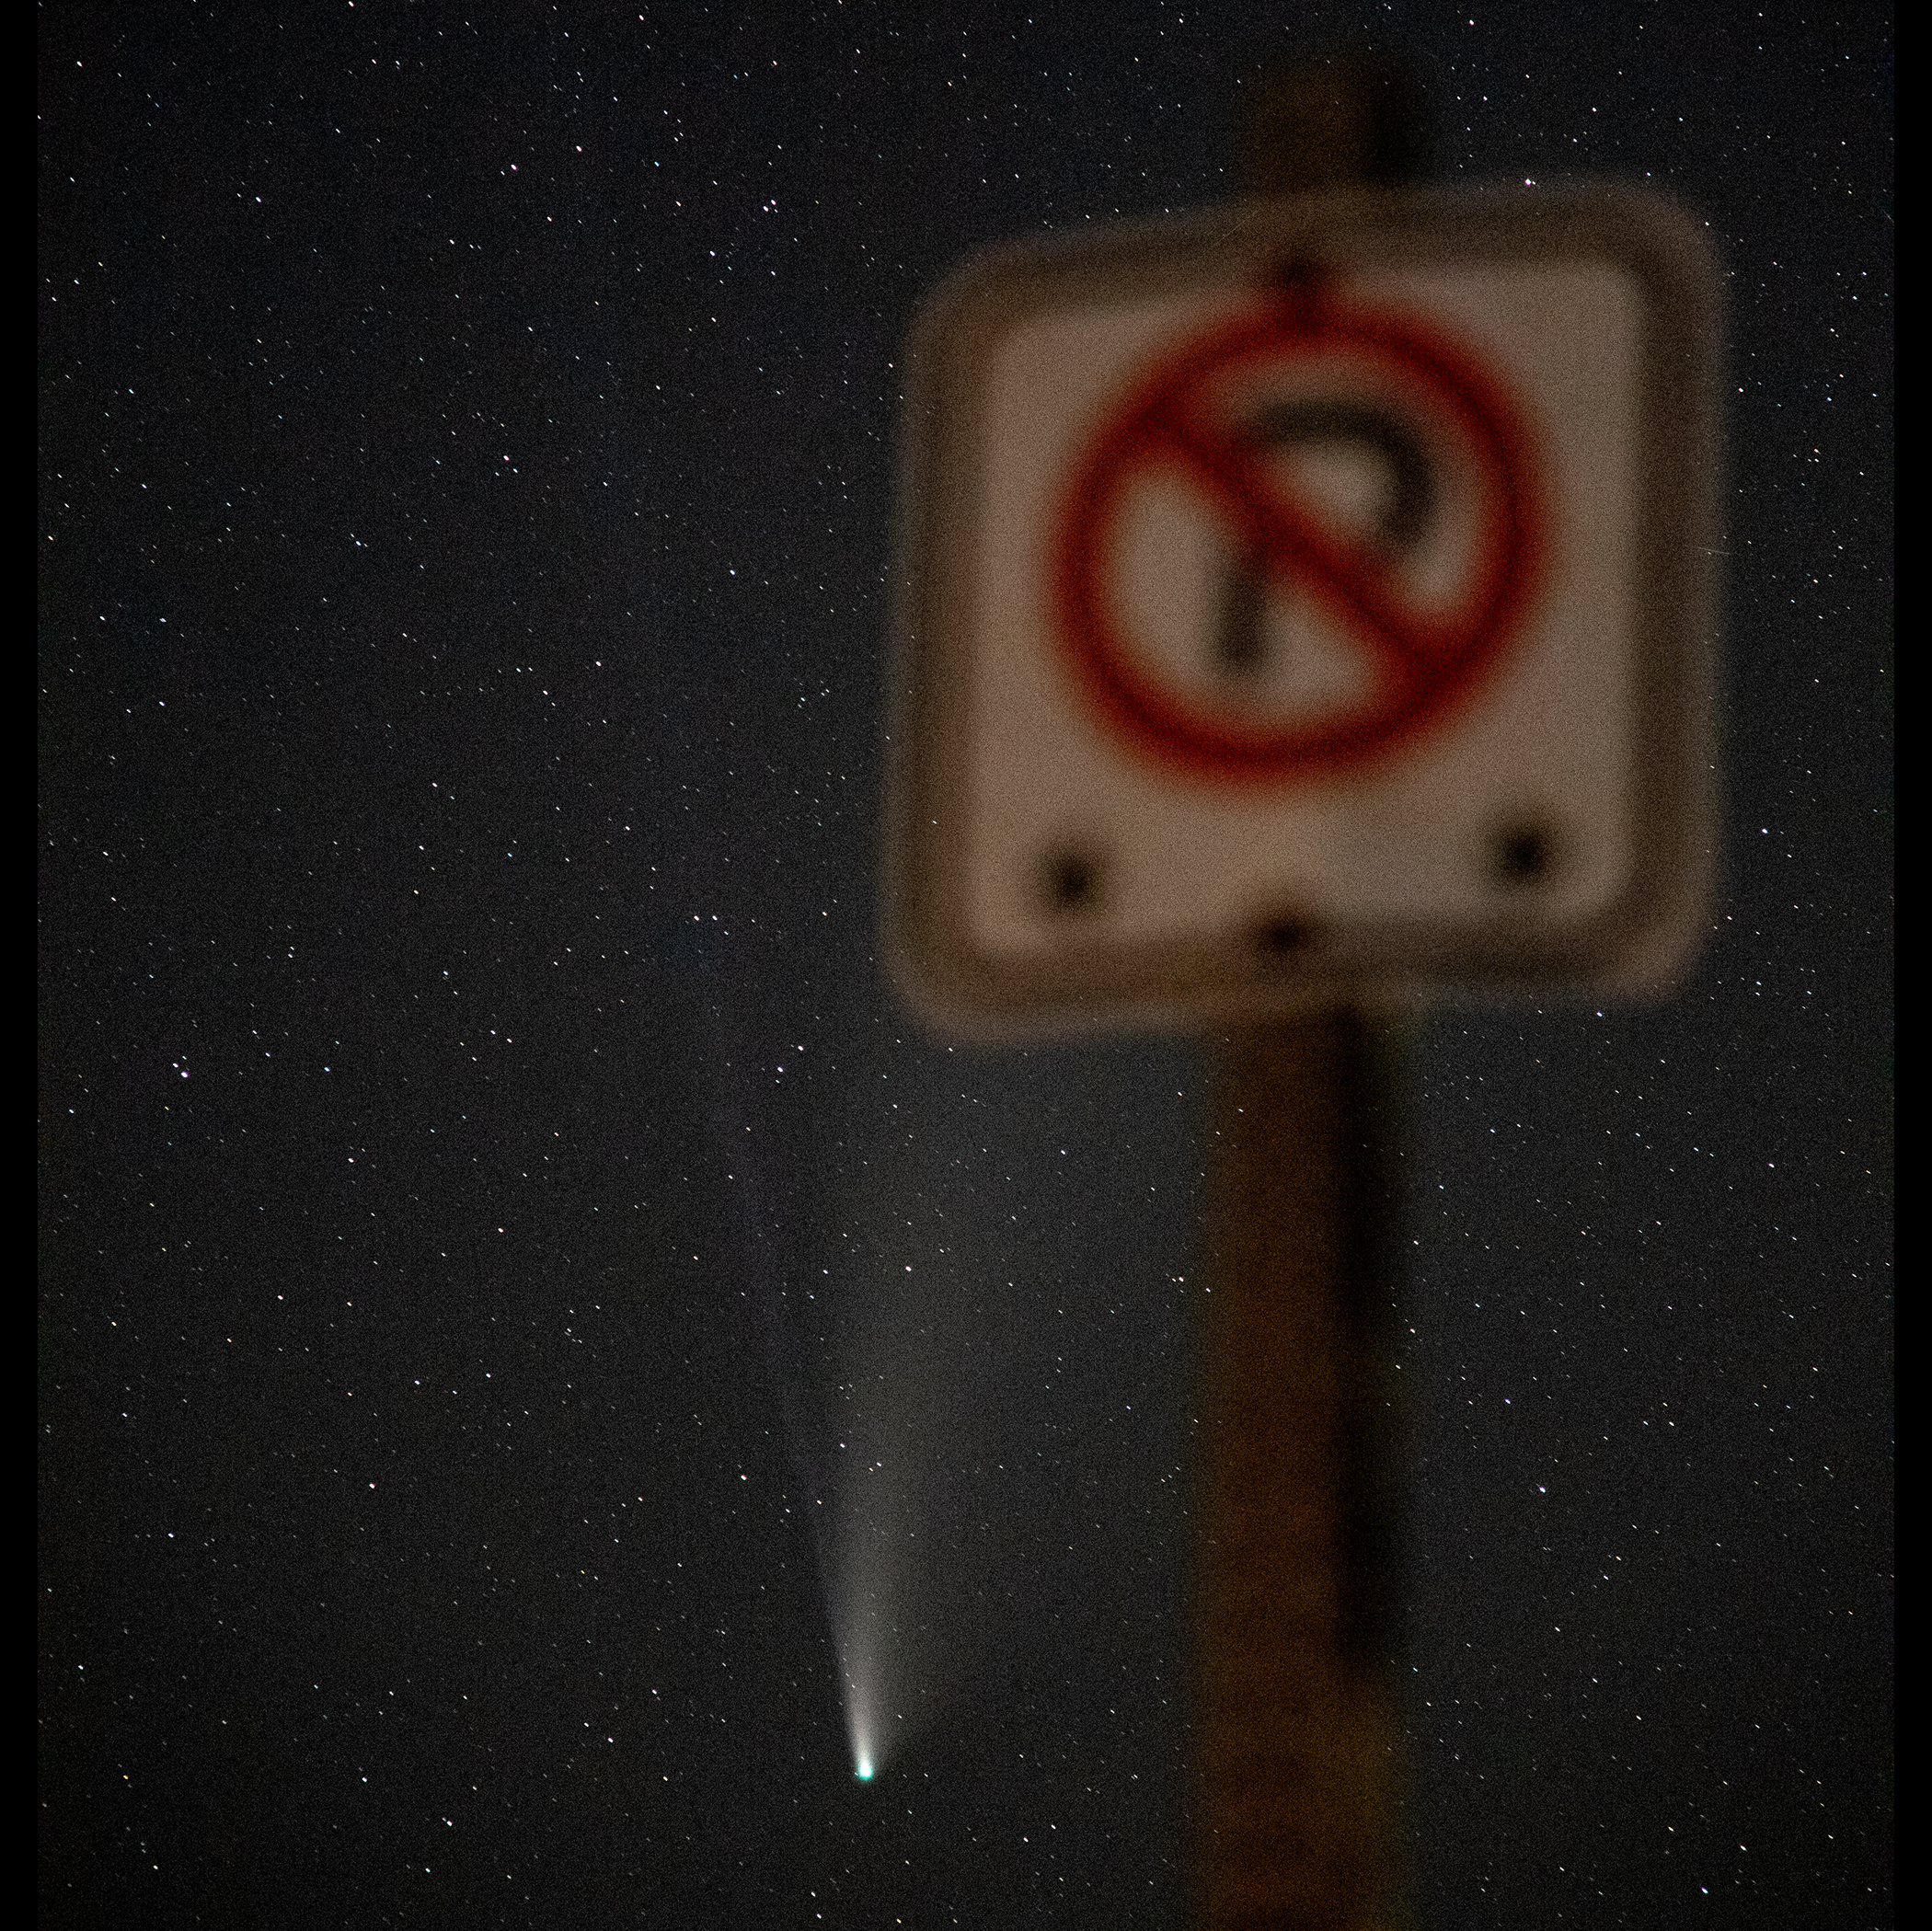
-If you want to include trees, mountains, the horizon, etc they will provide an interesting silhouette shape and scale, or a nice framing element.
-As seen below, you may also get other flying objects moving through your frame, like planes, satelites, or….aliens…
-If you want to try to plan your shot with a specific location or subject in the foreground, use an app like Sky View for IOS or Android or Sky Guide. It will allow you to determine where objects like constellations, planets, etc will be located at different dates/times.
Good luck shooting! If you have any questions, please don’t hesitate to reach out via EMAIL !
Want to make sure you get all the latest posts and info? Subscribe!
More Photo Tips
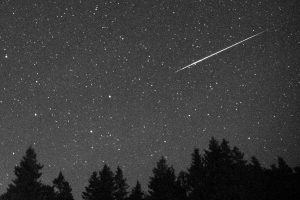
“Unicorn” Meteor Storm Alert!
For a short period on Thursday night/early Friday morning we might be treated to a METEOR STORM know as the Alpha Monocerotids. For a very short window, you might be able to see almost 100 meteors in the 15 minute peak! So get out your tripods, bring a mug of …
How to photograph the perfect silhouette
Anyone who knows me won’t be surprised by the title of this blog entry! I can shoot anywhere from ten to thirty silhouettes a year, easy. The one above is one of my favourite photographs I’ve taken. It is of a member of the 2nd Royal Canadian Regiment in downtown …How To Photograph The Perseids Meteor Shower
The annual Perseids Meteor Showers is peaking the mornings of August 12-13th! So get out your tripods, bring a mug of coffee, grab some friends, and go shoot them! Here’s some tips on how! (2141)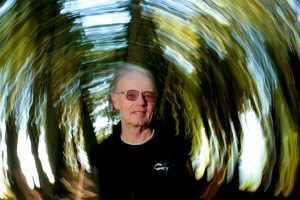
Story Behind the Photo-Freeman Patterson
Many people ask me about how photographs I’ve done were taken. Lots of interest in the techniques or technical aspects. The Story Behind The Photo series answers those questions! This one is a portrait of world renowned photographer Freeman Patterson. If you see any shots of mine that you are …How To Photograph The Geminid Meteor Shower
The annual Geminid Meteor Shower is peaking on overnight on December 13 and 14th (Sunday evening until dawn Monday!) It’s the busiest one, and this year there will be NO MOON so viewing will be amazing! So get out your tripods, get a cup of coffee, and go shoot them …
(298)