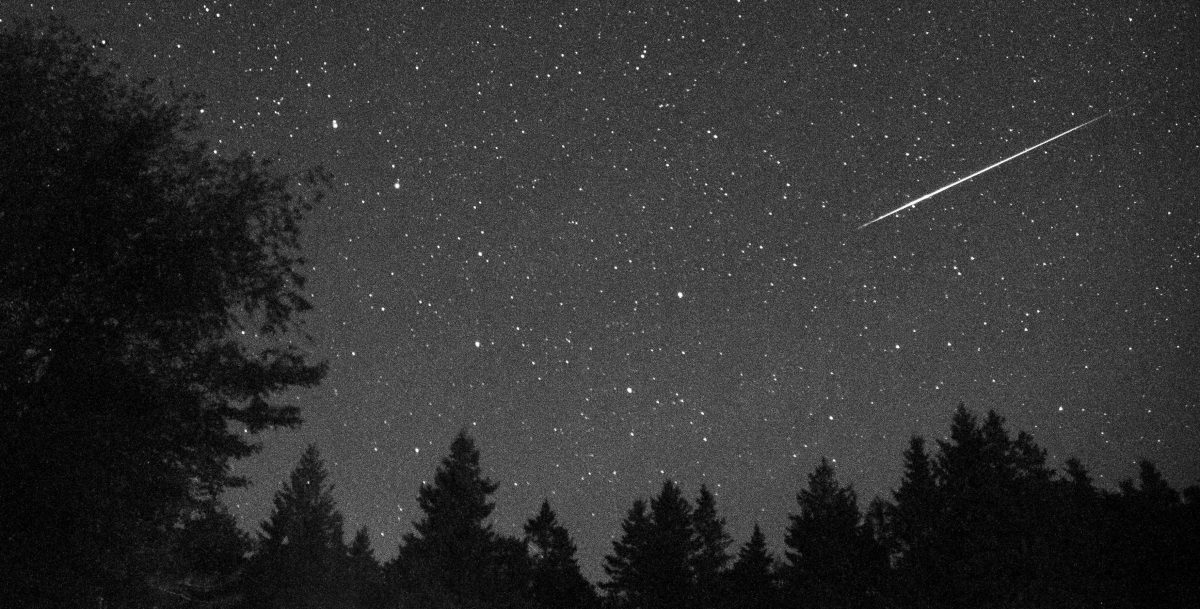
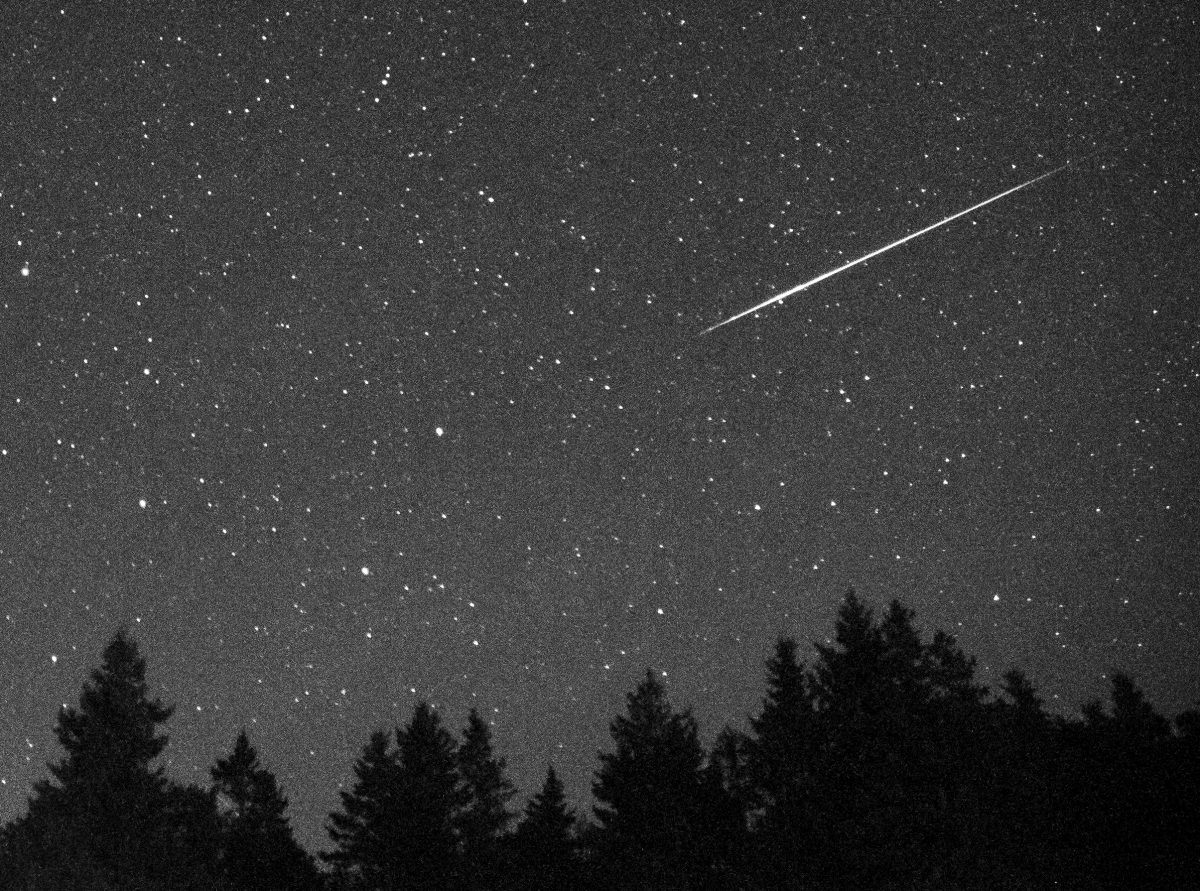
The annual Geminid Meteor Shower is peaking on overnight on December 13 and 14th (Monday evening until dawn Tuesday!) It’s the busiest one, but unfortunately the moon will be out so the best time will be between 3am and dawn 🙁
So get out your tripods, get a cup of coffee, and go shoot them with some friends! Here’s some tips on how!
Pre-Shooting Preparation:
Charge your batteries fully before going out. It’s going to be colder at night, and that can affect battery life. Wear some warm clothes, a hat, and gloves. Bring some hot beverages, some friends, and make it a fun outing! At least you’ll have someone to talk to between exposures.
Also bring a flashlight or LED keychain light so you can see what you are doing when changing your settings. A headlight looks dorky, but it let’s you works with both hands.
Where and When to Go and Sky Conditions:
You want to be as far away from the City/Town as possible to reduce the amount of light pollution. Find a dark road out in the country somewhere far away from street lights.
Obviously it has to be a clear night that you can see the sky.
You can start to see them after dark staring December 13th but due to the moon, the best time will be after 3am on December 14th, when you will have a meteor or two every minute!
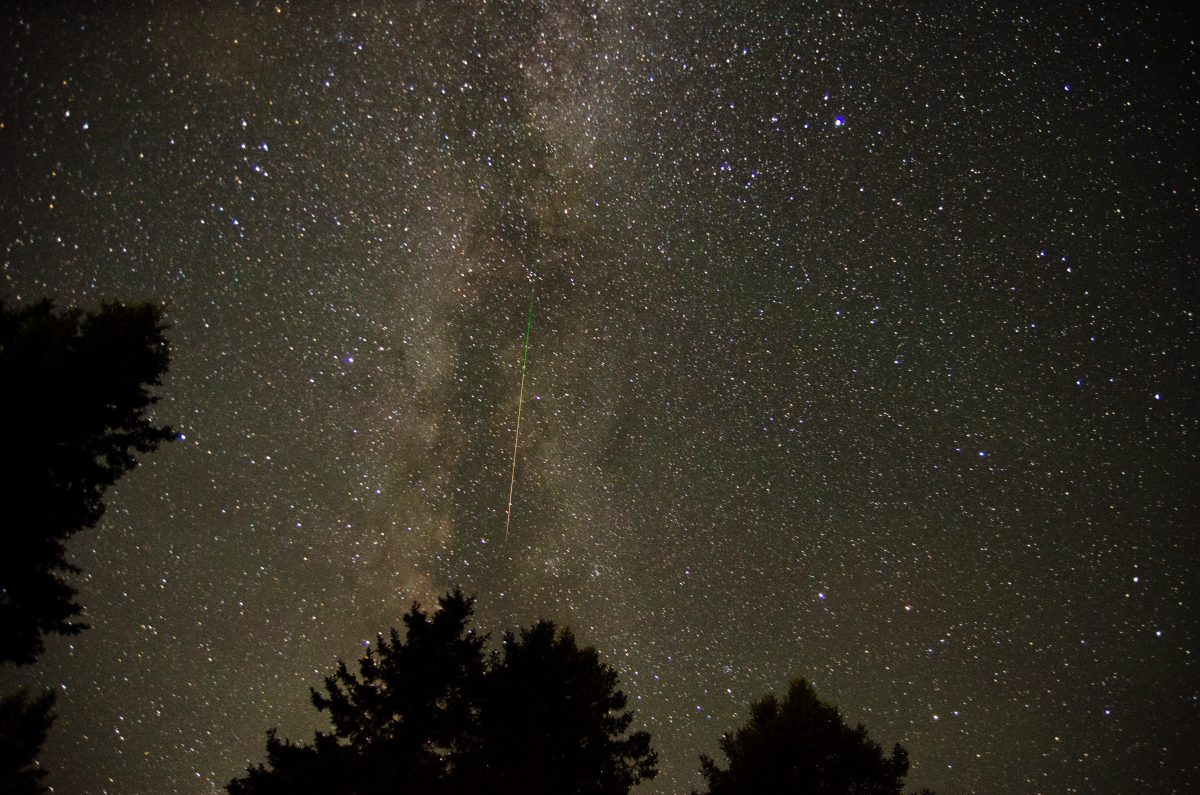
Finding Gemini:
Gemini should be in the Eastern sky at that time of night, but you’ll see meteors streaking all over the sky from that point. Another great way to find the constellations is using an app like Sky View or Sky Guide.
DO I NEED A TRIPOD?
YES and the heavier the better!
ISO:
Start with 400 ISO and see how much detail you can pick up. If you aren’t getting enough details or don’t have a wider aperture lens (F4 or lower), try 800 ISO and then go higher if necessary.
LENS:
You want to use a wide(16-35mm) to normal lens(50mm) so you can get a wide range of sky area.
SHOOTING MODE:
This has to be MANUAL as you need to set both the shutter speed and aperture. Your camera cannot meter properly for the stars!
SHUTTER SPEEDS:
The longer the speed you use, the more meteors you will get. However, if you go too long, the stars will begin to form trails. To figure out how to long to shoot the stars without getting trails, you can use this general guide.
Divide 600 by the length of your lens, and that is how many seconds you should use. For example, if you are using a 17mm lens, 600/17mm= 35 seconds.
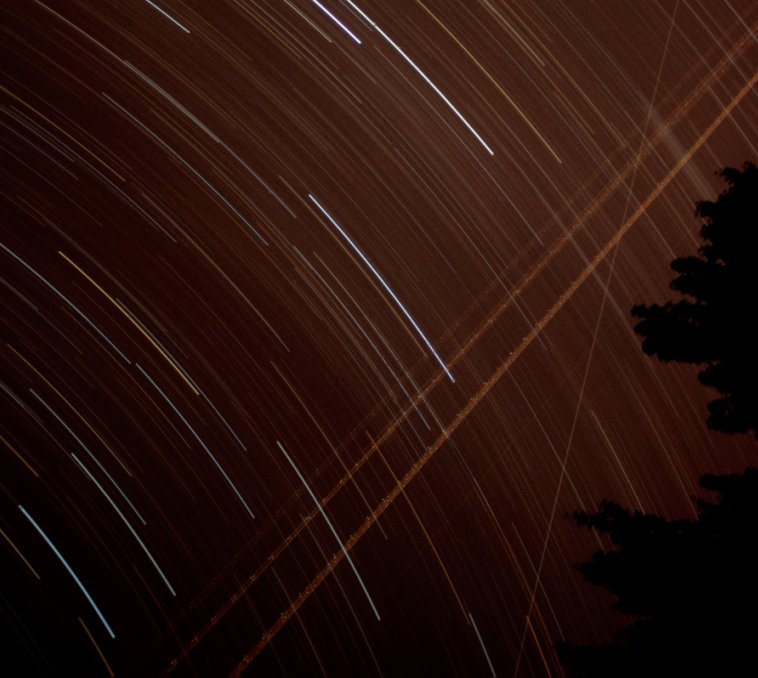
However, if you do long exposures like 30minutes to 1 hour(or longer), you will get star trails that look neat along with the straight lines of meteors.
The photo above was done for three hours(although you can see the light pollution made the sky brownish instead of black!) Note you will need a cable release or remote, and use BULB mode to do this. No way you can hold the button down for 1-3 hours…
NOTE: Many digital cameras will max out the shutter length at 30 minute to prevent overheating and damage..most likely that will be the longest you can do.
APERTURE/F-STOP:
Use your widest aperture (smaller number, for example 3.5/4.5) to let in as much light as possible. If you find the meteors coming out a bit bright, you can stop down one setting. If you have a lens that has a really wide aperture(1.8/2.8) that is even better!
FOCUS:
You have to use MANUAL focus and focus on the stars or set the focus on the lens to Infinity.
WHITE BALANCE:
I would suggest shooting RAW, and then playing with the white balance if needed. Had I shot the one at the top raw, I could have switched to TUNGSTEN/INCANDESCENT balance to correct for the orange.
If you are shooting JPEG, do a test using DAYLIGHT/FULL SUN and see how it looks. If you do have things lit up by ambient light around you(like street lights, etc) you may want to use TUNGSTEN/INCANDESCENT instead, but it could make the sky go a bit too blue.
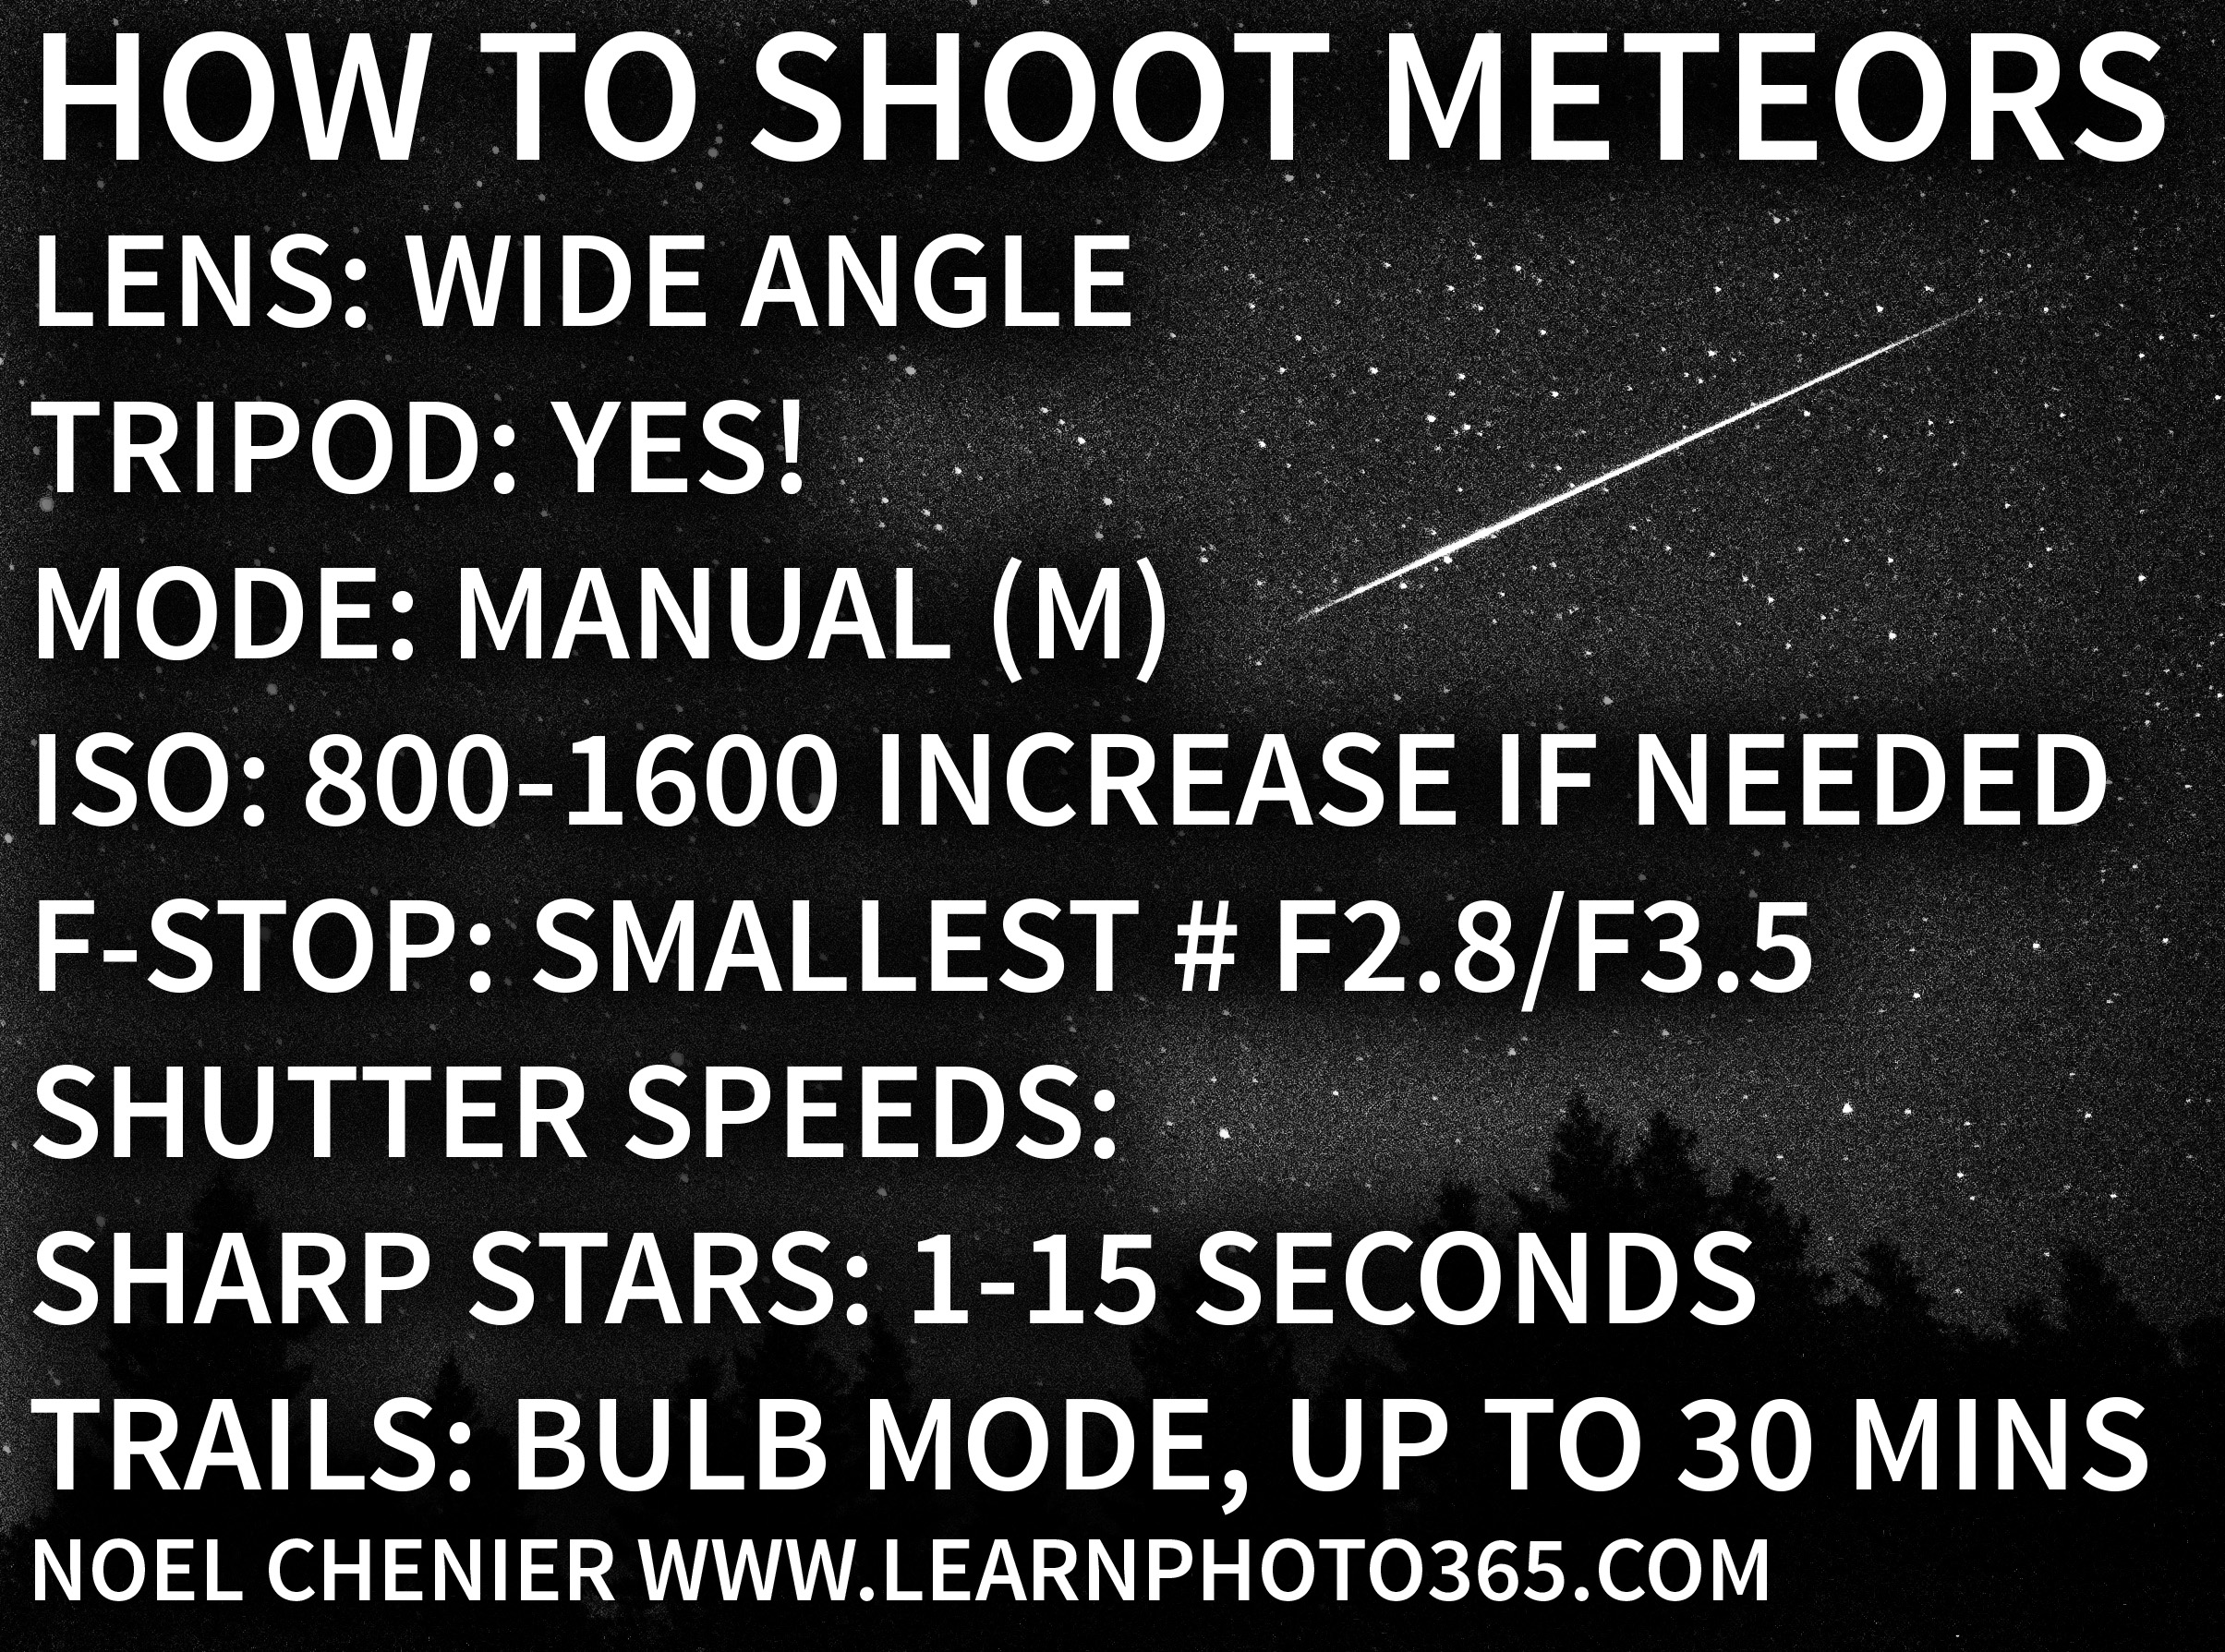
Here’s an image you can save to keep on your phone for handy reference! Tap on the image to load it large, then TAP and HOLD and select SAVE AS to download it to your device.
Combining Shots:
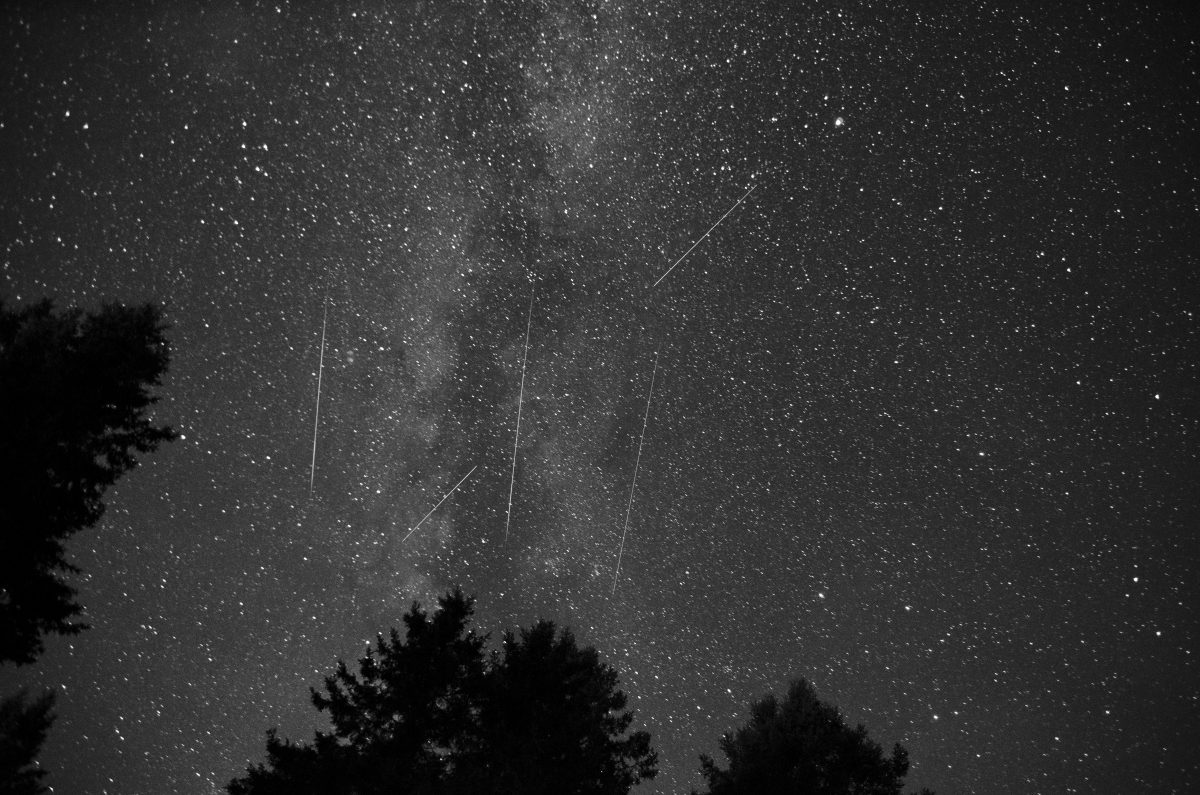
-It’s possible to combine the images of separate meteors into one image using Photoshop. The difficulty is the position of the stars will change as the Earth rotates, so you’ll need to find star clusters that you can use to line the shots up.
Other Shooting Tips:
-If you want to include trees, mountains, the horizon, etc they will provide an interesting silhouette shape and scale.
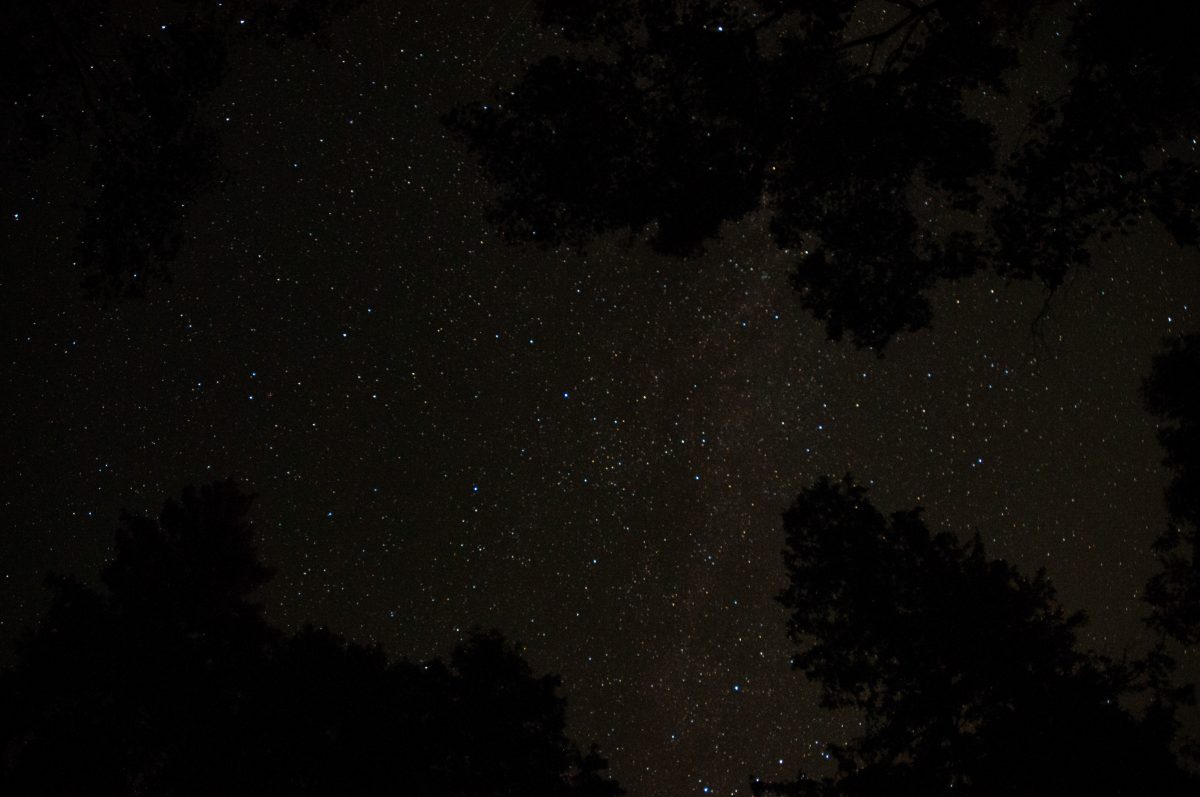
-You could also try using a flash or LED light during the exposure to light up the trees!
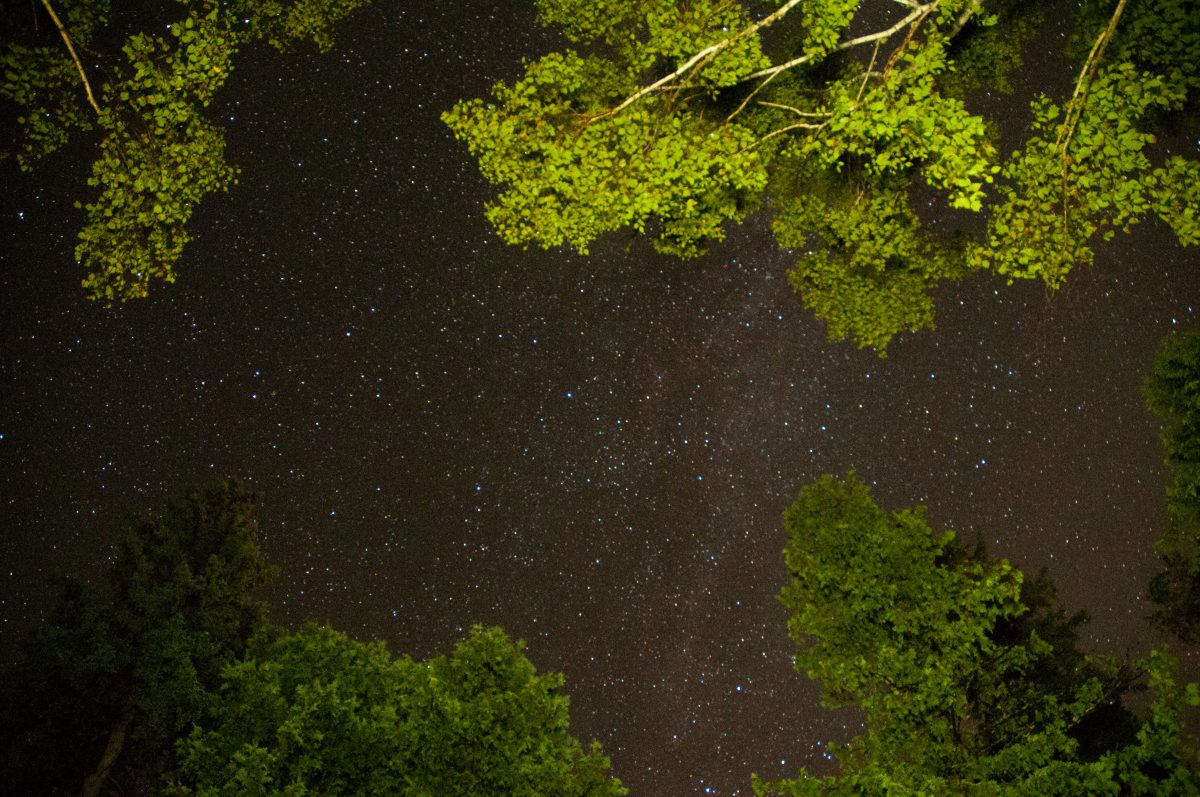
-Have an old film camera kicking around? Haul her out, throw in some ISO 400 film, and take some long exposures!(You have to have to use a cable release)
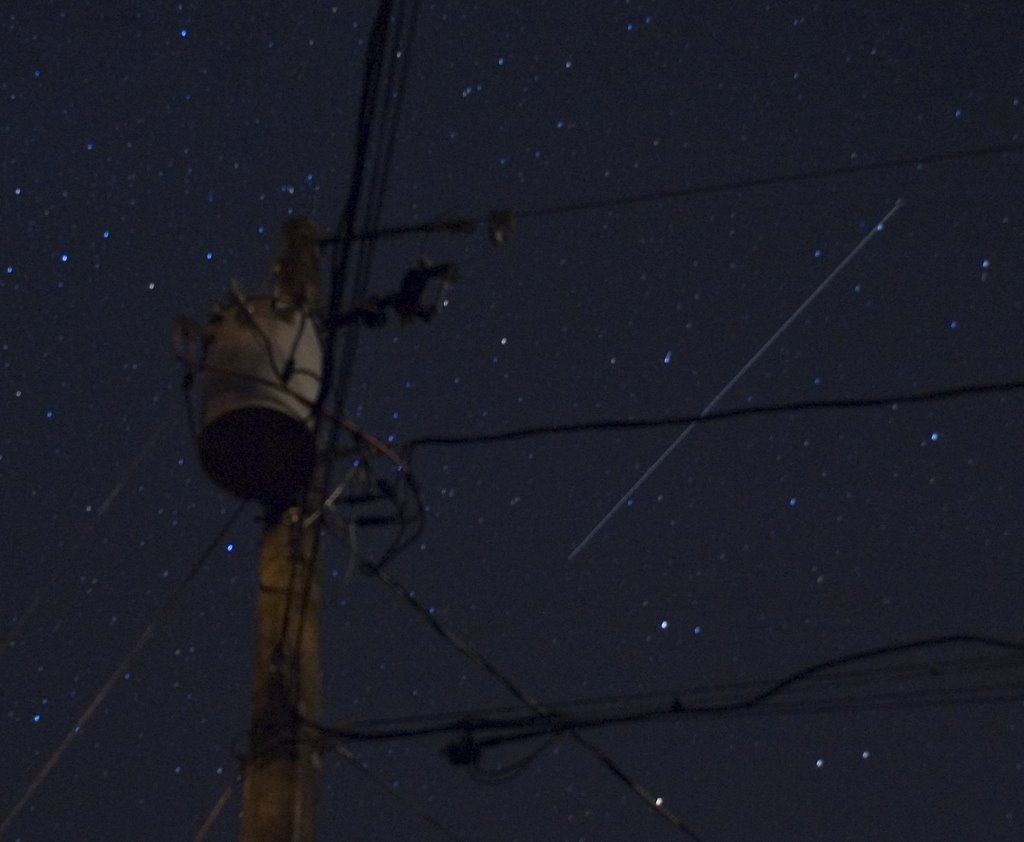
-You may also capture other elements in the sky, like planes or satellites!
Here is an image you can download to your phone with all the settings you need to shoot the meteors!
So go out there, have some fun!
Hope you get clear skies!
Want to make sure you get all the latest posts and info? Subscribe!
Noel Chenier
———-
Photographer and teacher
Connect with Noel on INSTAGRAM or TWITTER or via EMAIL
Photography Assignment Generator Apps now available on the app store!
Noel’s Portfolio
Work Done by My Students!
(2161)



Thanks for those tips!<br />It will be helpful<br />Good wishes from Mexico!
hey thanks! I just read about the meteor shower today from National Geographic, I am going to shoot some with a group in a dark isolated place. Love and greets from Turkey!
Sorry I missed this shower. Thanks for sharing this great shot!
Thank you for the tips and guide. I just got in from about an hour out in the woods. I don't think I managed to capture any meteors but I saw a good amount of them and I had a good time. 🙂
My pleasure Ludwig! I know it can be hard sometimes to record them as they can be anywhere in the sky. <br />Glad you had a good time!