
Comet C/2023 A3 (Tsuchinshan-ATLAS), is gracing out sky for the next week. If you wanted to try to photograph it, I’ve got some tips for you. If you tried shooting the last one (NEOWISE) I have some good news for you…This one is much brighter!
ABOUT THE COMET:
C/2023 A3 (Tsuchinshan–ATLAS) is a comet from the Oort cloud discovered by the Purple Mountain Observatory in China on 9 January 2023 and independently found by ATLAS South Africa on 22 February 2023.
For more info on this comet, check out this article on EarthSky.org.
CAVEAT
It’s not going to be easy to get a super HIGH QUALITY photo of the comet, as you will discover reading through these tips. The comment is not very bright, and unless you have very expensive lenses and other specialized equipment, you will have to use a very high ISO to record it. But I’d still say go ahead and do the best with what you have! They’ll look fine on social media.
PRE-SHOOTING PREPARATION:
Charge your batteries fully before going out. It might be a bit colder at night, and that can affect battery life. Just in case, bring some warm clothes, a hat, and gloves. Bring some hot beverages, some friends, and make it a fun outing! At least you’ll have someone to talk to between exposures. Might also want a chair to rest as you shoot.
Also bring a flashlight or LED keychain light so you can see what you are doing when changing your settings. A headlight looks dorky, but it let’s you works with both hands.
WHERE TO GO AND SKY CONDITIONS:
You want to be as far away from the City/Town as possible to reduce the amount of light pollution.
Find a dark road out in the country somewhere far away from street lights.
Obviously it has to be a clear night that you can see the sky.
It’s also good to be at the highest altitude you can get.
If you want to try to plan your shot with a specific location or subject in the foreground, use an app like Sky View for IOS or Android or Sky Guide. It will allow you to determine where objects like constellations, planets, etc will be located at different dates/times.
WHEN AND FINDING THE COMET
The comet will be visible to the naked eye about an hour past susnet in the West just above the horizon, and will get higher in the sky over the next weeks. See the diagram below from EarthSky.org that shows the position change.
If you can’t find it, a pair of binoculars might help spot the comet. An easy way to find it is to just take some test shots with long exposures (explained below) to find it’s location.
Tuesday evening (October 15th) would be great to try, as it has already been the brightest it’s going to get and is loosing brightness as it travels away from us. But you can try every night to see what might be different. Some sites are reporting the tail will get much longer after the 20th…

DO I NEED A TRIPOD?
YES and the heavier the better!
REMOTE/CABLE RELEASE
Always better to use a remote control or cable release when shooting long exposures on a tripod, as it will ensure there is no pontential camera shake from pushing down the shutter button.
VR/IS/OIS
If you have any form of stabilizer on your lens, make sure you TURN IT OFF! When using a tripod, the stabilizer might actually create blur. Makes no sense, but I’ve seen it happen!
ISO:
If you have a wide aperture lens like a F1.2 to F2.8, start with 400 ISO and see how much detail you can pick up. If you aren’t getting enough details or don’t have a wider aperture lens (F4 or lower), try 800 ISO and then go higher if necessary. If your widest aperture is F5.6, be prepared to jack it up to 6400.
LENS:
A wide angle lens 10mm-35mm will provide a wide range of stars, but a smaller comet.
A normal lens 50mm you can get a bit of landscape/stars and a bit bigger comet.
Shorter telephotos like 70mm-135mm
Larger telephotos like 200mm or higher can get you much closer to the comet…but cause other issues (see below under shutter speeds).
WHITE BALANCE:
I would suggest shooting RAW, and then playing with the white balance if needed.
If you are shooting JPEG, do a test using DAYLIGHT/FULL SUN and see how it looks. If you do have things lit up by ambient light around you(like street lights, etc) you may want to use TUNGSTEN/INCANDESCENT instead, but it could make the sky go a bit too blue.
MORE TIPS BELOW!
I hope you find these tips useful! If so, it would be awesome if you would check out my LearnPhoto365 Photography Assignment Generator Apps on the app store and the Google Play store, a unique photography app that's meant to inspire you to take great photos!
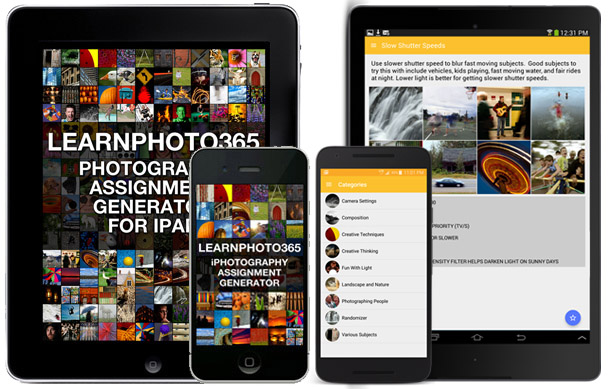 Perfect for anyone taking part in a Photo 365 challenge, there are over a hundred individual assignments and hundreds of thousands of potential random ones. Versions available for both iOS and Android including free versions so you can try them out! Full details, including reviews and tour videos of the apps can be found at www.learnphoto365.com/apps Even if you only download the free version that would help get it up the app store lists!
SHOOTING MODE:
This has to be MANUAL(M) as you need to set both the shutter speed and aperture. Your camera cannot meter properly for comet, or the stars!
SHUTTER SPEEDS:
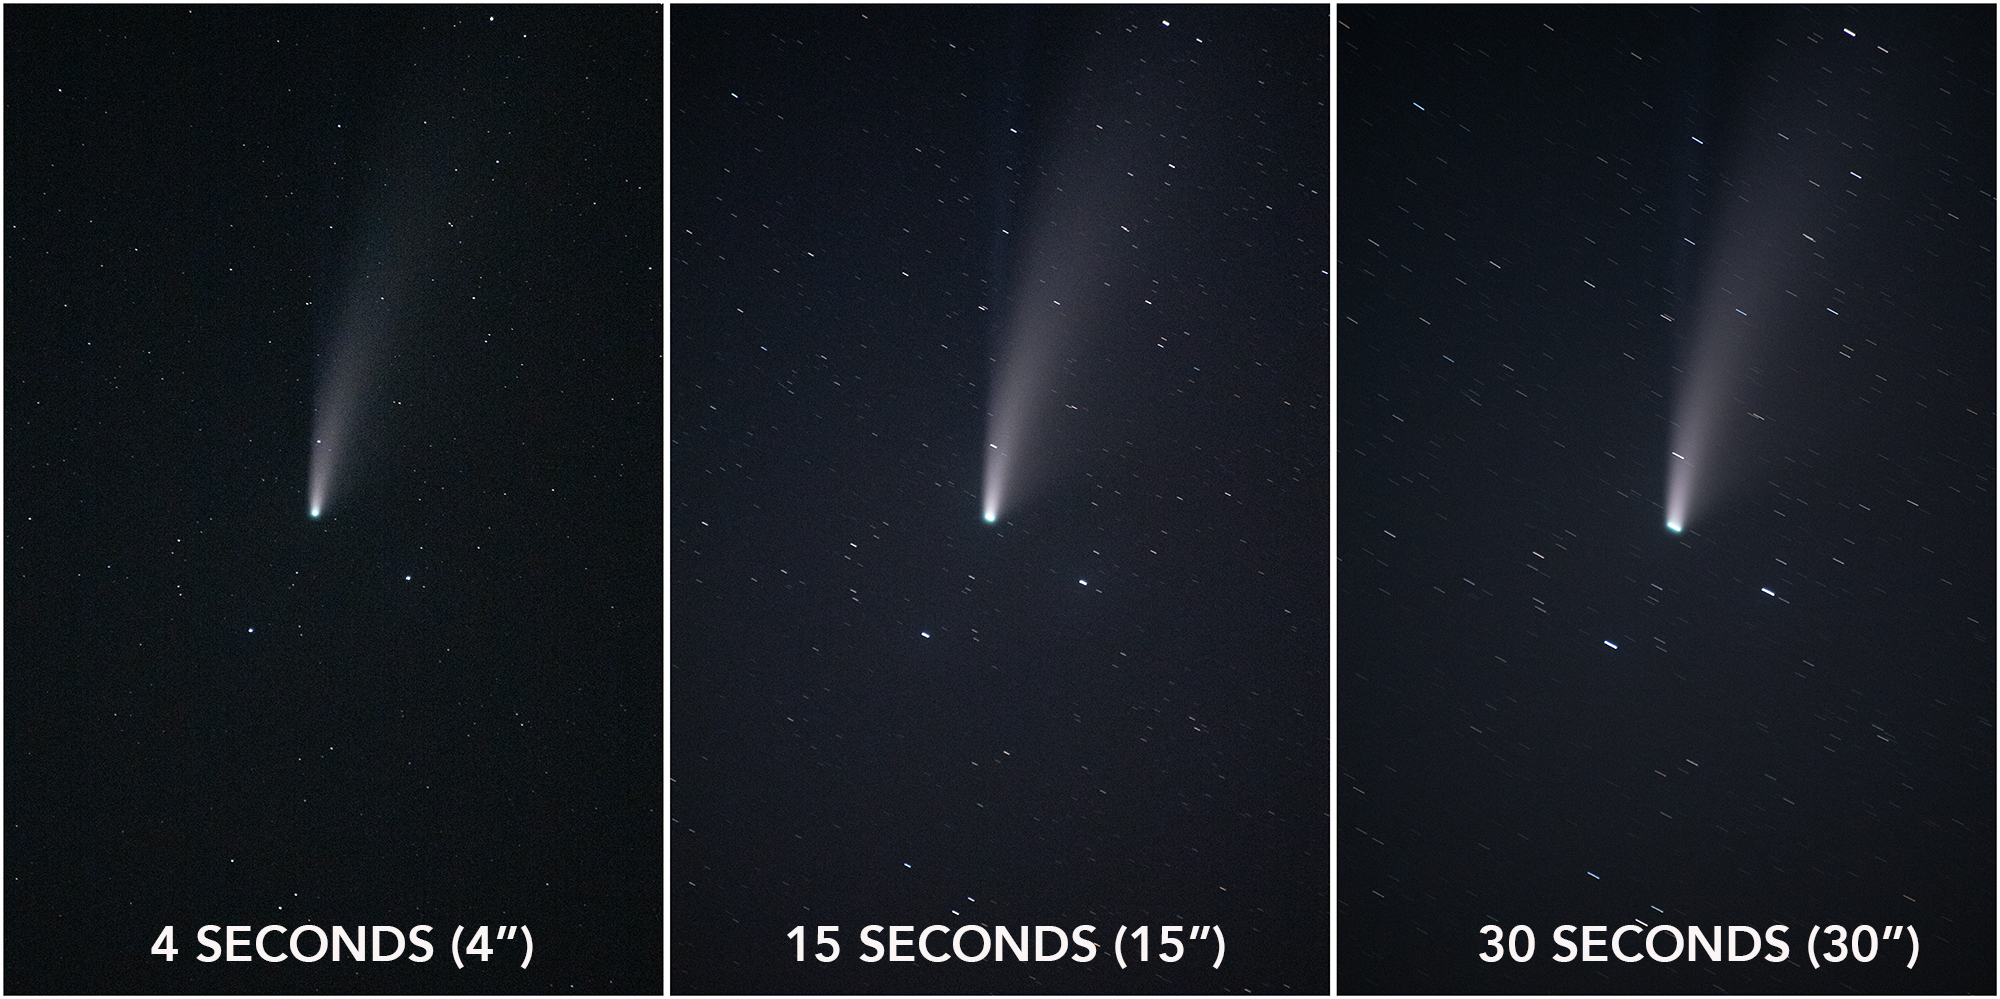
The longer the speed you use, the more the comet will be exposed, and the more stars you will get.
However, if you go too long, the stars will begin to form trails as the Earth rotates.
The other wrinkle is the lens you use. If you use wider angle lenses, you can use longer speeds, as the rotation isn’t as visible. If you use a zoom lens, your times will be much shorter as the movement will be exagerated when you are zoomed in.
To figure out how to long to shoot the stars without getting trails, you can use this general guide.
Divide 600 by the length of your lens, and that is how many seconds you should use.
For example, if you are using a 17mm lens, 600/17mm= 35 seconds. A 50mm lens would be 12 seconds (600/50=12). If you are using a 300mm lens, it would be 2 seconds. (600/300=2).
However that is just a guide, and I would suggest trying different speeds.
However, you can buy special equipment that will allow you to mount the camera and track the stars to counteract the Earth’s rotation. They are called “Equatorial Mounts”, and they aren’t cheap…but like any specialized area of photography, if it’s something you are serious about, you’ll invest money in it. They will allow you to use much longer exposures with your astrophotography. Here’s one for $400.
APERTURE/F-STOP:
Use your widest aperture (smaller number) to let in as much light as possible. Again, if you have a lens that has a really wide aperture(1.8/2.8) that is even better! A wider aperture will allow you to use shorter shutter speeds as well as potentially lower ISO’s to get better quality images.
FOCUS:
You have to use MANUAL focus and focus on the stars yourself.
However, you may find it hard to see them in the viewfinder, as your display will blind your eyes.
You will need to wait for it to go to sleep and shut off, then try to focus.
Even then, unless you have a really wide aperture lens, you may not be able to pick them out.
If you can find the brightest star in the sky, try focusing on that, then repositioning the camera.
If you still can’t pick out the stars, I’d suggest seting the focus on the lens to “Infinity” (the little looping symbol) and do some test shots. If the stars aren’t sharp, move the focus slightly and keep shooting until they are.
You could also try live view, but again, it may not pick up the stars.
CAN I SHOOT IT WITH MY PHONE?
Of course you can give it a shot. You will need the ability to shoot a long exposure, so use your camera app in long exposure or night mode, and if you don’t have those, download an app that does!
I would highly recommend using some form of tripod. Hand holding it won’t work.
OTHER SHOOTING TIPS:
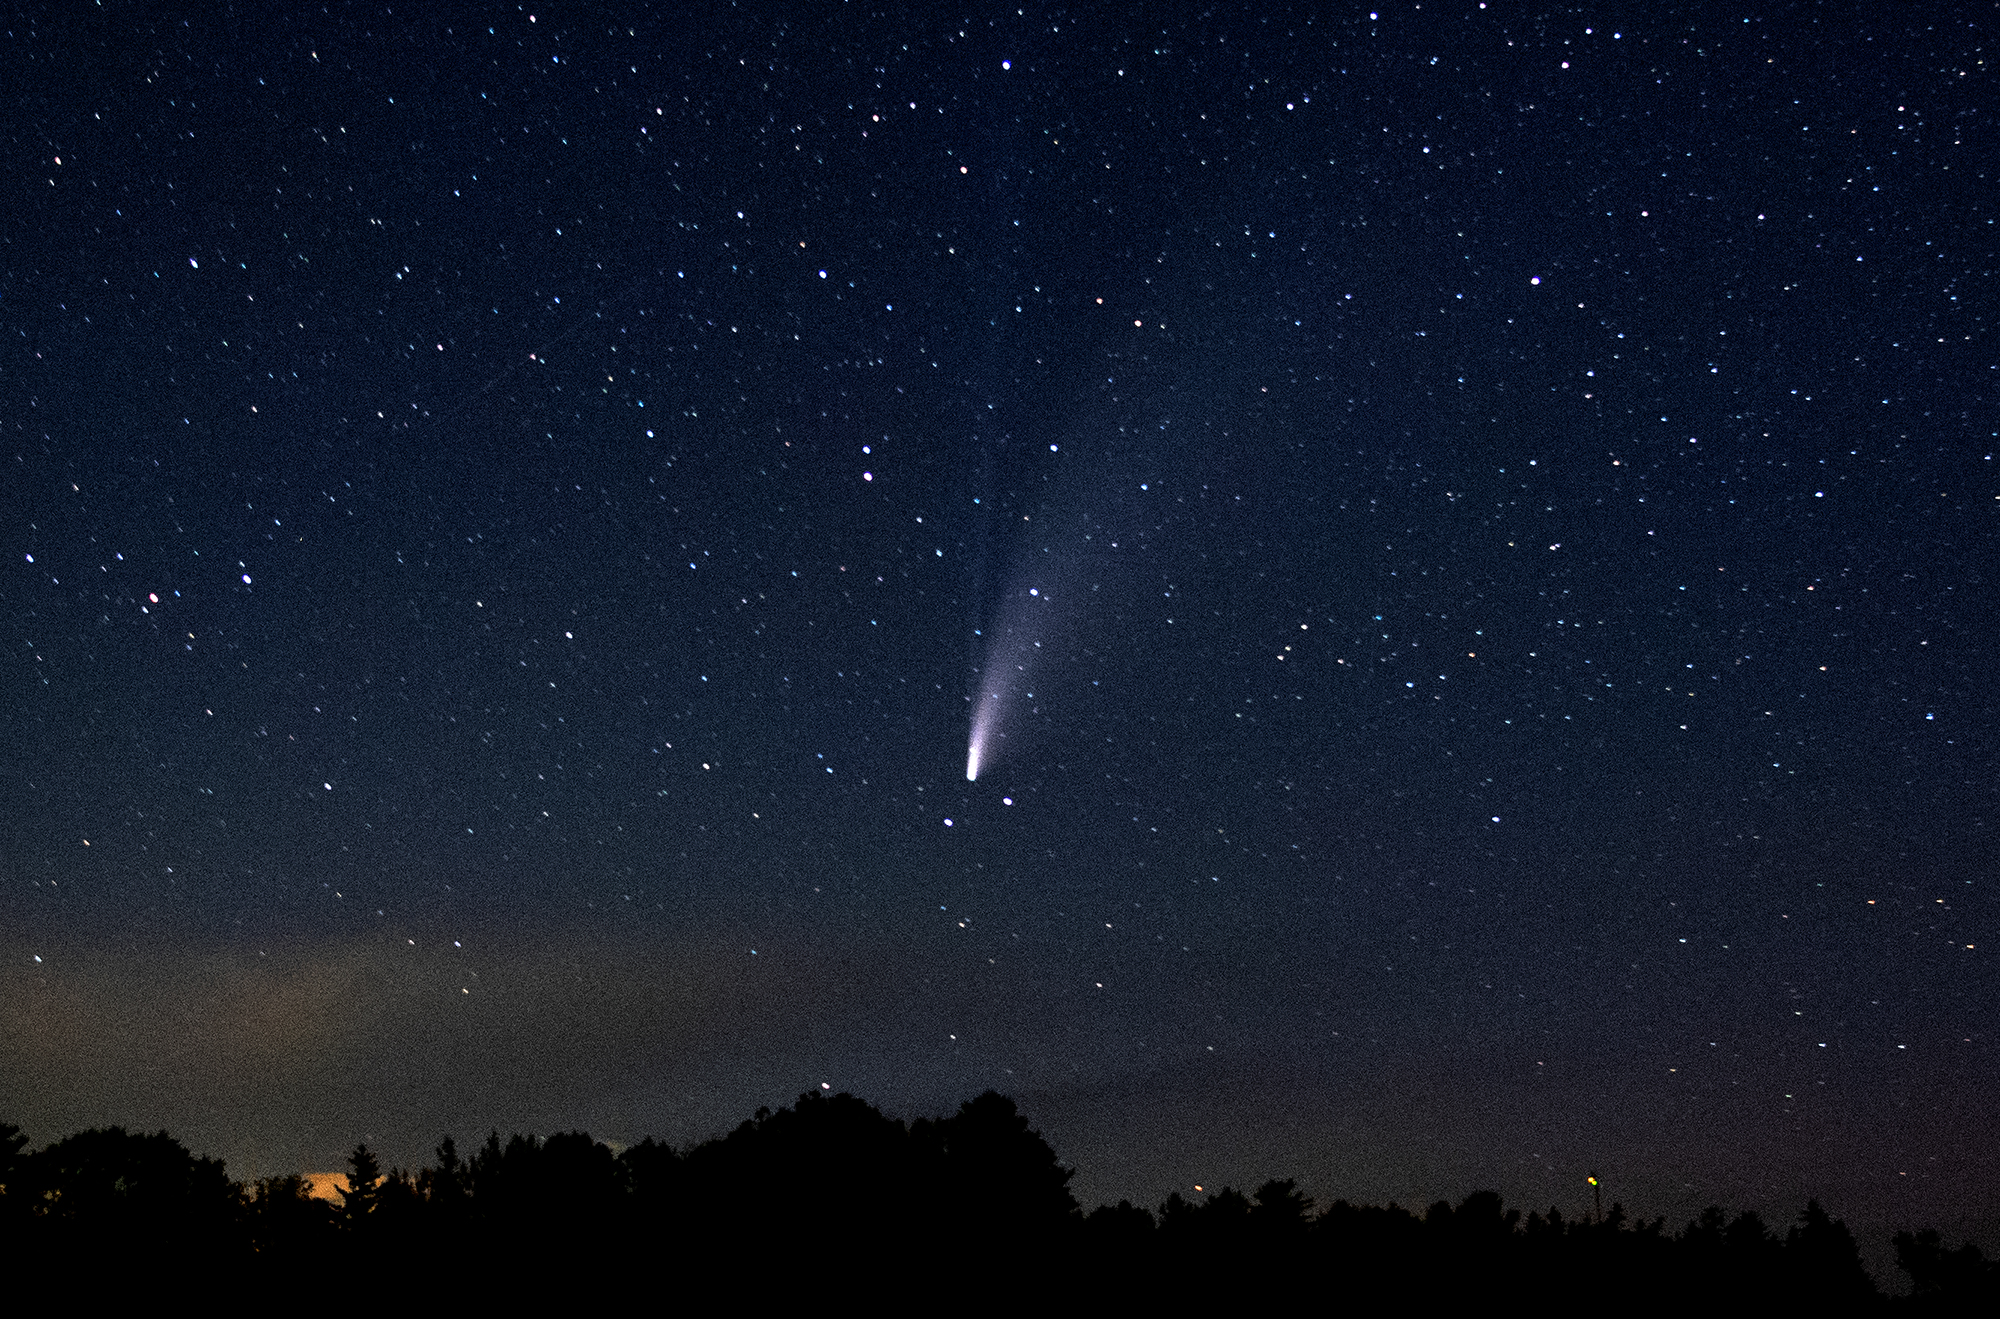
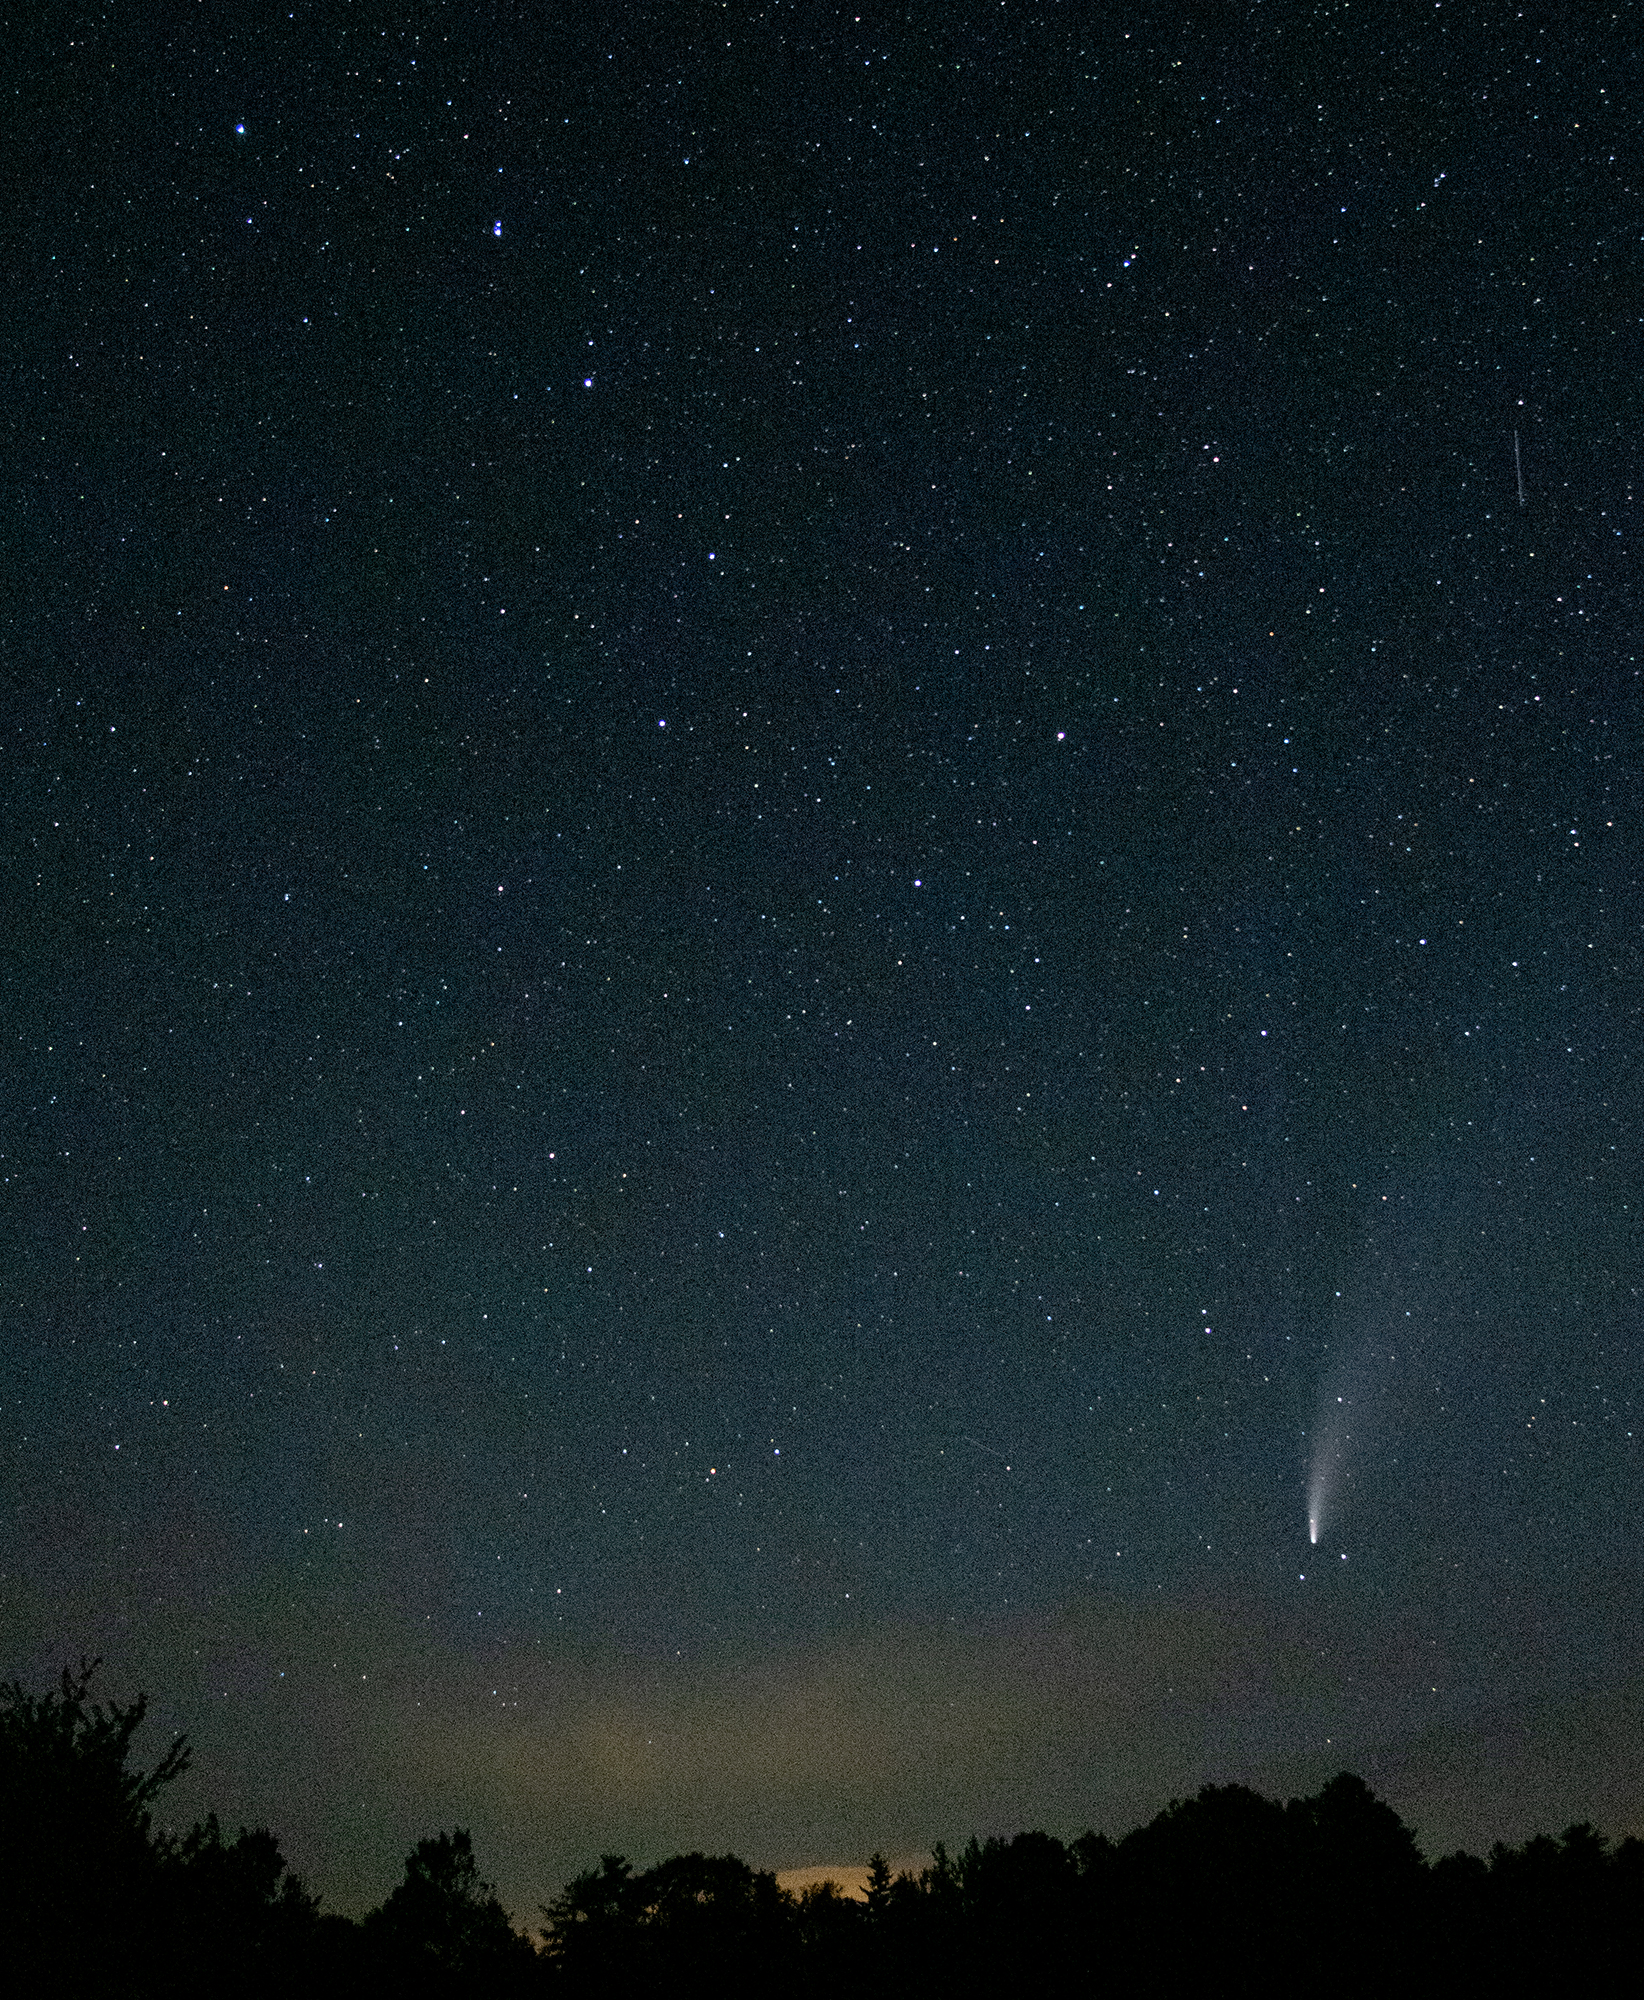
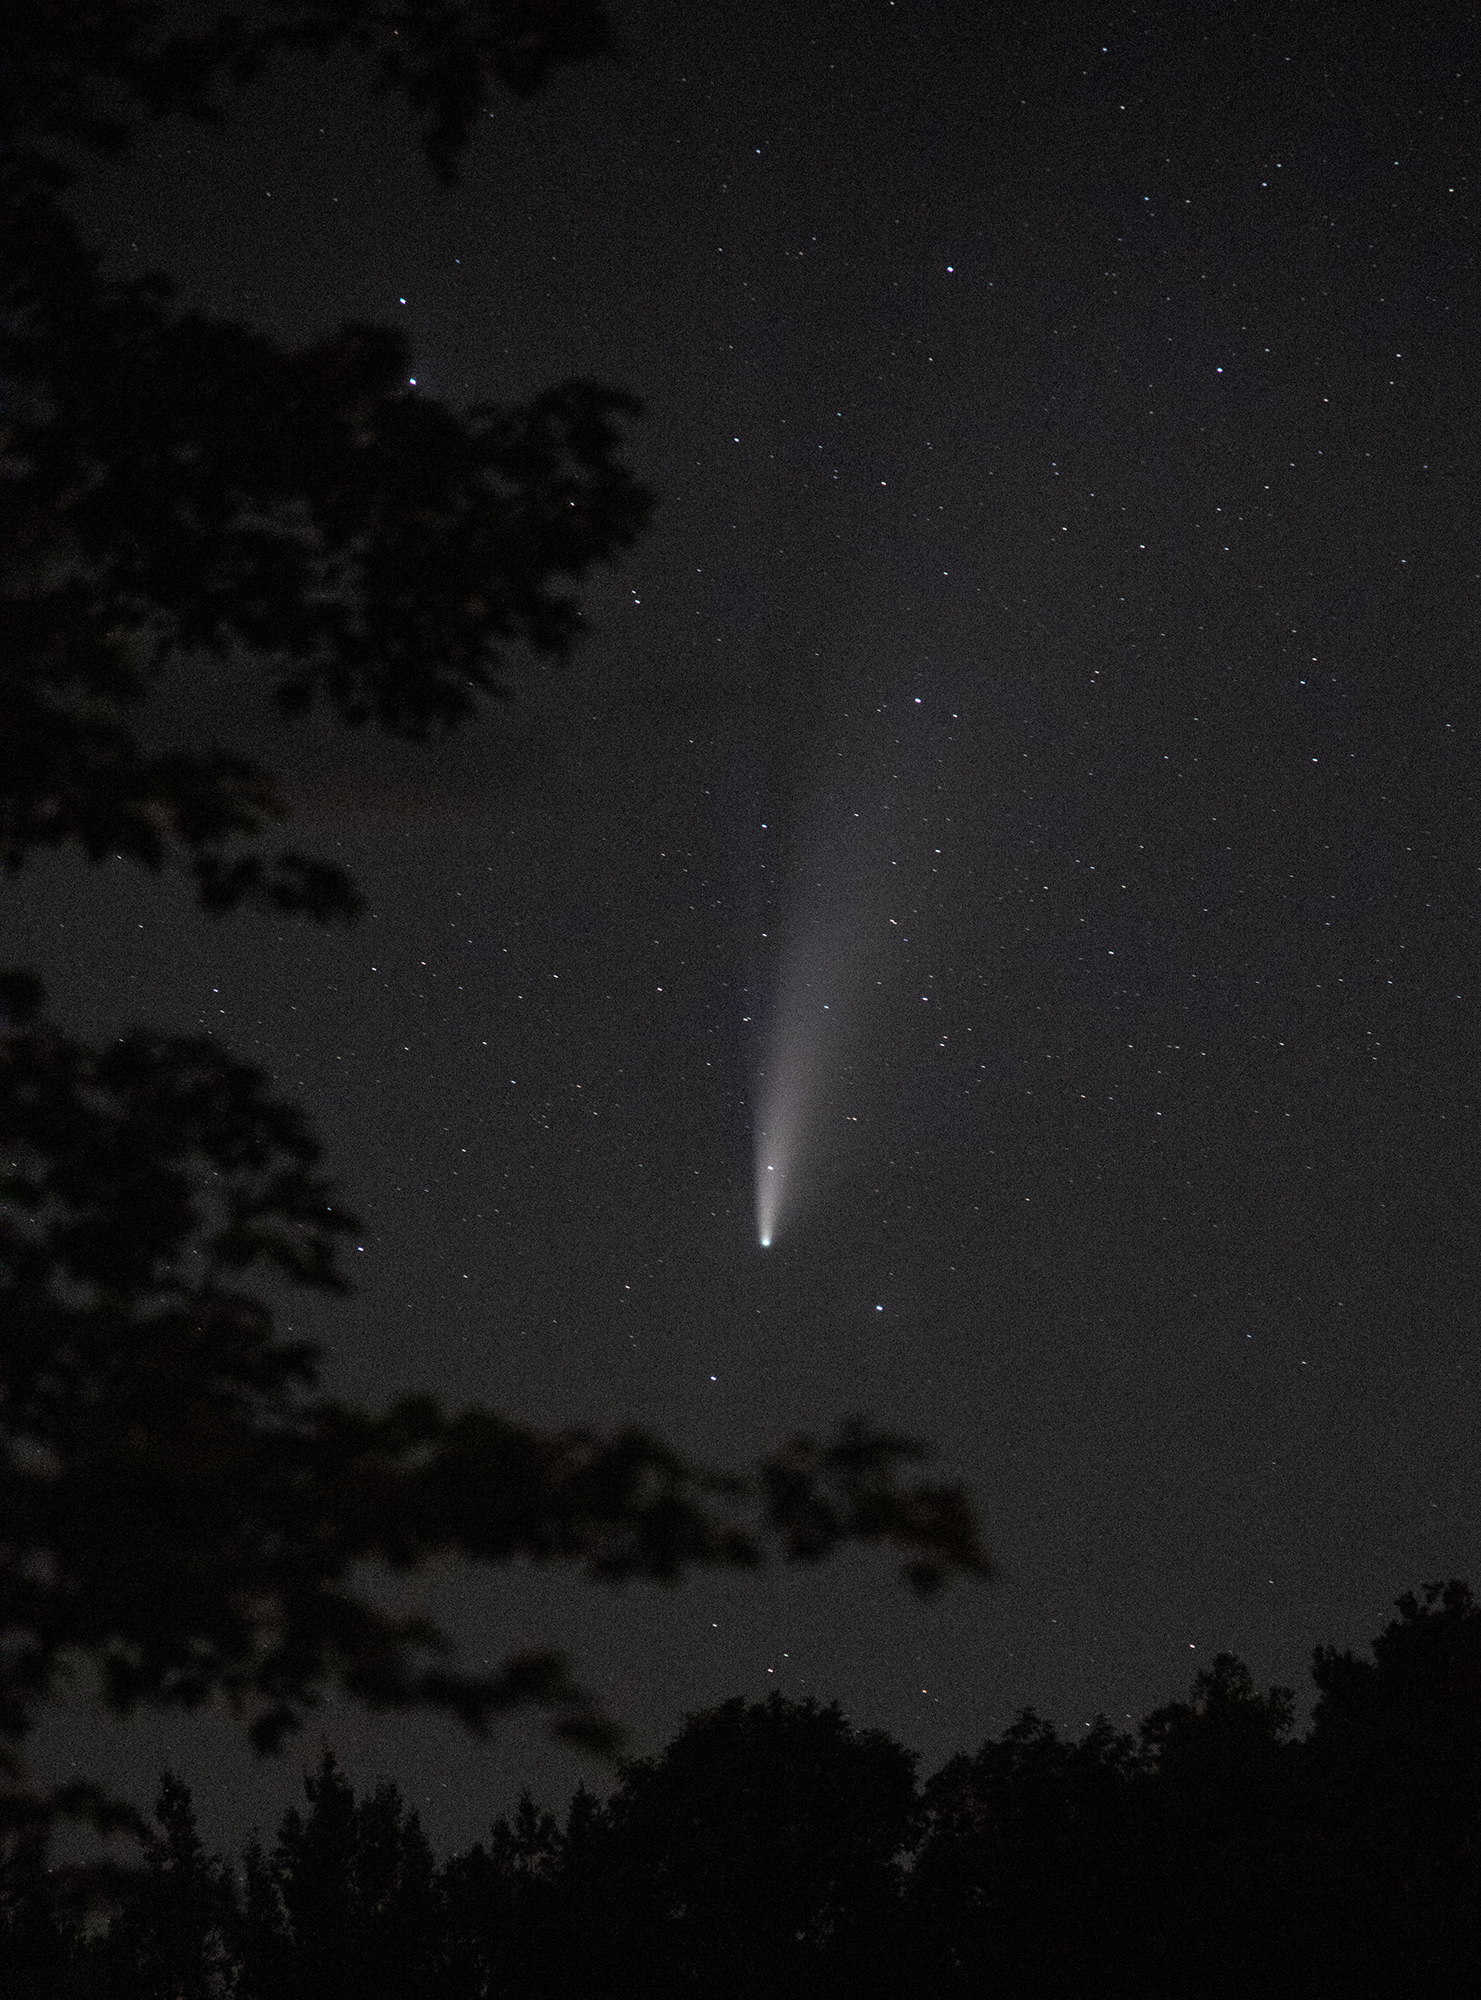
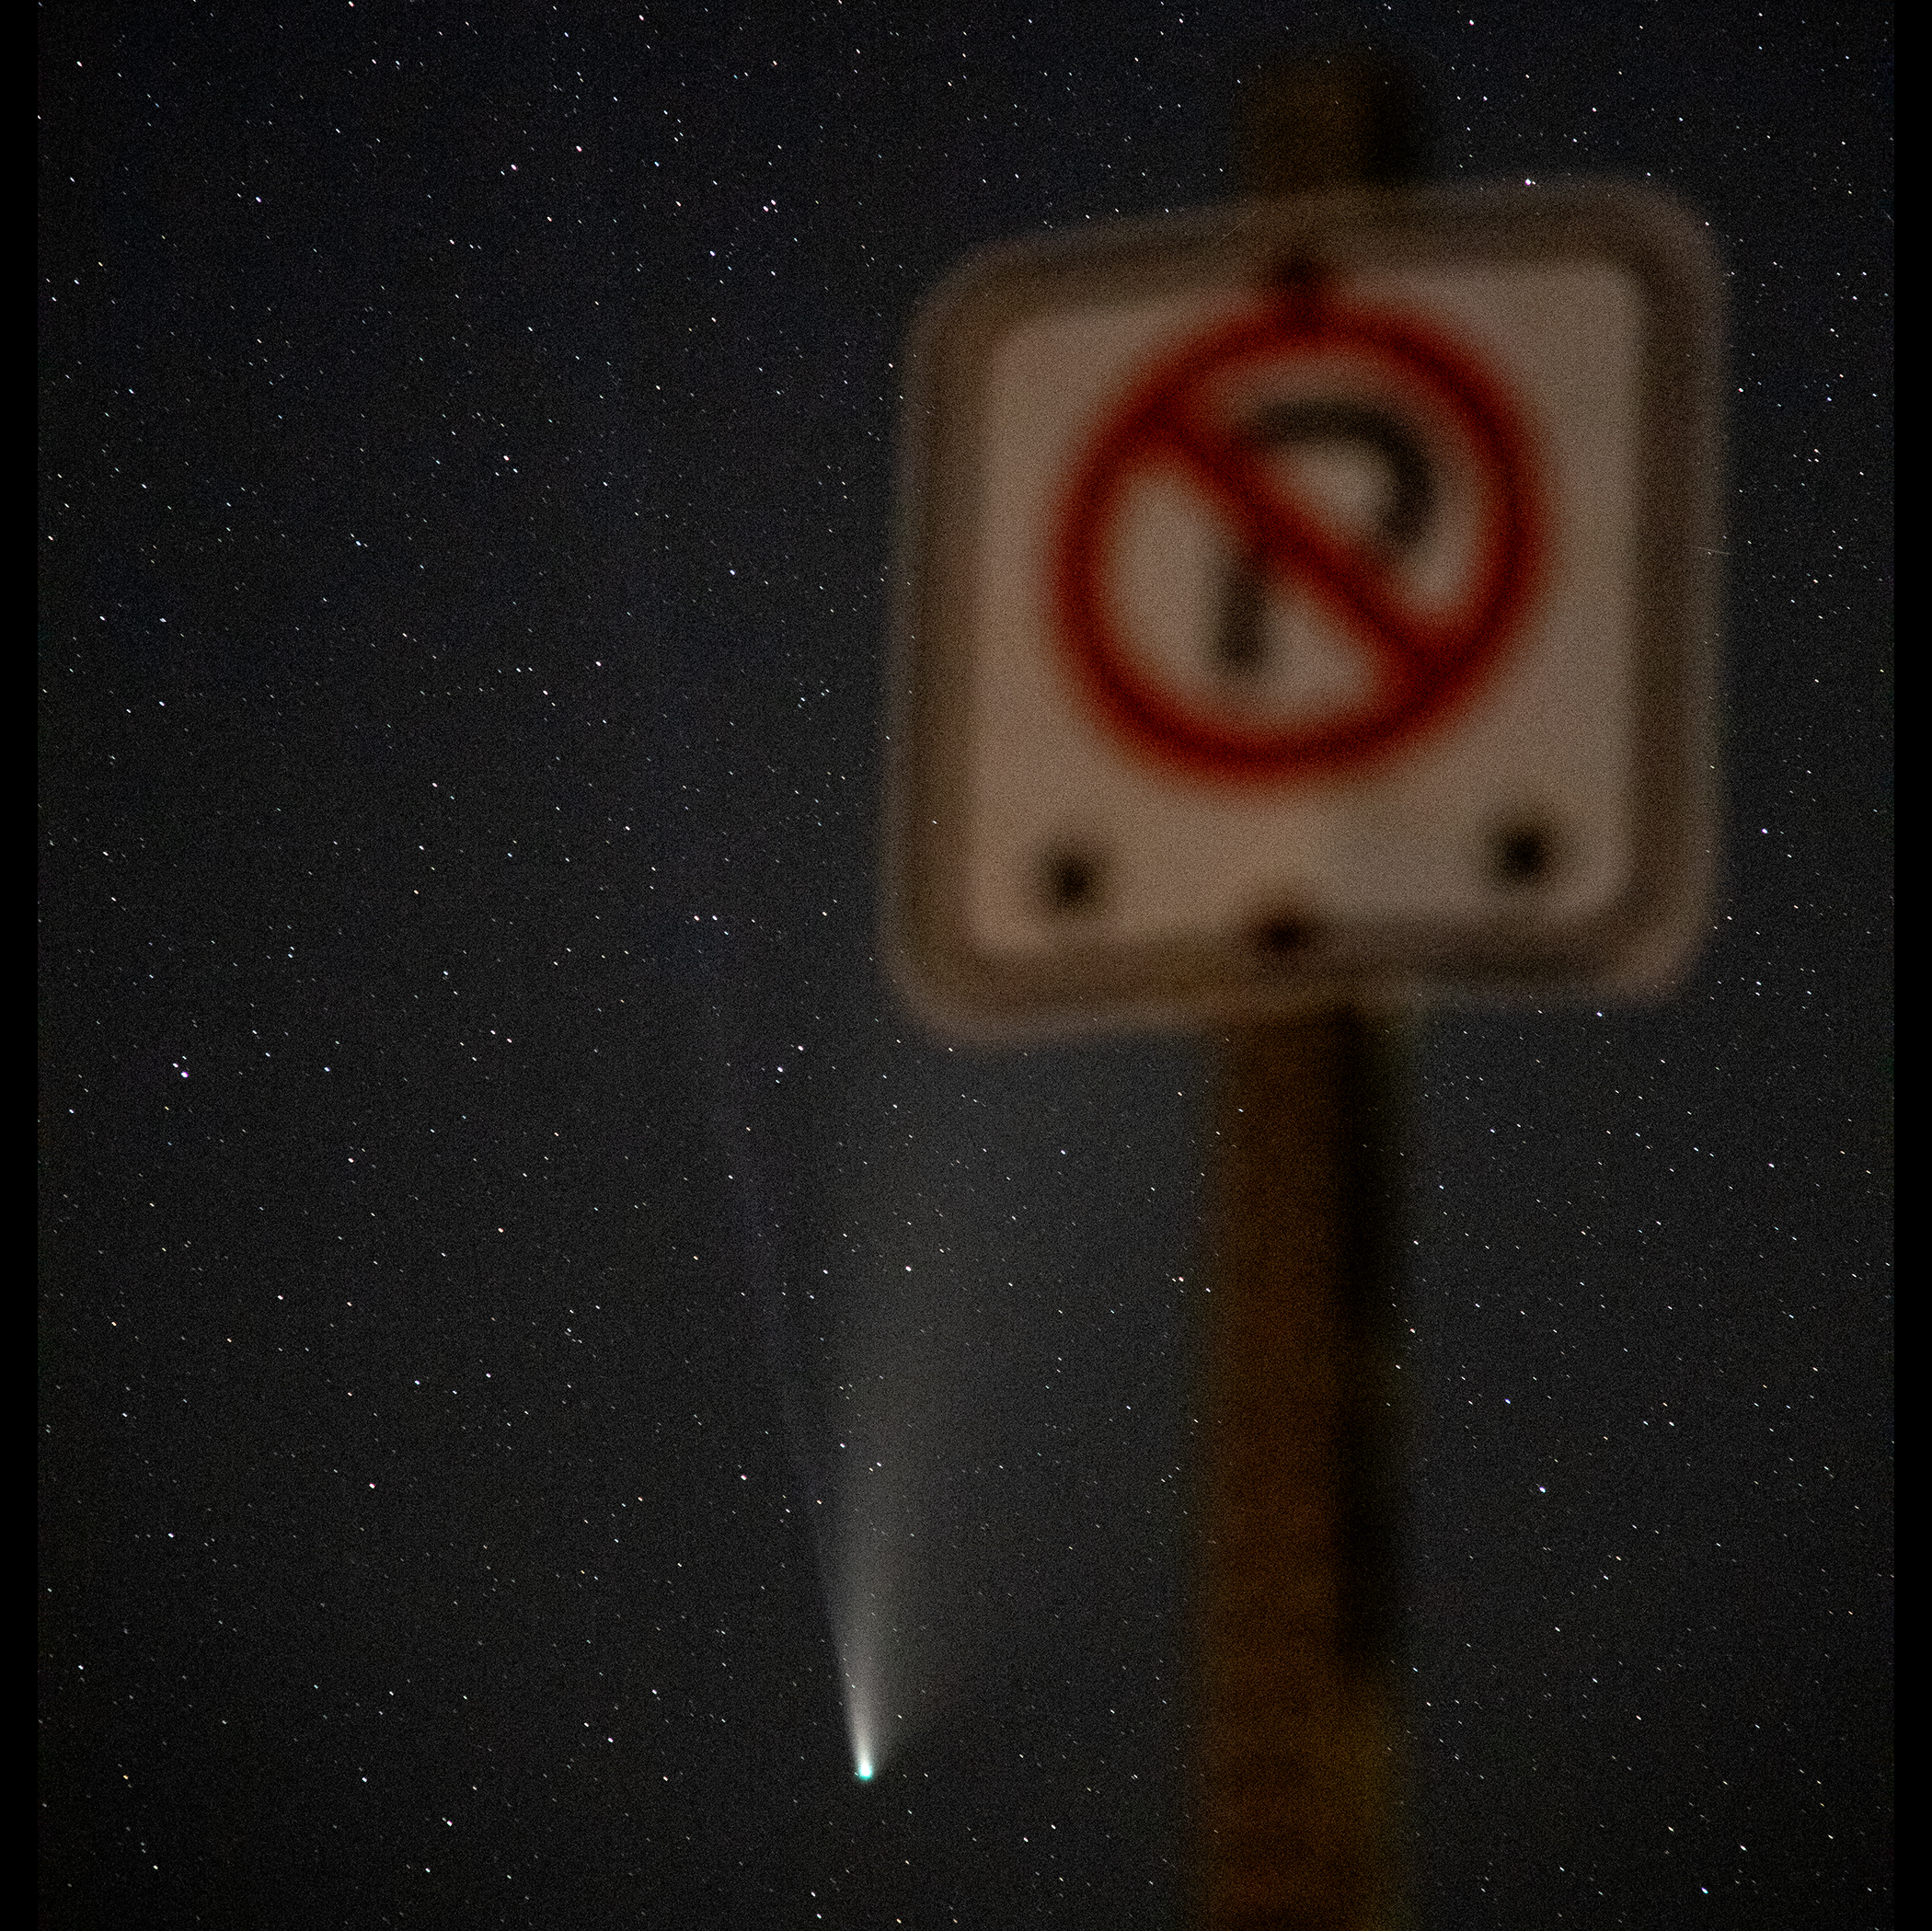
-If you want to include trees, mountains, the horizon, etc they will provide an interesting silhouette shape and scale, or a nice framing element.
-As seen below, you may also get other flying objects moving through your frame, like planes, satelites, or….aliens…
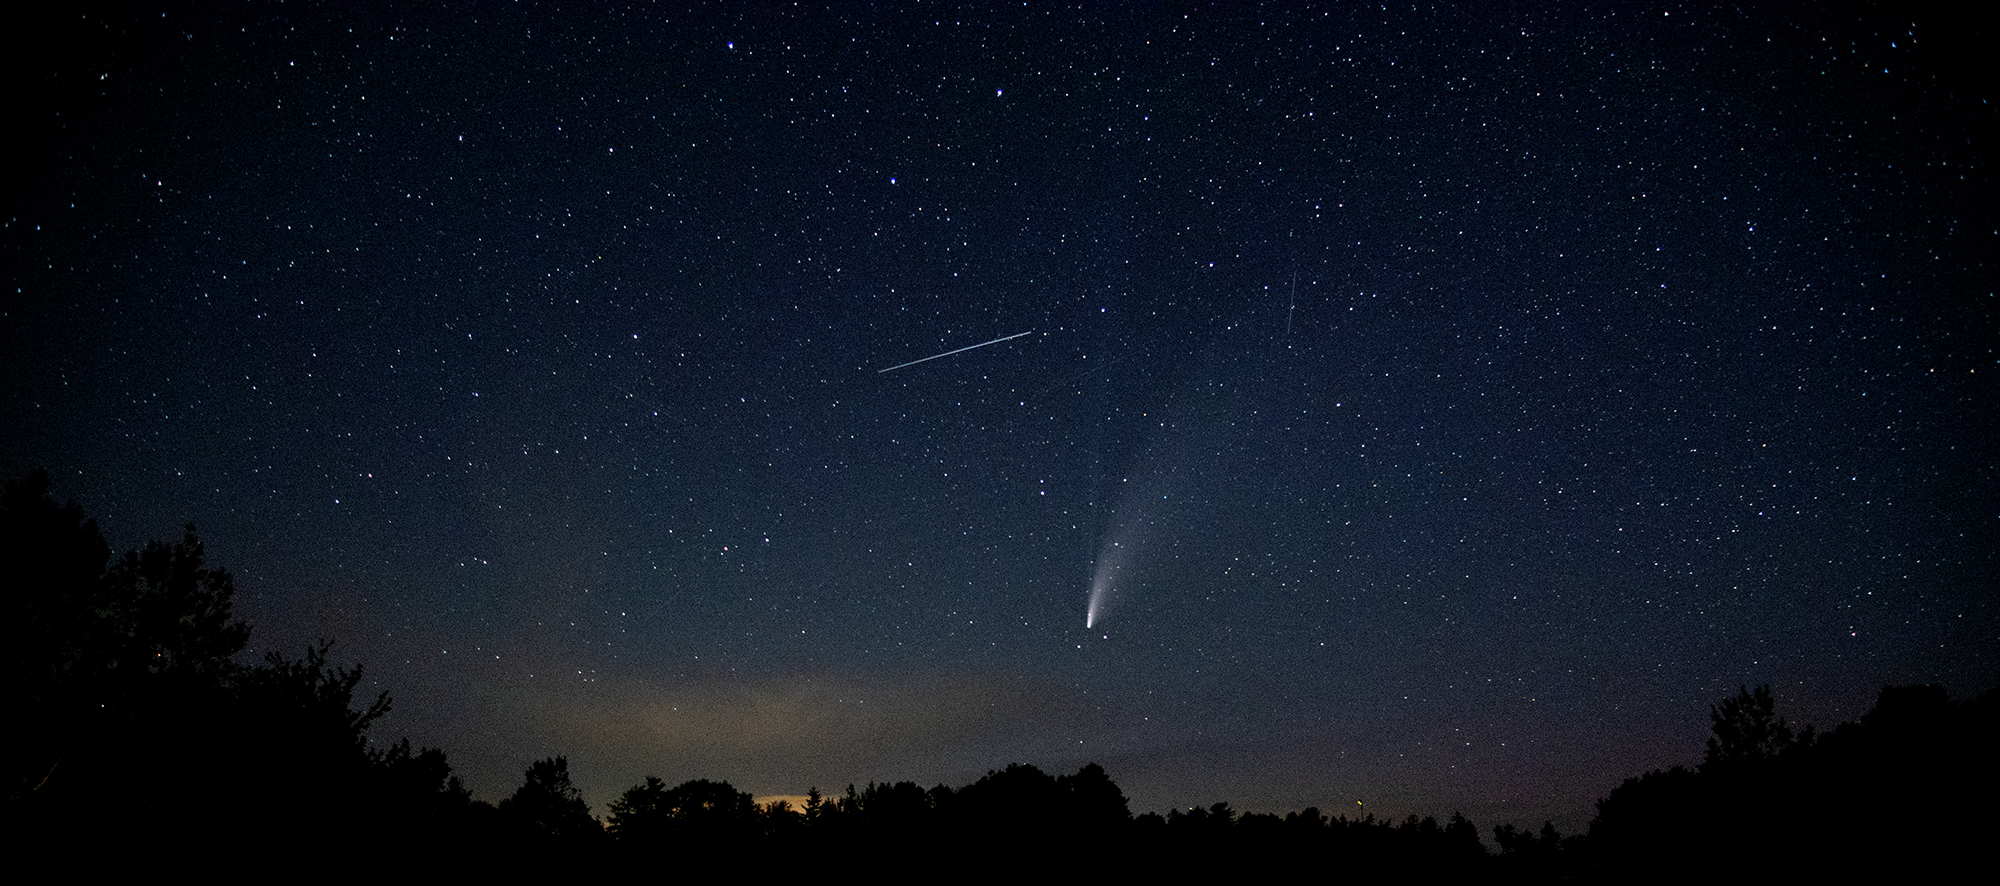
-If you want to try to plan your shot with a specific location or subject in the foreground, use an app like Sky View for IOS or Android or Sky Guide. It will allow you to determine where objects like constellations, planets, etc will be located at different dates/times.
Good luck shooting! If you have any questions, please don’t hesitate to reach out via EMAIL !
Want to make sure you get all the latest posts and info? Subscribe!
More Photo Tips

Tips for Photographing Christmas and New Year’s Parties
Happy Holidays! Christmas is upon us, and New Years Eve is almost here! If you are going out to celebrate and want to get some great shots, here are some tips! (42)
Chernobyl Nuclear Disaster in Photos
Today is the 30th anniversary of the explosion at Chernobyl. Here are some links to photo galleries and articles about the disaster and it’s aftermath. (362)
Started a 365 Photo Challange On January 1st?
Along with New Year’s resolutions, one of the things that usually happens on January 1st is that many photographers begin a challenge to take at least one photograph a day. And like many New Year’s resolutions, it’s something that many don’t finish! I thought I’d give some tips on keeping …
Canada Games Athletes-Wrestler Megan Getchell
Today’s portrait is of Canada Games wrestling team member Megan Getchell. This was another indoor portrait, which as previously mentioned, can be beneficial as you have total control over the light. I started out with some standard portraits. For these shots, I used a single flash in an umbrella, which …Ask Noel: Why Won’t My Camera Take A Photo Sometimes?
Joel H asks: “Every now and then my camera seems to refuse to take a picture. I can hear/see the autofocus moving, but it never seems to stop.” Most likely this is because the autofocus can’t find a subject to lock onto, therefore it won’t take the photograph. In order …
(256)