Graduation time is upon us, and if you have a child or relative crossing that stage for their high school or university graduation, you’ll want to get the best photographs possible.
Here are some tips for doing just that!
PRE or POST CEREMONY POSED PHOTOS
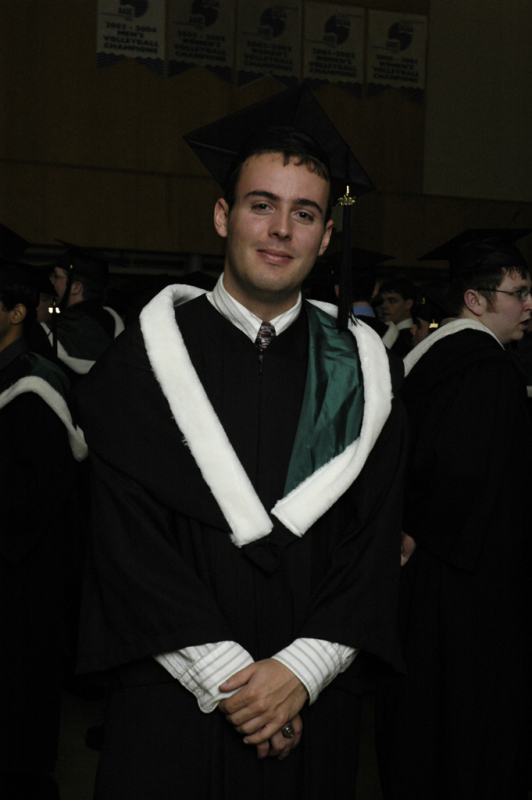
Before the ceremony is a busy time, but also a good time for doing a family photo or individual shots.
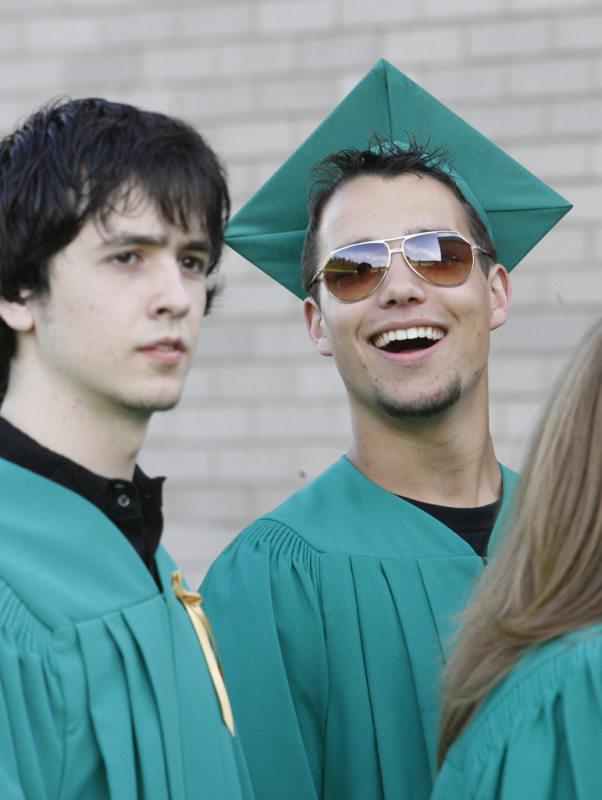
For great candids, use your zoom, and stand farther back. This way the subject won’t know they are being photographed and you’ll get the more natural photos.
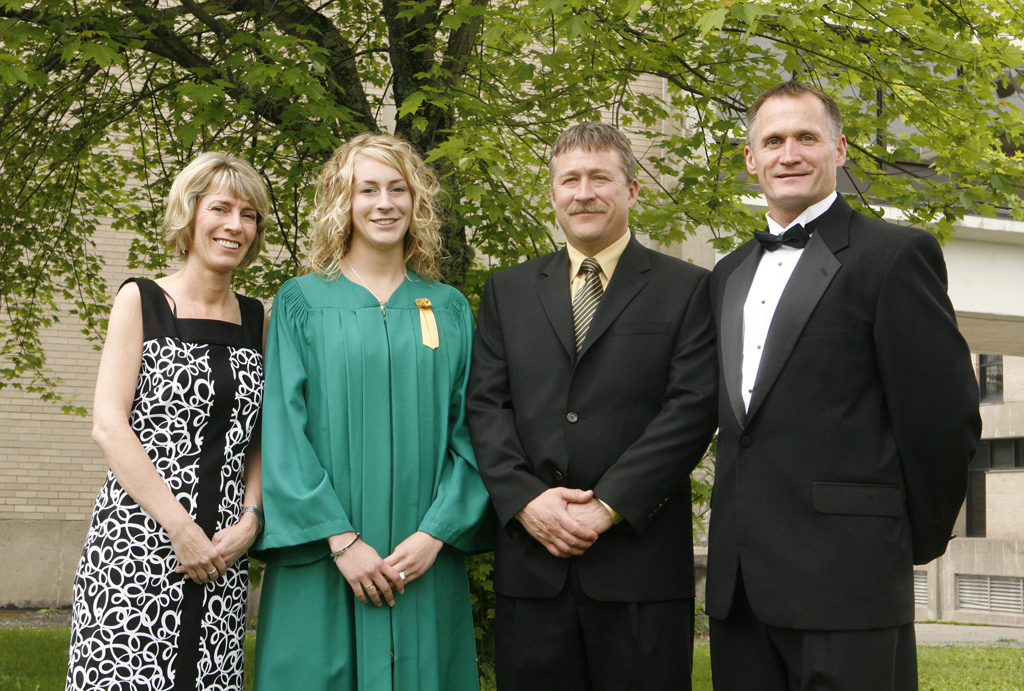
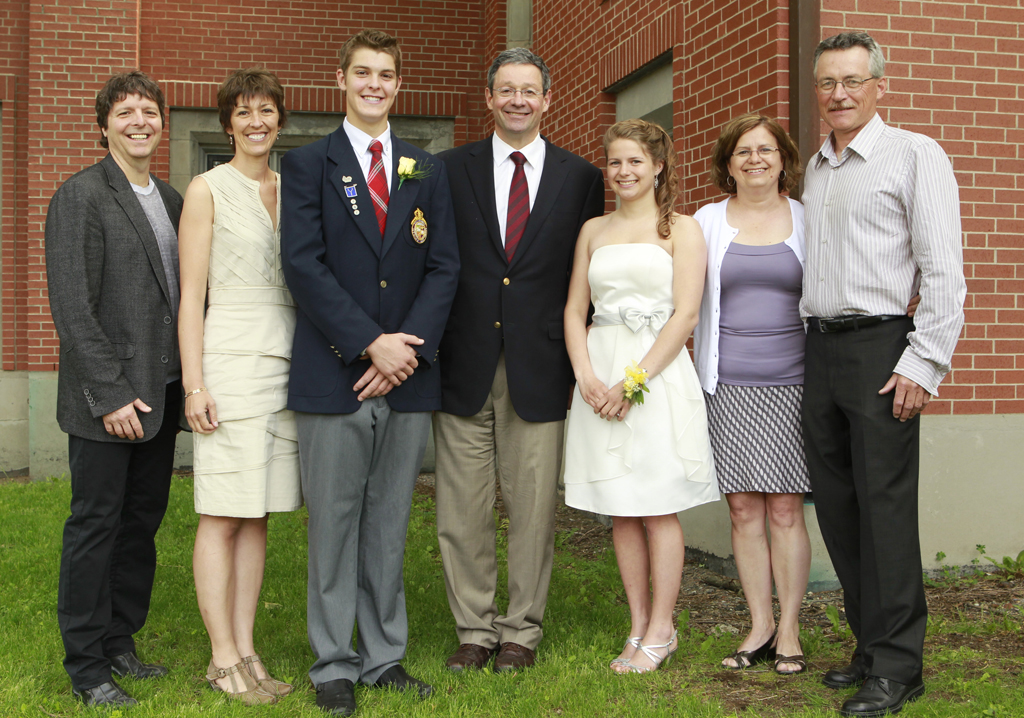
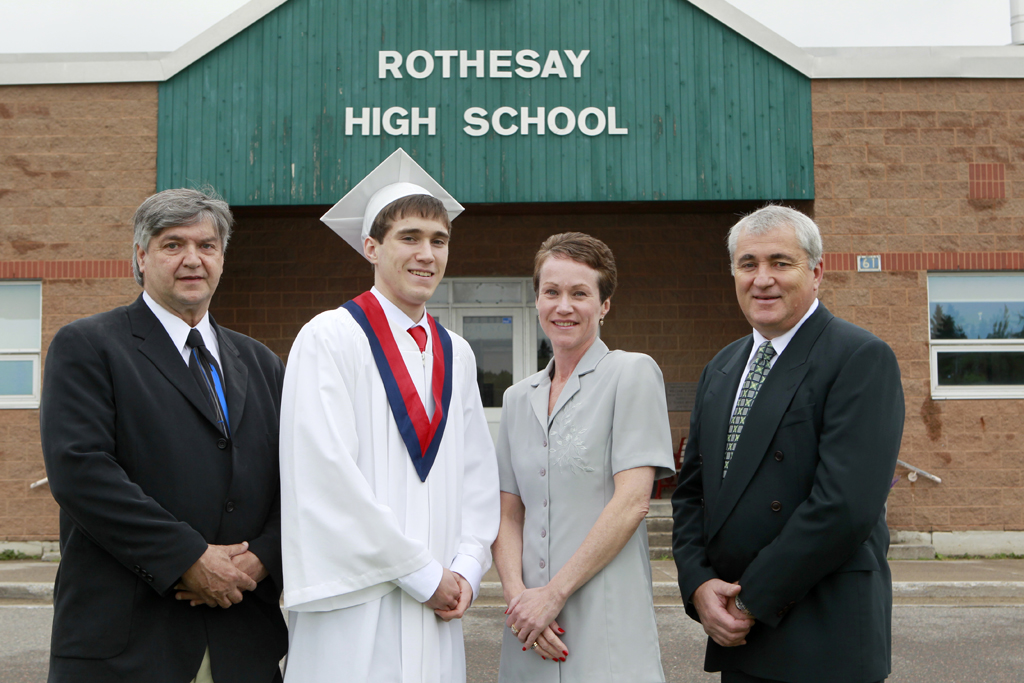
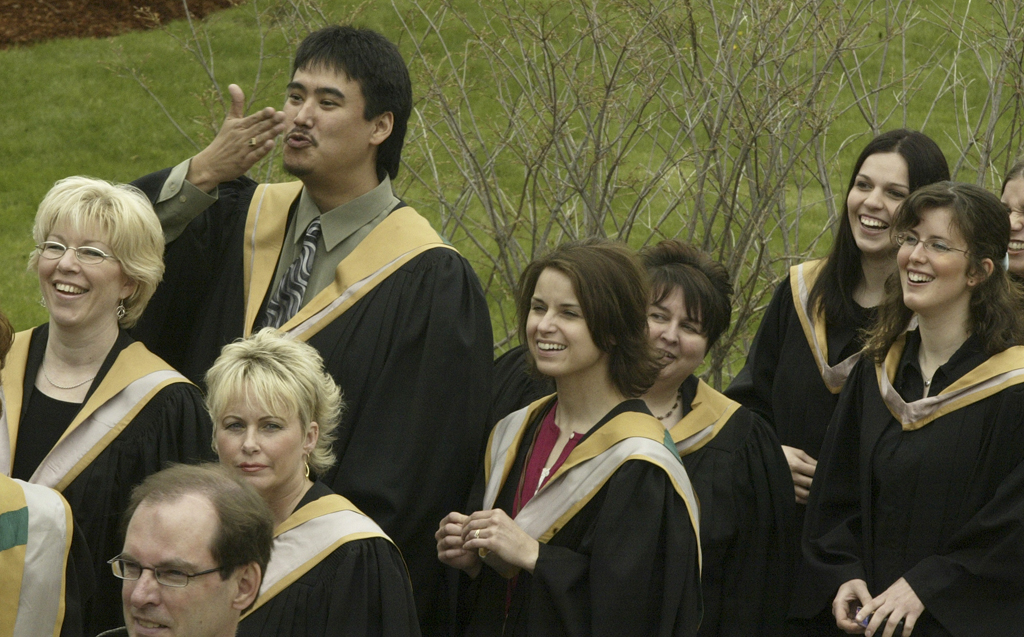
For a family photo or individual shot of the grad, first thing to do is find as plain a background as possible that you can put out of focus. A nice stand a trees, or even the wall of the school (as long as it’s even and not distracting) will work.
Light wise, you want it to be even. Overcast is usually better, as the light is softer and not as harsh. If you are taking the photograph under sunlight, make sure the light is shining on the subjects, at a 45 degree angle if at all possible. Side lighting is horrible, avoid it.
Shade will also work, but ensure the entire group is under shade (watch out for those patches of light! They will distract!)
CAMERA SETTINGS (OUTDOORS)
ISO: 400 (800 if the sky is heavy overcast or you are in dark shade)
MANUAL MODE or SHUTTER PRIORITY(TV/S)
SHUTTER SPEED: 1/250th for posed shots, 1/500th if the people might be moving
APERTURE: Whatever gets you the proper meter reading (if you are using shutter priority, the camera will choose this for you)
LENS: 70-300mm for the candids and single portraits, 50mm for a posed group shot (avoid wide angle as this will cause distortion!)
WHITE BALANCE: Whatever light you are under (Daylight, overcast, or shade) Or if you shoot RAW, just use auto white balance and fix it later.
FOR INDOOR SHOTS you will have to use flash, so use the settings under the CEREMONY section below.
PROCESSION
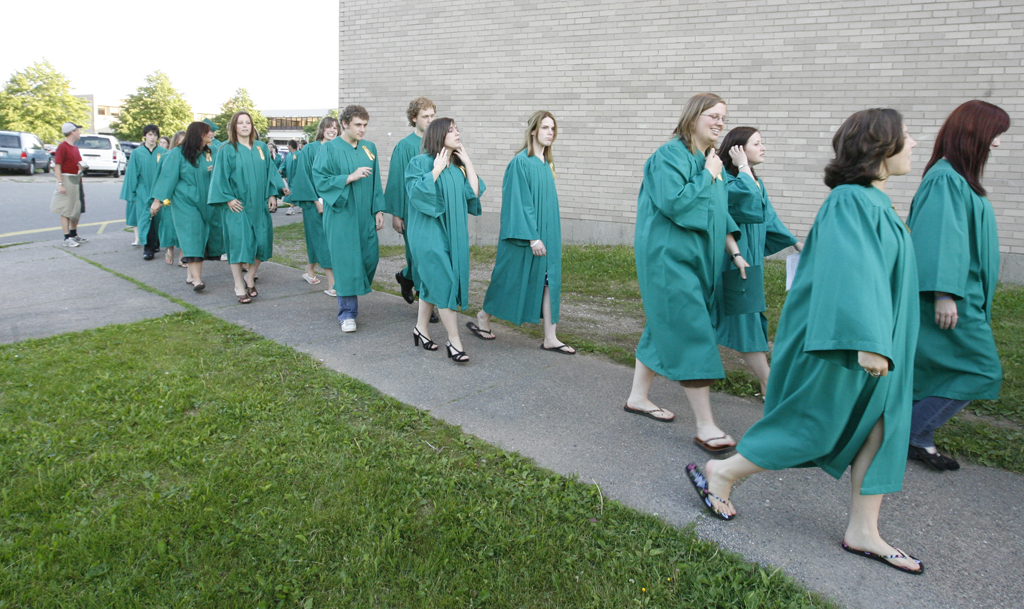
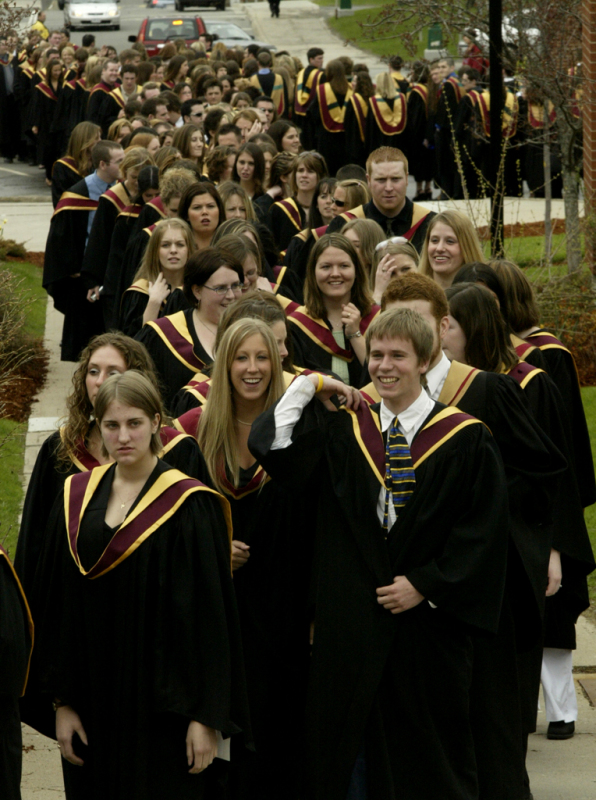
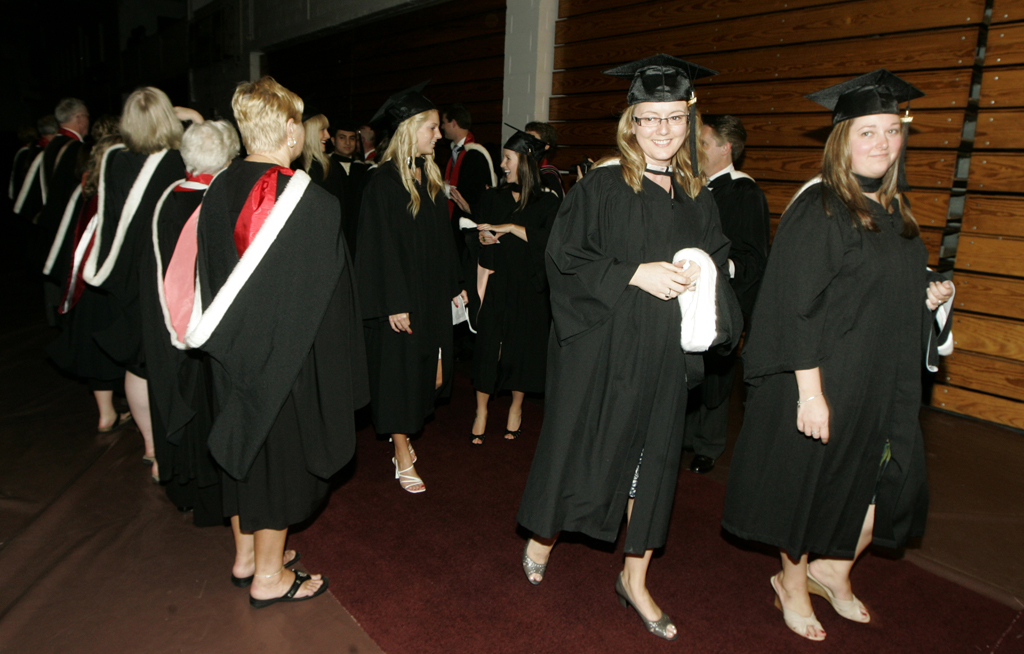
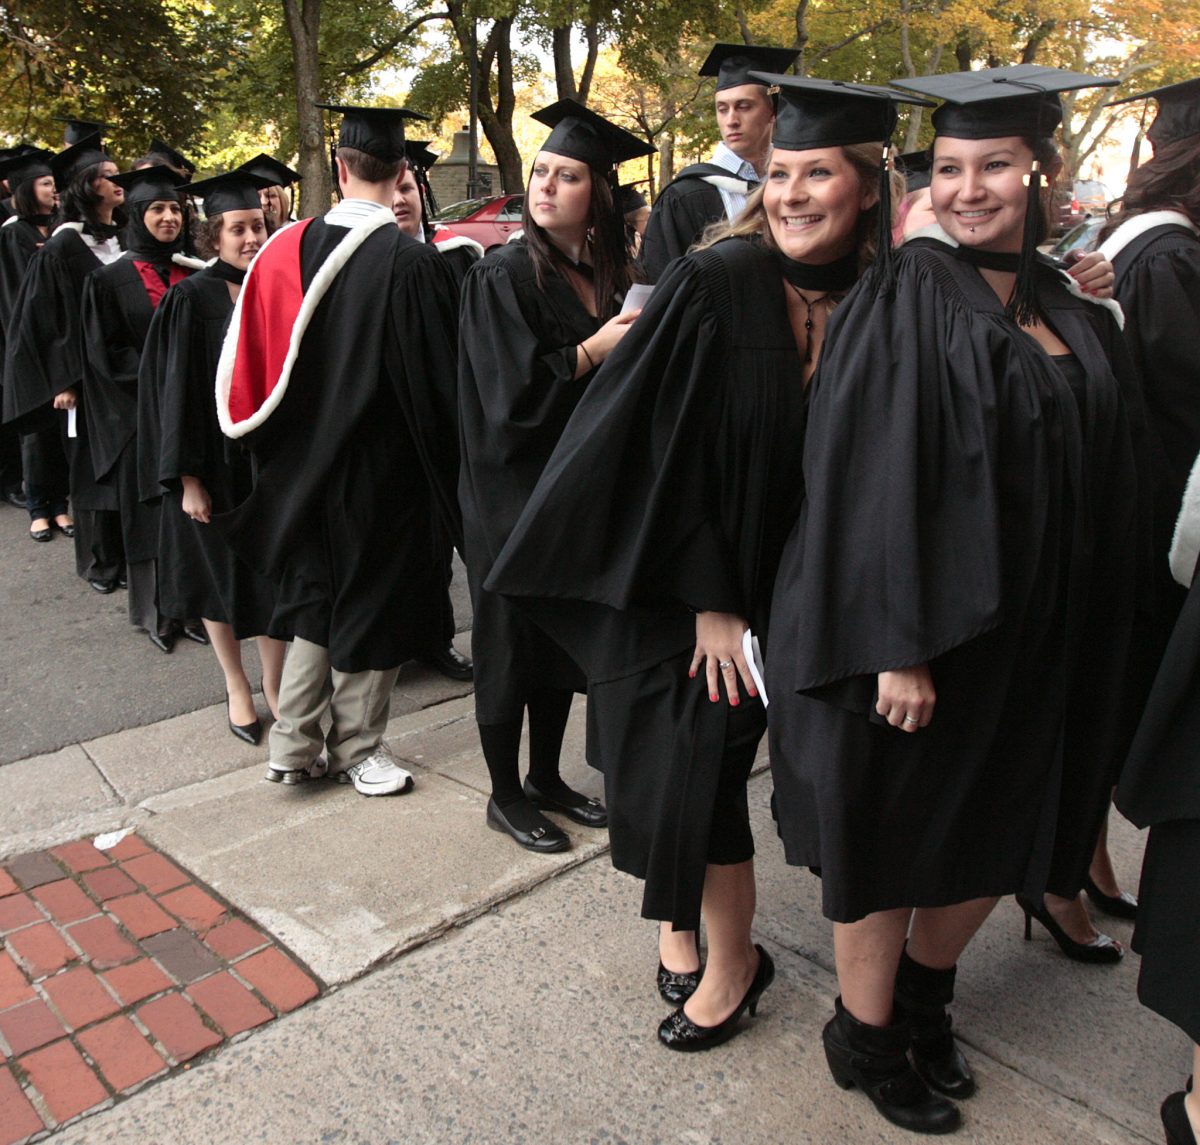
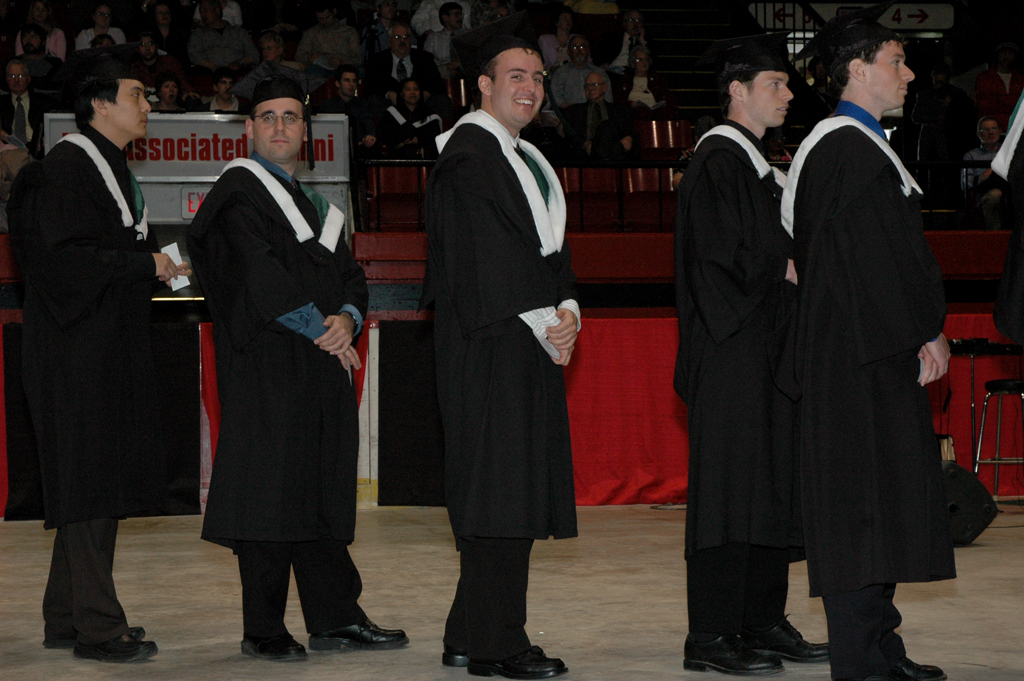
The procession has lots of good possibilities for great photos. You can try a nice wider shot of the line of grads snaking their way to the ceremony, closer shots of your grad and their friends, and of course zooming in on your grad. Look for good expressions, funny moments, natural candid shots. The kids will be joking around, nervous, lots of different emotions.
FOR INDOOR SHOTS you will have to use flash, so use the settings under the CEREMONY section below.
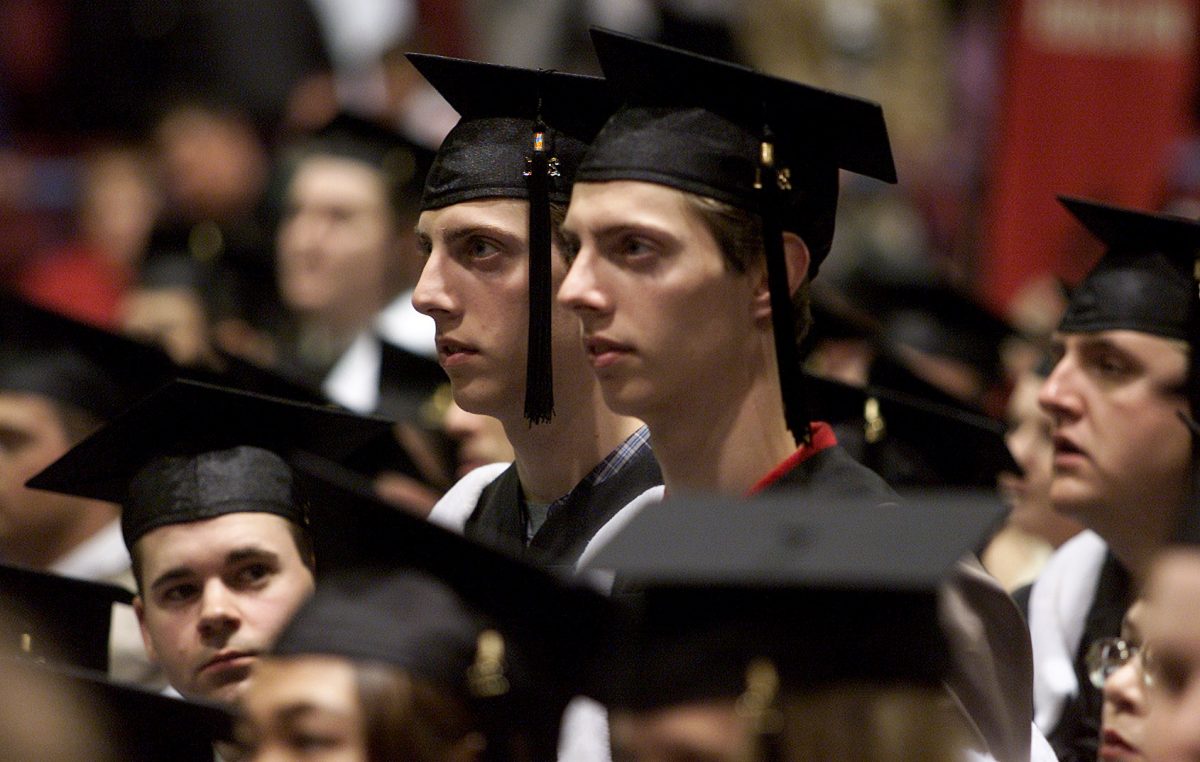
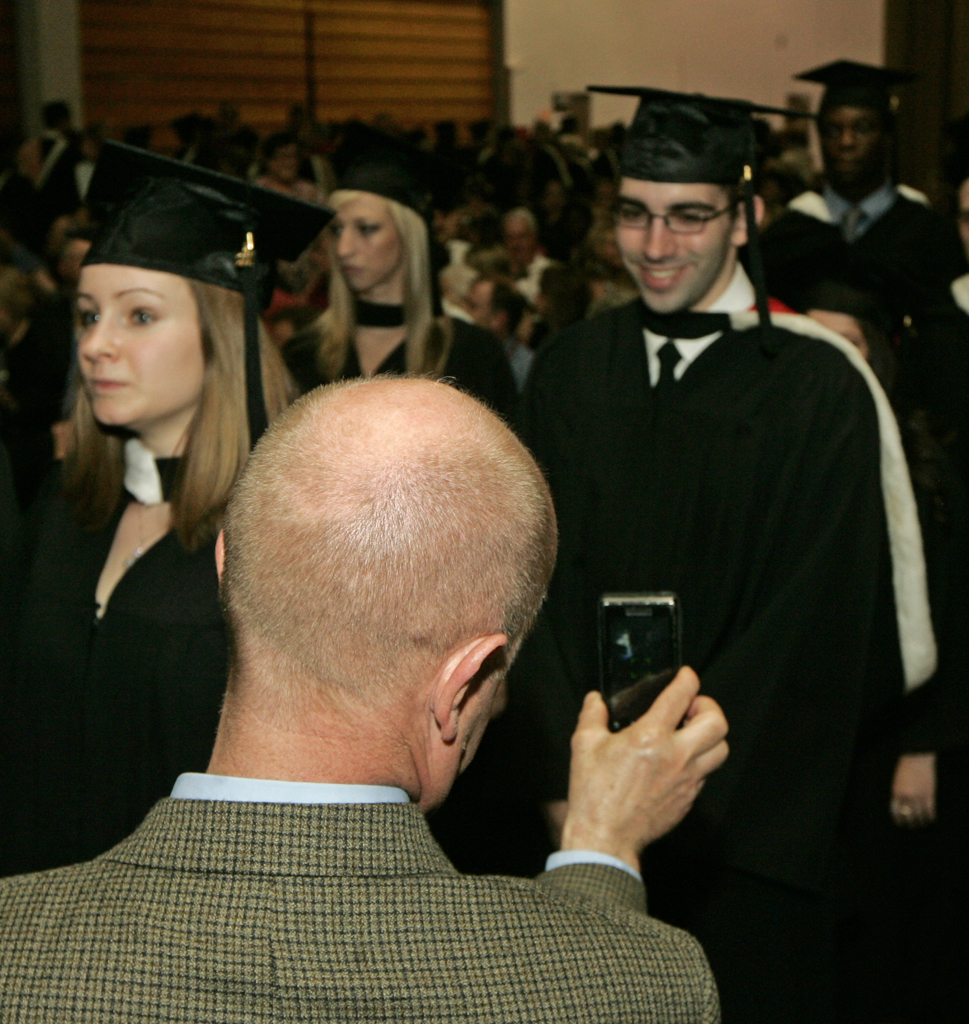
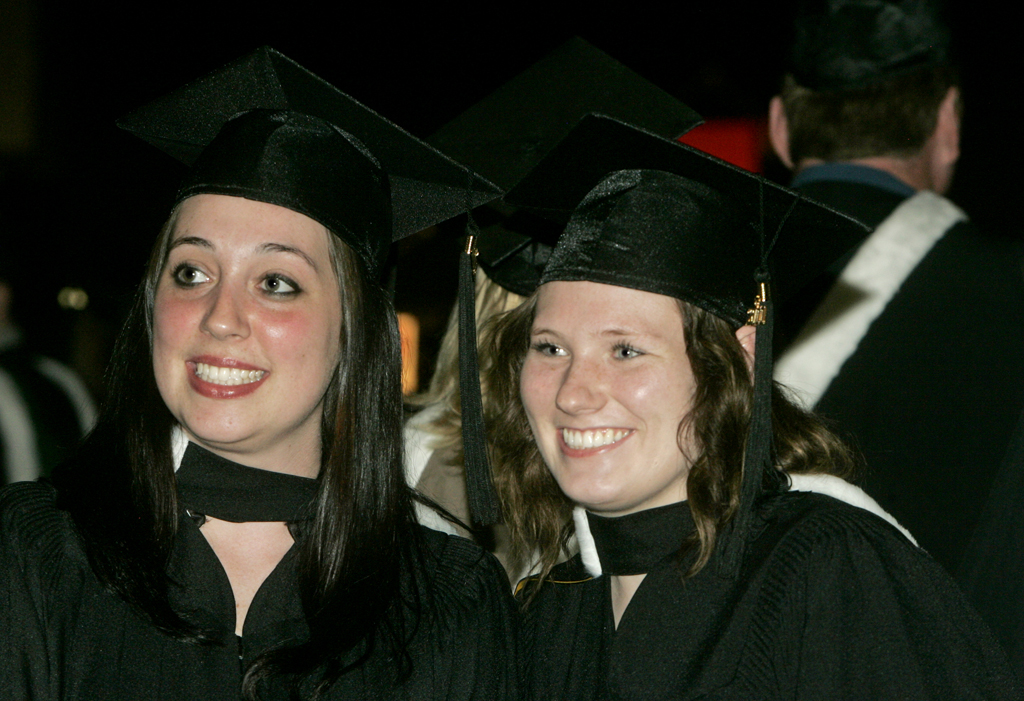
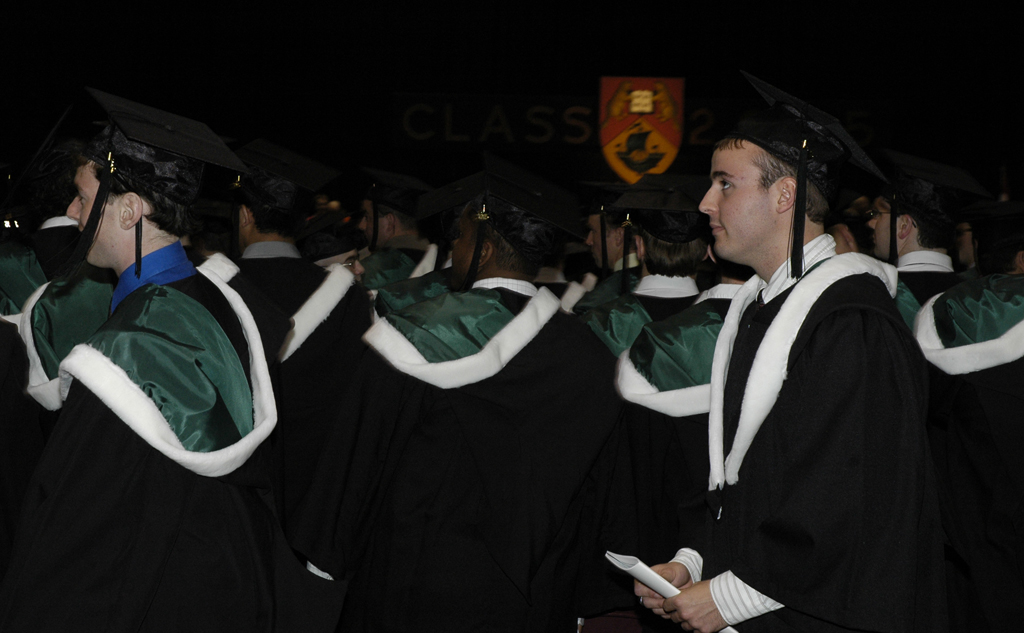
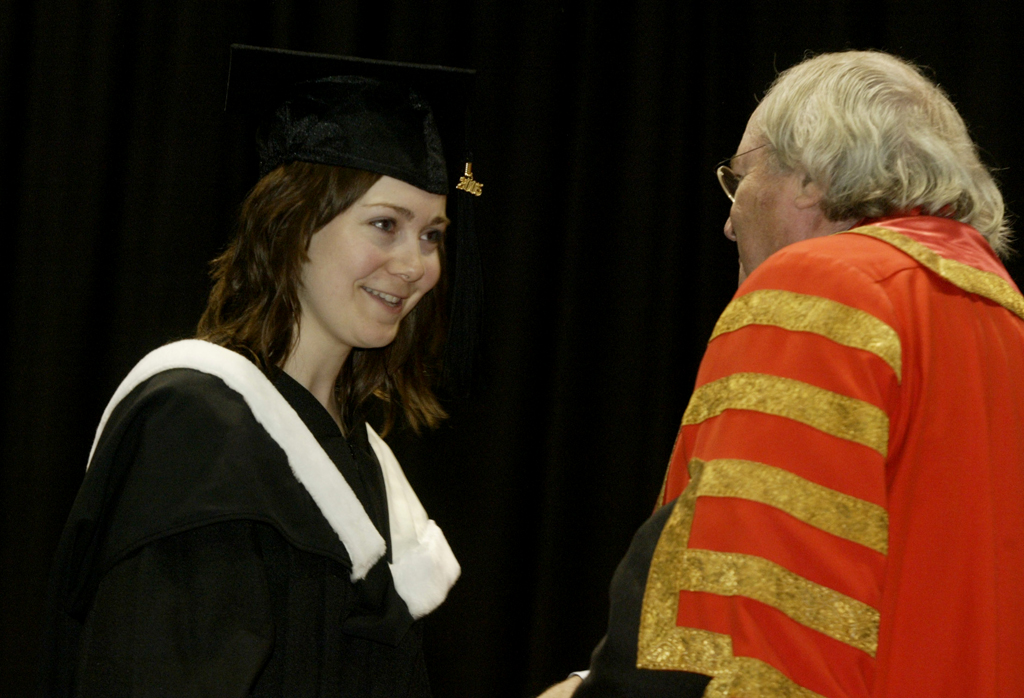
Notice how the faces are all washed out? This is because of the TTL in the flash. It sees lots of black, so it puts out too much flash to try to lighten it up.
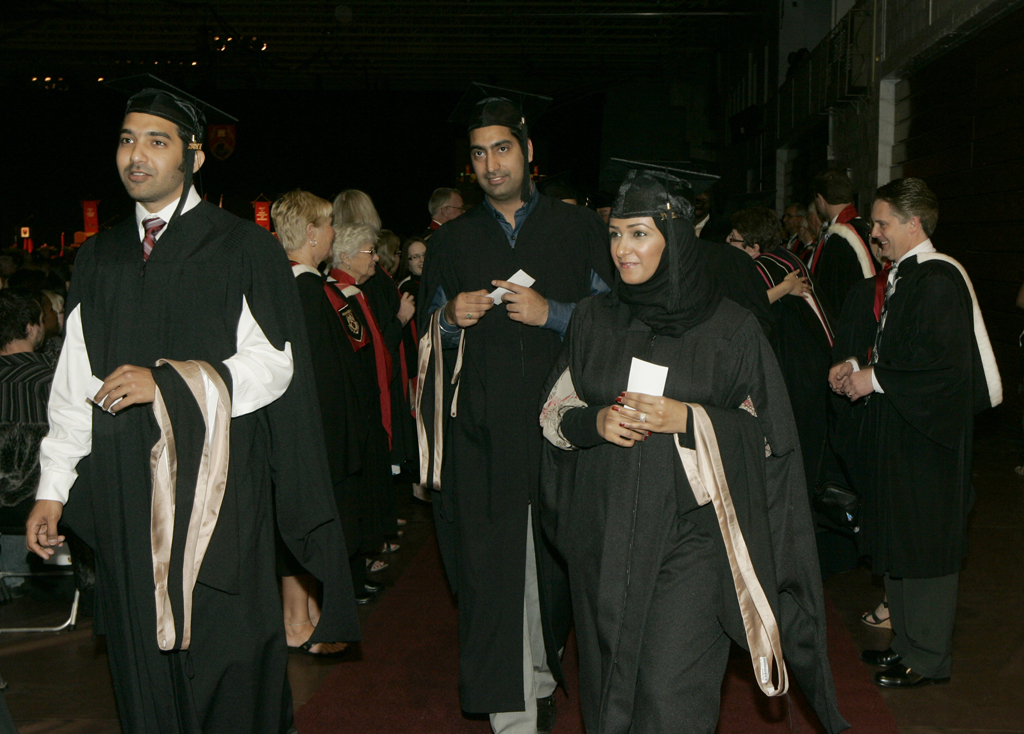
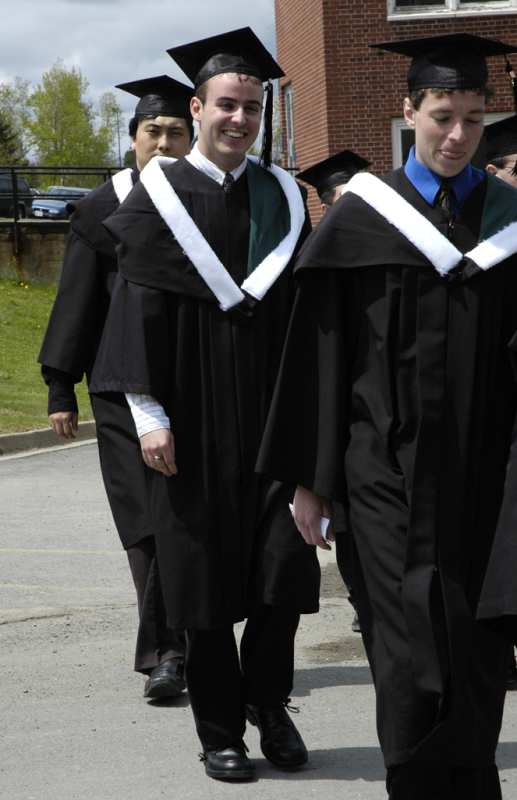
In this photo, the flash exposure has been dialed down 1 stop (-1).
See anything else interesting, fire away! Other parents can provide interesting framing elements, or just nice moments you can capture!
CEREMONY
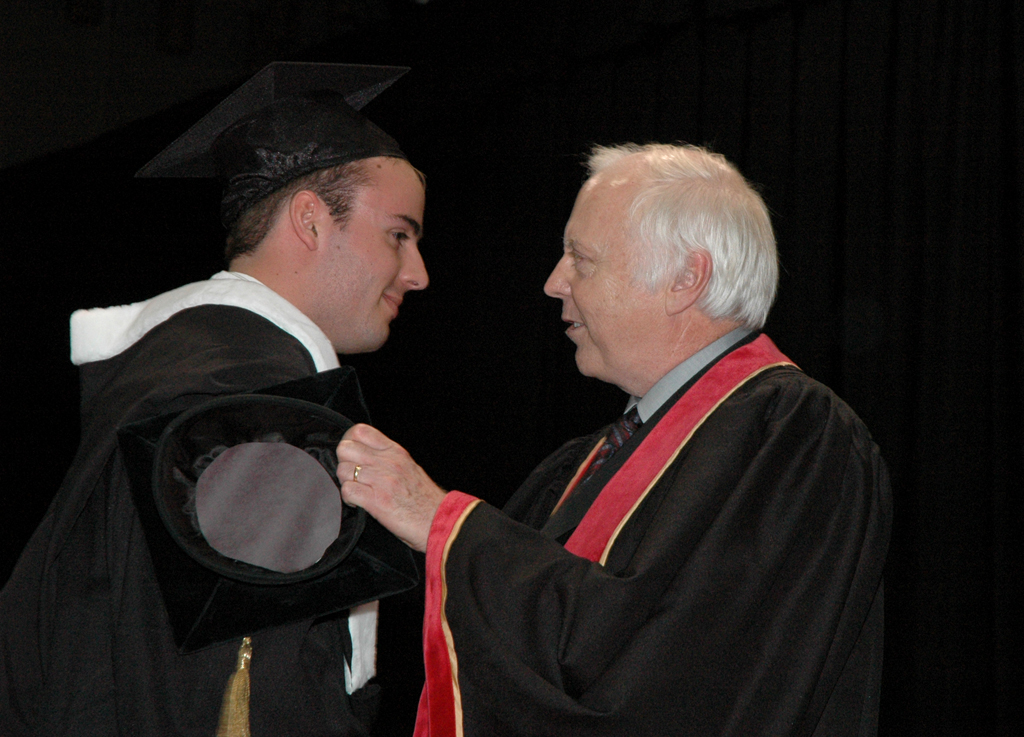
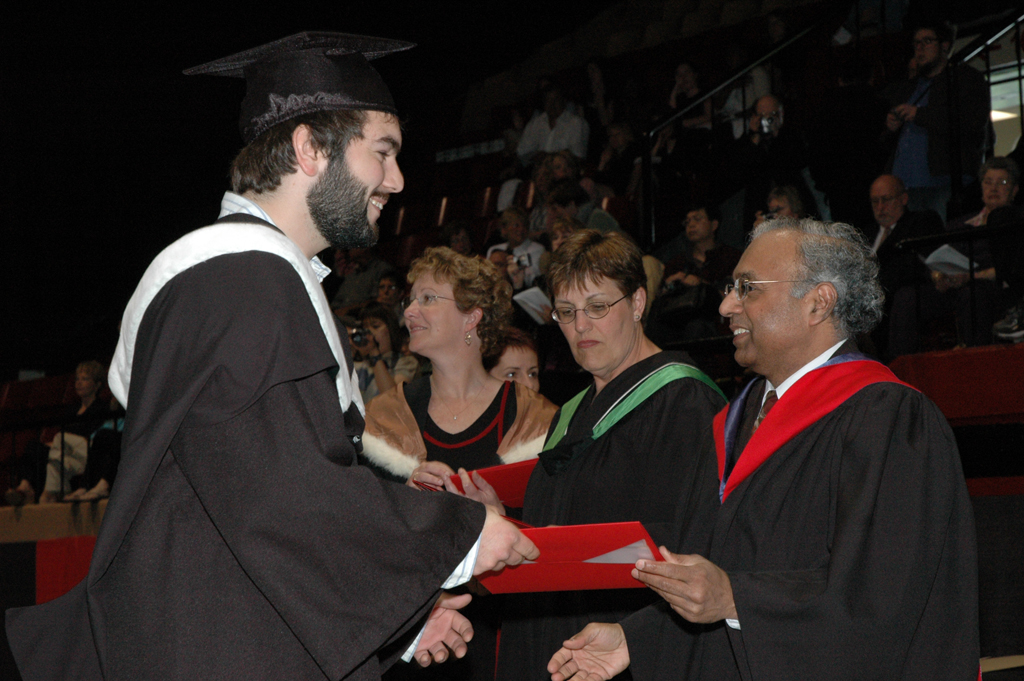
Most ceremonies take place indoors, which is going to mean low light, which will mean having to use the flash. I know, I know…direct flash is not a great light…but it will most likely be the only way you will get a sharp image. Most ceremonies are in poorly lit gymnasiums and arenas.
Now, if you have a really fast 2.8 lens, sure, you might be able to get a fast enough speed (1/500th) to freeze your children going across the stage…but to do that, you will have to probably bump up the ISO still and it will result in a loss in quality. So my recommendation is to use the flash.
You also won’t try to balance the ambient. This is for two reasons:
1) The light will be low, resulting in slow shutter speeds (1/30th or slower). This will result in some lovely camera shake blur along with blurring of the subject.
2) The ambient light (most likely incandescent/tungsten or fluorescent) will also being to mix with the flash, resulting in yellow or green faces.
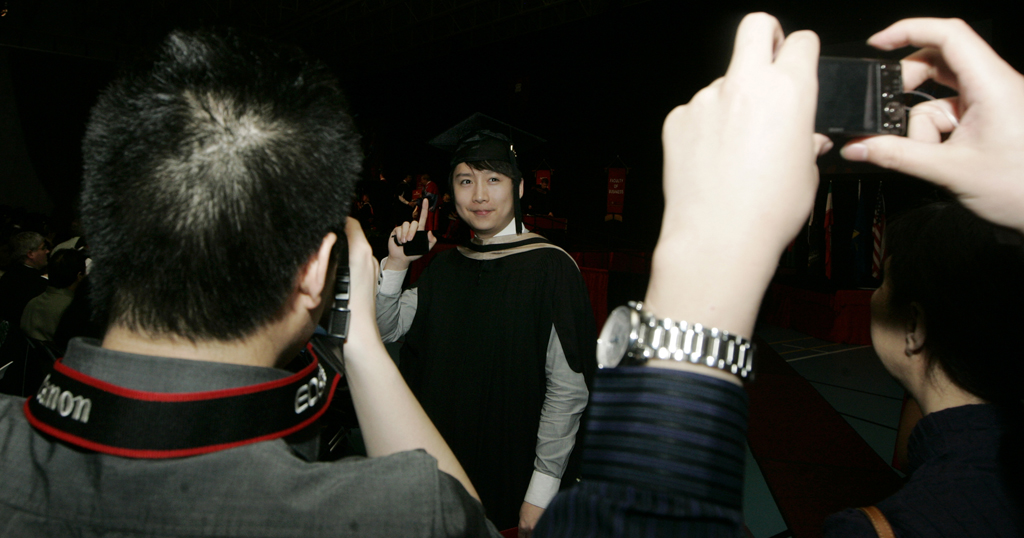
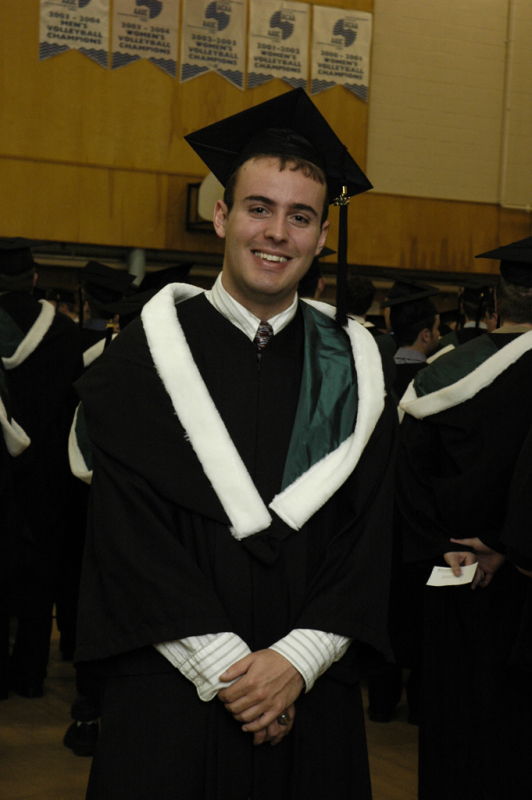
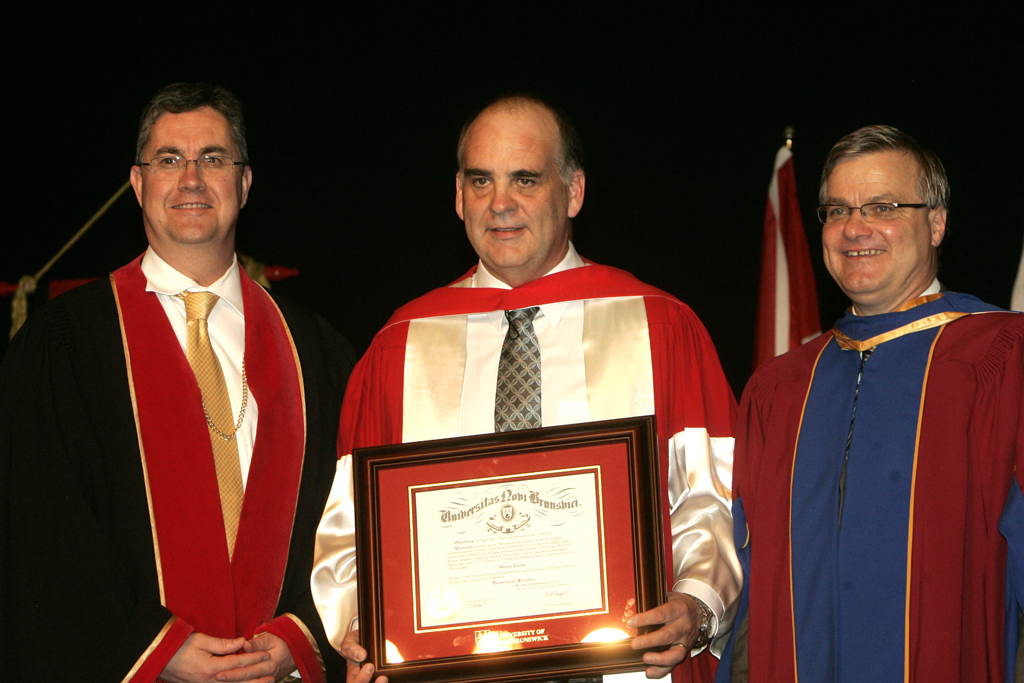
The photo on the left was shot at 1/30th at F5.6. I was able to keep the camera pretty steady, but there is blur if you load the image larger. Look at the color of the image…it’s starting to turn green. The image above on the right was shot with 1/200th at F5.6 using diffused off-camera flash. Yes, the background is dark, but the color is better.
So just light the scene up with the flash and don’t worry about the zero. You could try a diffuser to soften the light for the grad ceremony, but that most likely just cut your range.
Most well run ceremonies have a parents area. When you child is coming up, head there and try to get as close as possible. You will still most likely be far from the stage, so your 70-300mm lens will be the best option. If you have to shoot from your seat or from the aisle, try to stay as low as possible, get your photos, and get back down so you don’t block other parents from getting photographs.
CAMERA SETTINGS (INDOORS)
ISO 400 (800 if you are really far away)
MANUAL MODE
SHUTTER SPEED: 1/200th to prevent possibility of camera shake blur
APERTURE: F5.6 (again, low light, and using this aperture will give you more range with the flash)
METER: Don’t worry about it. The flash is going to light the scene.
FLASH: YES. Use it on TTL, and make sure to use the flash exposure compensation. Put in to the minus to adjust for the black robes/darker background. If you are comfortable with manual flash mode, use it instead and set the power level until you get the distance to the stage.
LENS: 70-300mm, 18-15mm/18-70mm when close
WHITE BALANCE: FLASH
I would highly recommend you do some test shots to check your settings and make sure the flash will be enough. If you are too far back, your pop-up flash will not be able to put out enough light to hit the stage.
CAMERA SETTINGS (OUTDOORS)
ISO: 400 (800 if under a tent or if the sky is heavy overcast)
MANUAL MODE or SHUTTER PRIORITY(TV/S)
SHUTTER SPEED: 1/500th to freeze action
APERTURE: Whatever gets you the proper meter reading (if you are using shutter priority, the camera will choose this for you)
METER: All that black robes will wreak havoc with your meter…so either meter for the faces, find a midtone, or underexpose a bit. If using shutter priority, you’ll have to set your exposure compensation(+/-) to the minus to compensate for the robes.
LENS: 70-300mm, 18-15mm/18-70mm when close
WHITE BALANCE: Whatever light you are under (Daylight, overcast, or shade) Or if you shoot RAW, just use auto white balance and fix it later.
So good luck, enjoy the ceremony and congratulations to your grads as they move on to the next exciting chapter in their lives! (and hopefully out of the house so you can get some peace and quiet!)
Noel Chenier
———————-
Photographer and teacher
NEW! Photography Assignment Generator Apps now available on the app store!
https://itunes.apple.com/ca/artist/noel-chenier/id566645905Noel’s Portfolio http://www.noelchenier.ca
Noel’s Photo Tips Blog http://noelchenier.blogspot.com
Work Done by My Students! http://www.learnphoto.ca/gallery
Contact Email: noel@noelchenier.ca
(8067)

