

On Wednesday March 20th, we will be treated to yet another “super moon”!
Reality is, it’s not really THAT much larger than usual…but it does make it a bit larger for photographing and will allow you to potentially capture more detail.
So if you are raring to capture it, here are some tips on how get great photographs of the super moon.
FIND A GOOD LOCATION
You’ll want a location that is as high up as possible, facing east for moonrise, west for moonset.
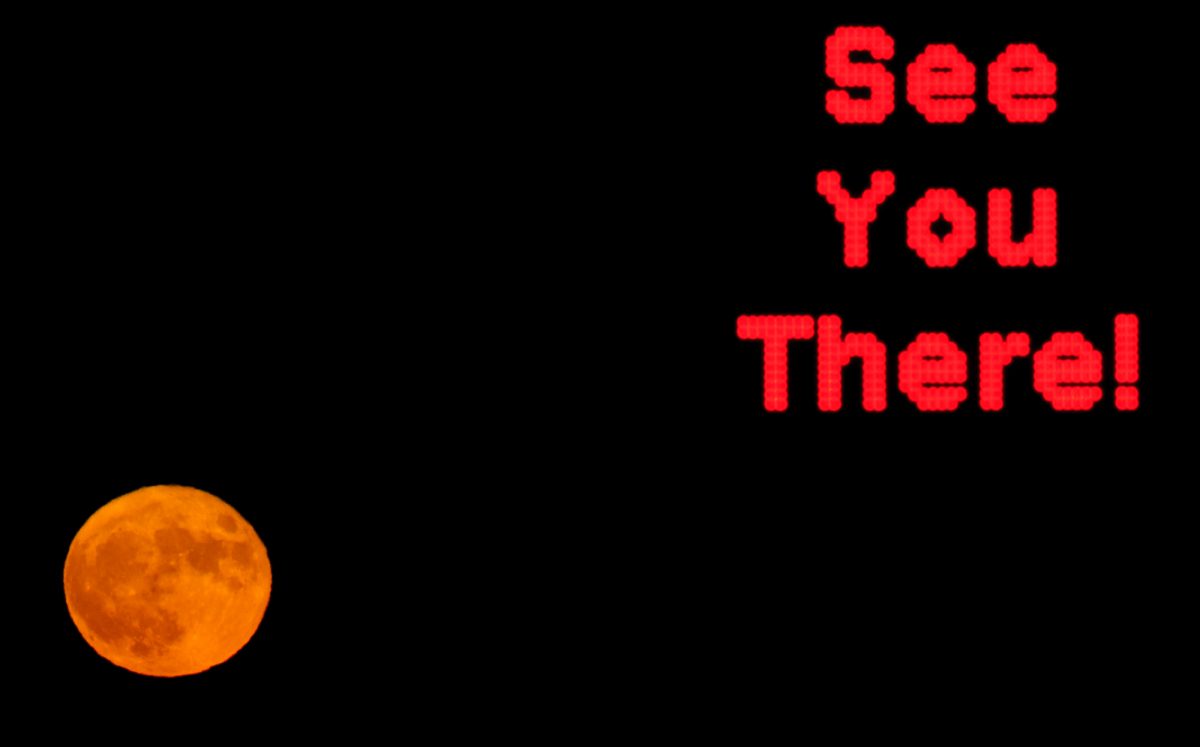
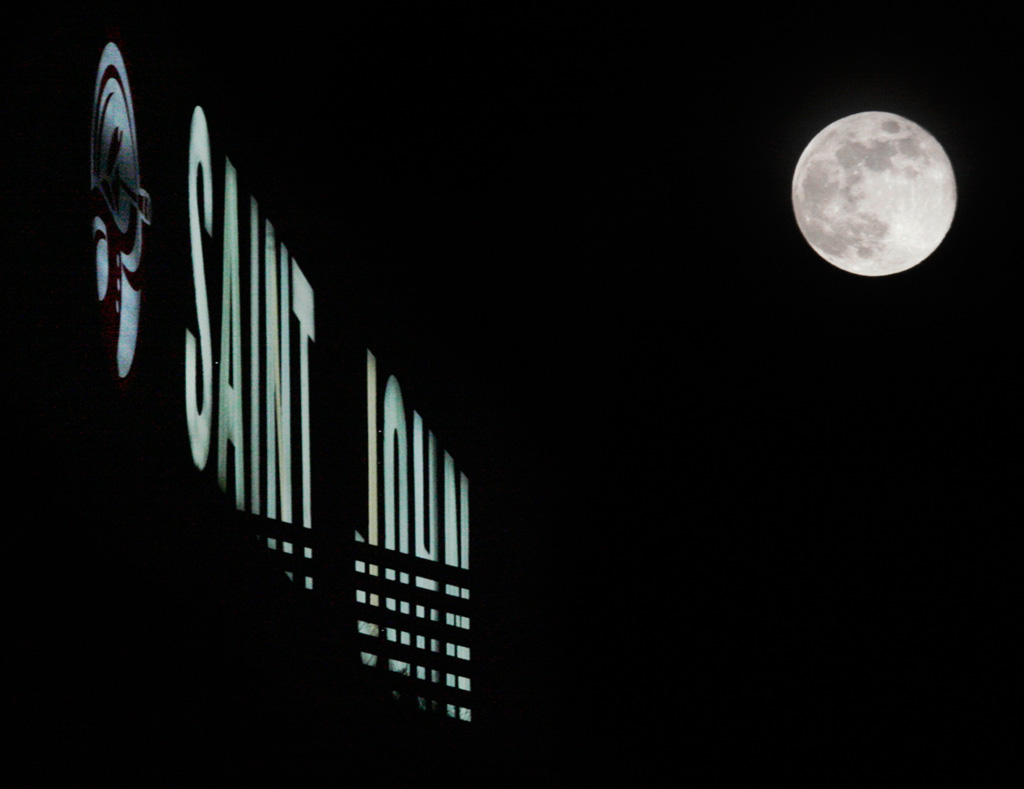
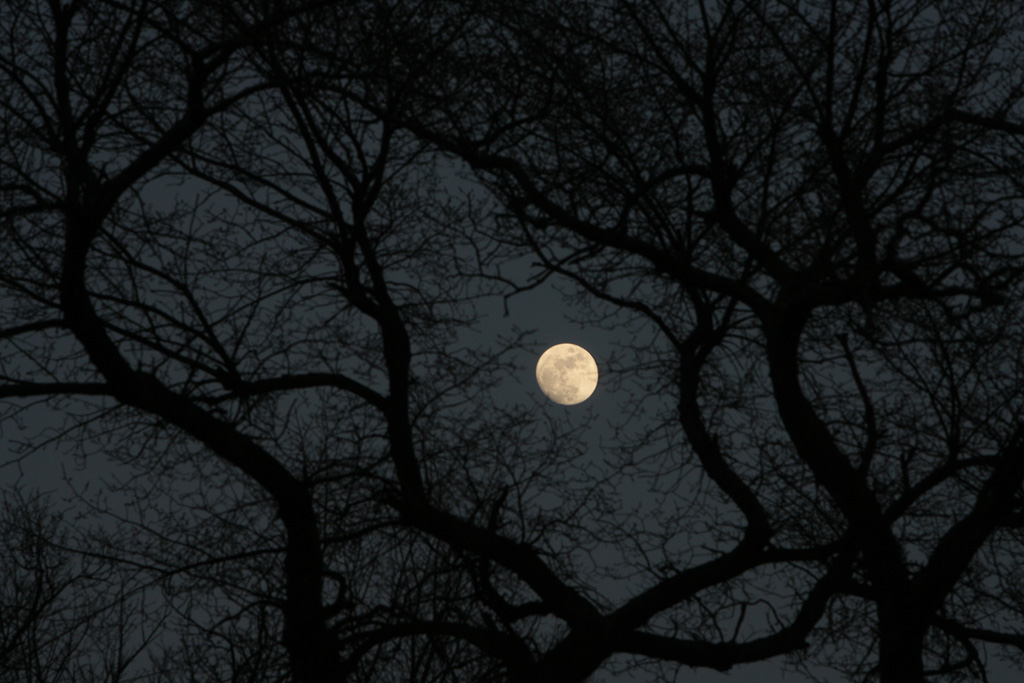
If you wish to show off the size of the super moon, you will want to find a building, local landmark, or structure that can show the scale nicely. If possible, it would be better to have something that is very brightly lit up, like a building, or something that has a nice shape that could be silhouetted against the moon. Since you will be zooming in quite a bit to get the moon large, you will need to be quite far back from the building.
To find out the exact position the moon will be in the sky as it rises, use an app like Sky Guide (iOS) Sky View (iOS or Android) or the Photographer’s Ephemeris (iOS or Android or web based). These apps can show you the position of the moon when it rises. If you have time Monday evening or early Tuesday, go scouting!
WHEN TO SHOOT THE MOON
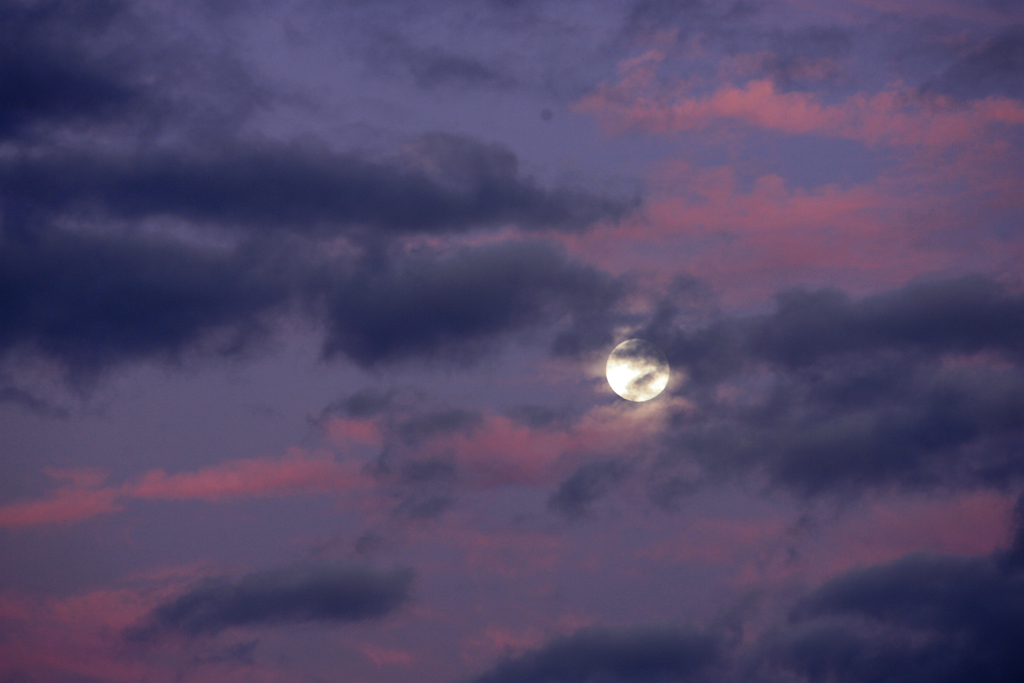
The best time to shoot the moon is when it is full and as it begins to rise or set, since it appears larger and will be nice and colorful. The super moon will be setting around 7:35am Atlantic time, then is expected to rise just after 7pm Atlantic time. To find out times where you are, check out Time and Date.
LENS
The bigger the lens, the better. Even though the moon will be larger than normal, you most likely won’t be able to get it very large in the frame with your regular 70-300mm lens. A 200-500mm or 150-600mm lens would be preferred. If you don’t have a big lens, just zoom in a close as you can and crop in later.
TRIPOD?
Since you will be using a larger lens, I would recommend using a tripod. Make sure you turn off the image stabilization(IS), vibration reduction(VR) or optical stabilizer(OS) on the lens, as when you use it on a tripod it can actually CREATE blur. Makes no sense, but I’ve seen it. So make sure it’s OFF!
CAMERA SETTINGS
If you are trying to get a detailed shot of the moon, as stated above you most likely will have to crop in. So you will want to get the best quality possible. Make sure your camera image quality is set to the highest megapixel setting so you have to get as much detail as possible. I would recommend shooting RAW, but if you aren’t familiary with it and are only shooting JPEG, then make sure the JPEG quality is set to the best quality too. If your camera has different RAW settings for megapixels, make sure they are set to the highest quality.
FOCUSING
Use MANUAL focus. It’s possible your camera might be able to focus on the moon if you move your AF point onto it, but it’s just easier to do manual focus. If you are having a hard time focusing, try putting the moon completely out of focus and pull back.
EXPOSING FOR THE MOON
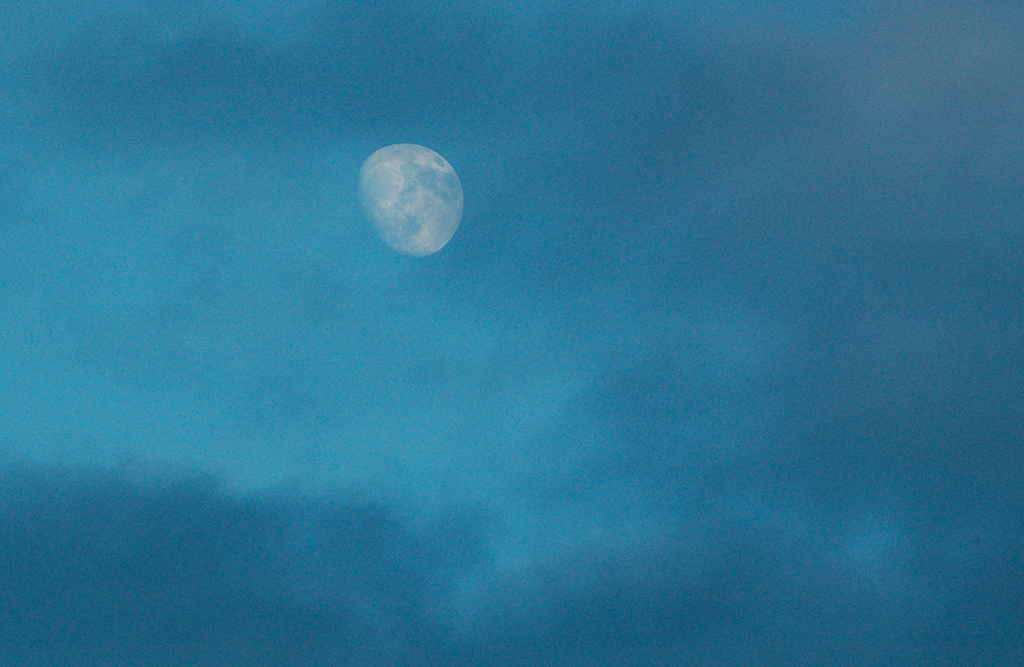
If you’ve tried to take a photo of the moon, most likely you ended up with a photo like this:
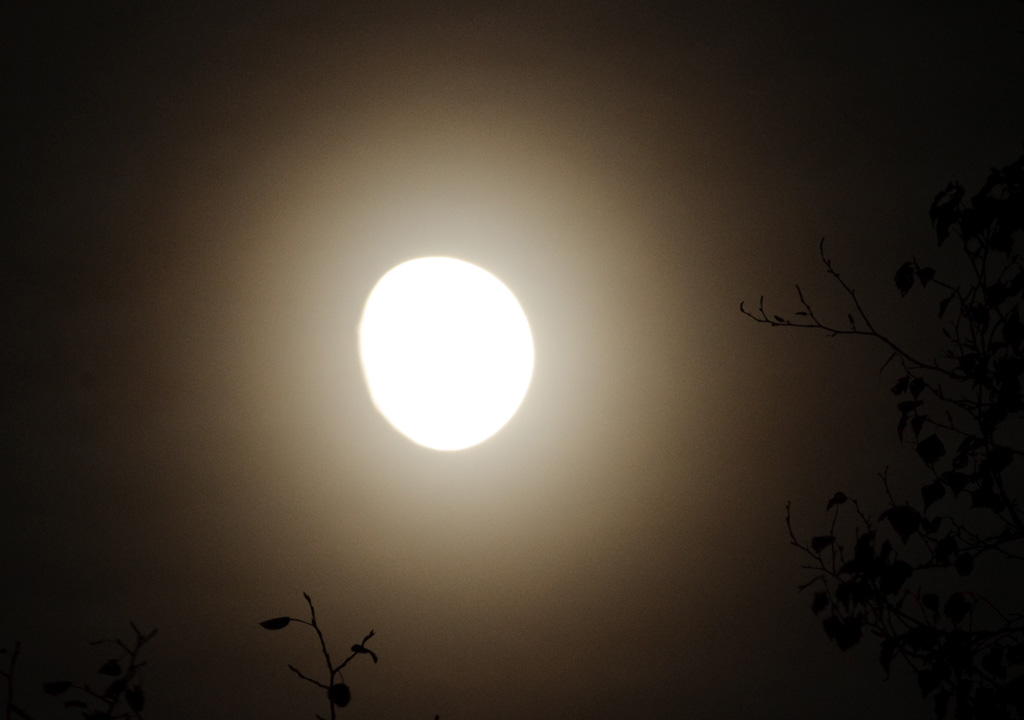
That’s because most camera meters average out what they are seeing, and since the moon is very small in the frame, they take more of the darker areas into account, resulting in an overexposed moon.
Even with the moon being super, it’s not really possible for your camera meter to get the proper exposure for the moon. A spot meter can get you sort of close, but the moon is really far away.
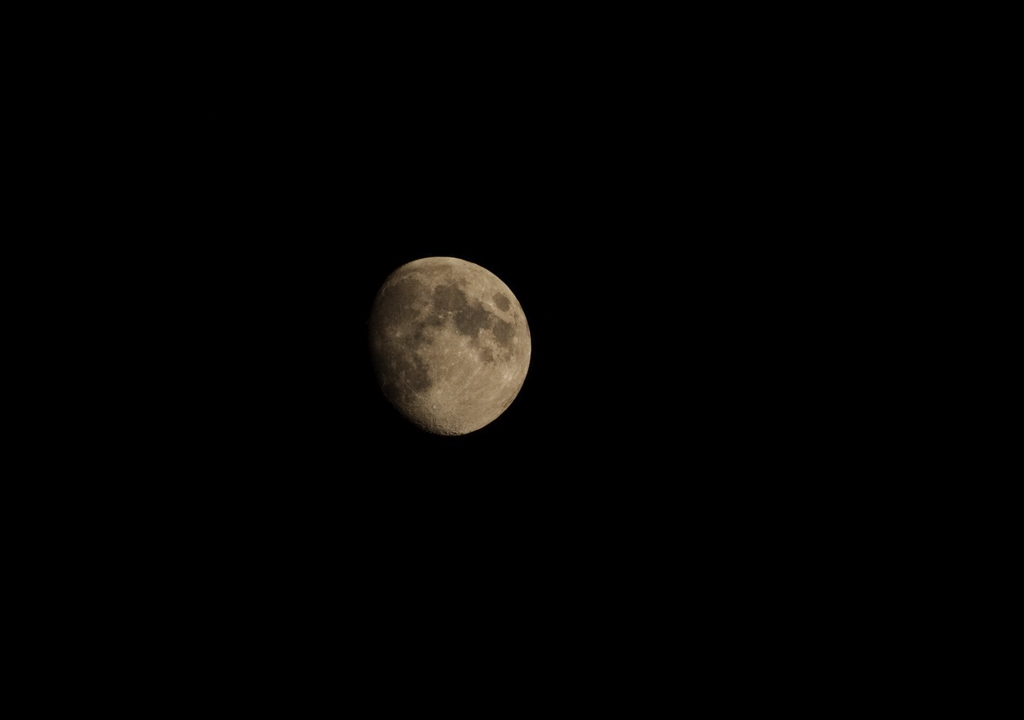
However, there is a generic exposure for the moon!
Think for a second…why can we see the moon?
Answer: Because it’s being lit by the sun.
That sun light is the same light that is shining on you during the day, so you can use the “sunny 16 rule” to figure out the exposure.
For the “sunny 16 rule” you will need to use Manual (M) shooting mode and:
-set the ISO you wish to use
-set the shutter speed equal, or just slightly slower, than the ISO you just set
-set the aperture of F16
-ignore the fact the meter is in the minus…that is where it should be
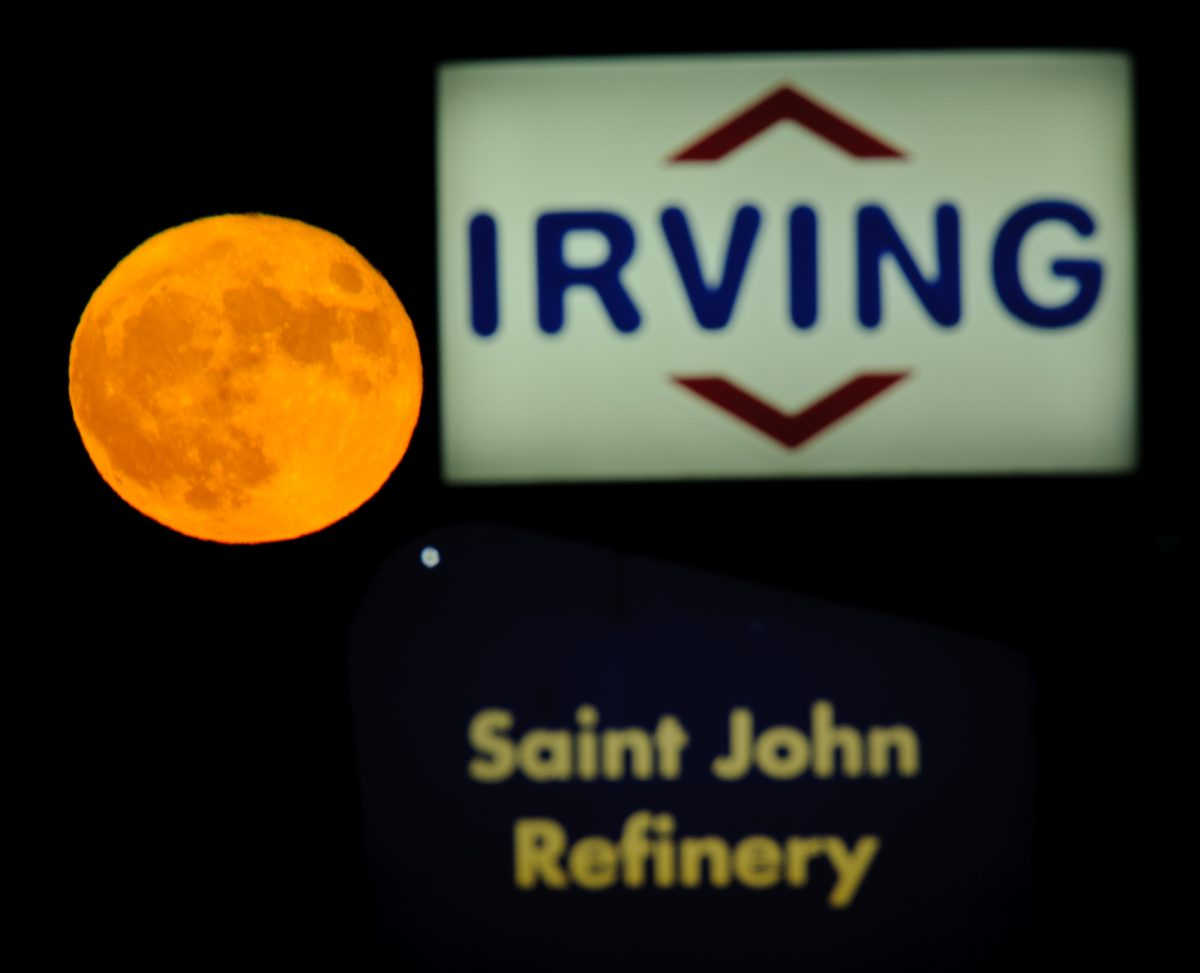
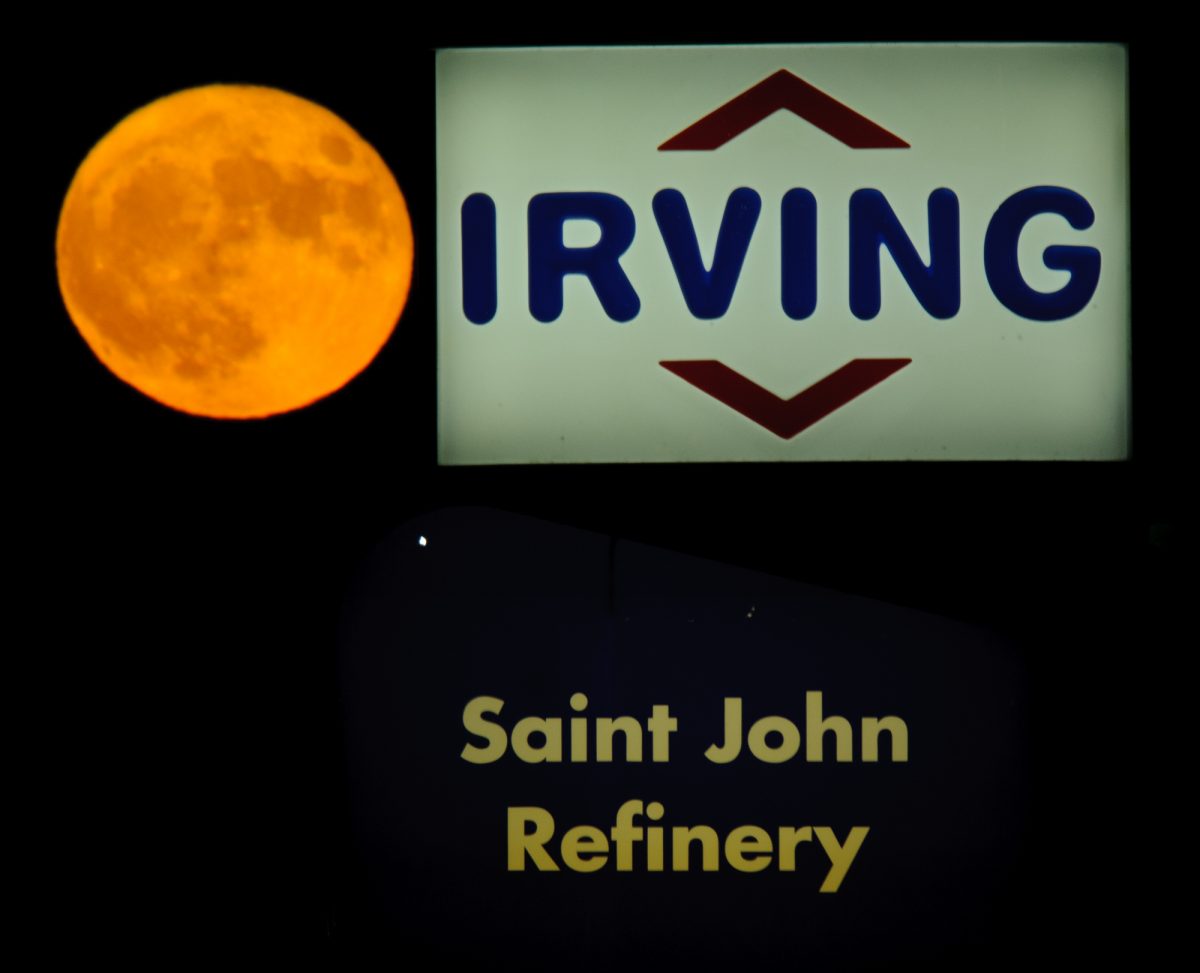
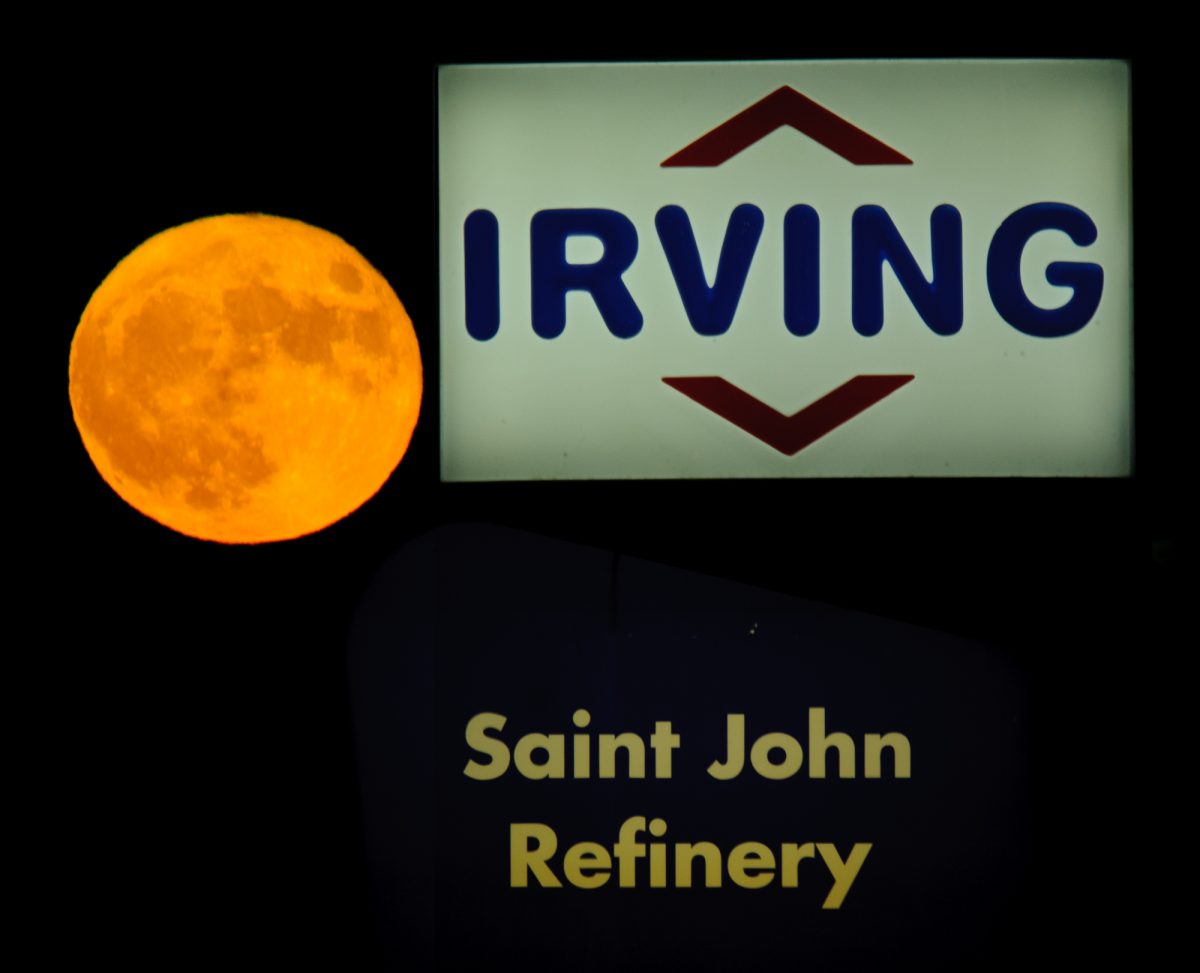
So for example, using 400 ISO, set 1/400th/s as your shutter speed and select f16 for your aperture and you will get a nice detailed man in the moon…like this:
Now, that is for when the moon is high in the sky. As the moon rises and sets, the light from the sun gets filtered through our atmosphere, which cuts down the light, but also makes the moon look nice and warm yellow/orange. So you will need to use a different exposure for moon rise and set.
From my experience, I would start with exposures of 1/200th of a second at 5.6 ISO 400 and adjust if necessary.
As always, I would recommend over and under exposing (bracketing) to see the effect it has on exposure.
MORE TIPS BELOW!
I hope you find these tips useful! If so, it would be awesome if you would check out my LearnPhoto365 Photography Assignment Generator Apps on the app store and the Google Play store, a unique photography app that's meant to inspire you to take great photos!
 Perfect for anyone taking part in a Photo 365 challenge, there are over a hundred individual assignments and hundreds of thousands of potential random ones. Versions available for both iOS and Android including free versions so you can try them out! Full details, including reviews and tour videos of the apps can be found at www.learnphoto365.com/apps Even if you only download the free version that would help get it up the app store lists!
MOON EXPOSURE AND AMBIENT EXPOSURE
The only problem exposing for the moon is that anything else in the frame will not get enough exposure, as the exposure to get good moon detail is probably a thousand times brighter than the light in the rest of the scene.
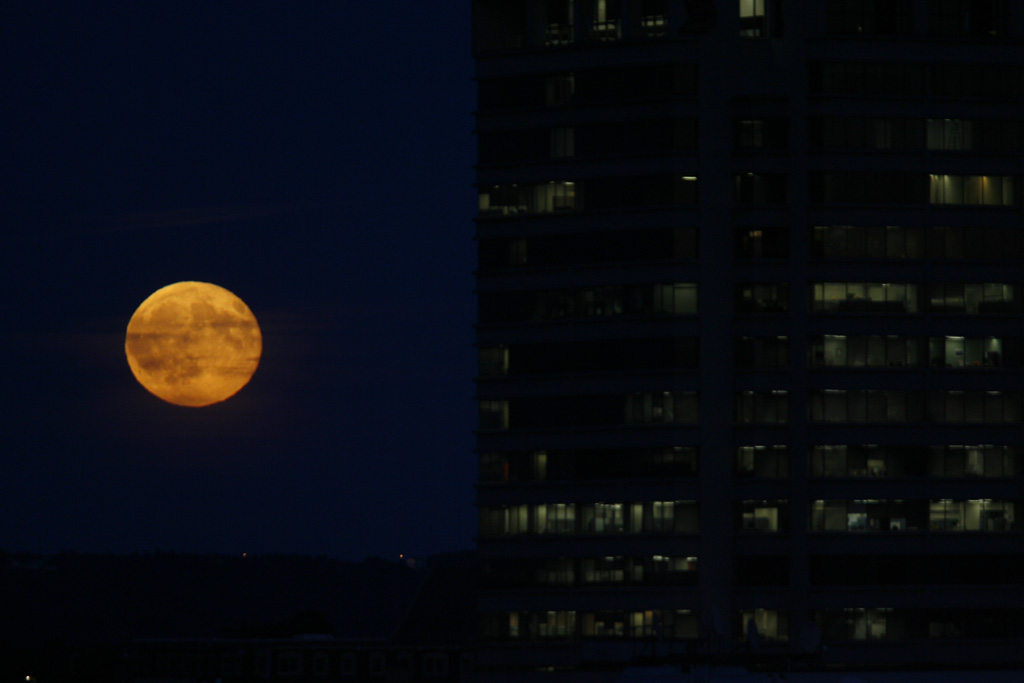
If you use long shutter speeds to get a good exposure for the rest of the scene, the moon will become a glowing disk.

Occasionaly you might luck out and the ambient light matches the moon light.
Usually the only way to get a properly exposed moon and land is to do a multiple exposure in camera, take two exposures and combine them in photoshop, or use photoshop to lighten up the landscape or darken the moon down to balance them out.

Sometimes the moon will rise when there is still sunlight shining on the subjects, resulting in an equal exposure.This may be the case with this occurance, so you may be able to get more detail in the landscape!
BIG LENSES MEAN NO DEPTH OF FIELD
The other issue with using a large lens to record the moon is that even if you can get another subject in the frame, unless they are very far away there is no way to get them both in focus. Focus on the moon, subject is out of focus. Focus on the subject, moon is out of focus.
The only way to get them both would be to combine the images in Photoshop, which actually works pretty well since the subject will most likely be surrounded by darkness and makes it easier to blend them.
If you are totally into science, check out this article on the super moon at Earthysky.org.
Good luck! I hope you have clear skies and this post helps you get great photos of the super moon.
Happy Shooting!
Noel
Want to make sure you get all the latest posts and info? Subscribe!
Noel Chenier
———-
Photographer and teacher
Connect with Noel on INSTAGRAM or TWITTER or via EMAIL
Photography Assignment Generator Apps now available on the app store!
Noel’s Portfolio
Work Done by My Students!
More Photo Tips
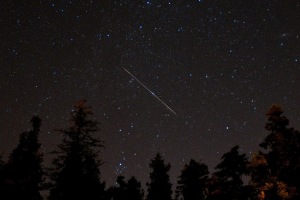
How to Photograph the Orionid Meteor Shower
What the #$%^ Did the Photo Lab Do To My Picture?!?!?!
Some Friday the 13th Themed Photo Tips!
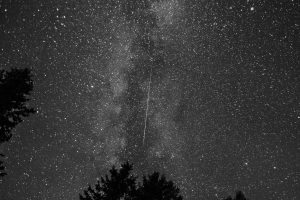
How to Photograph the Lyrids Meteor Shower
How To Photograph The Draconids Meteor Shower
(606)