
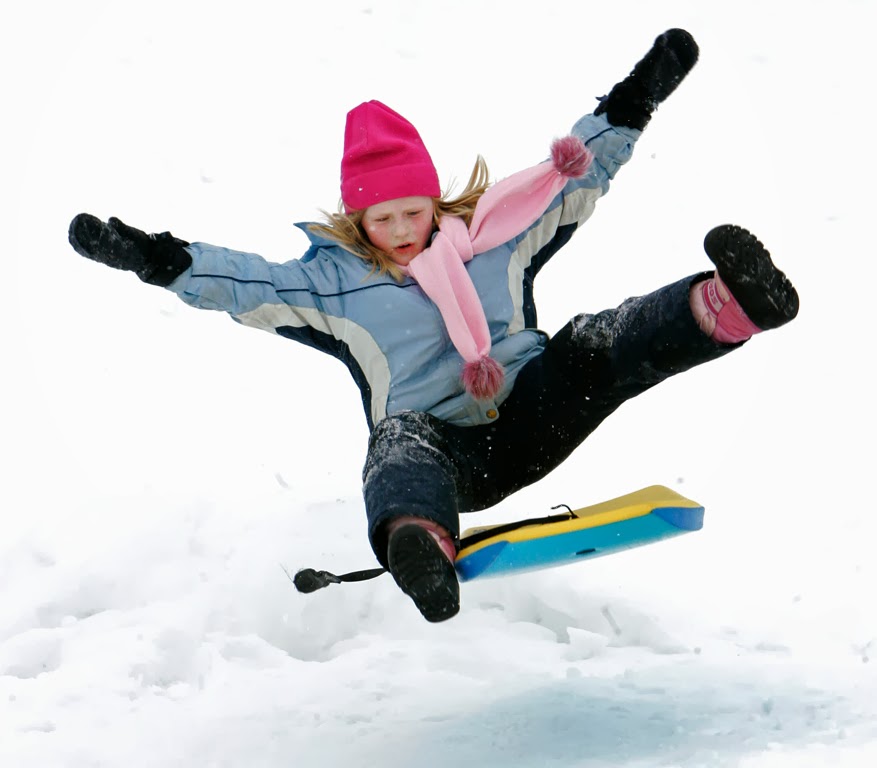
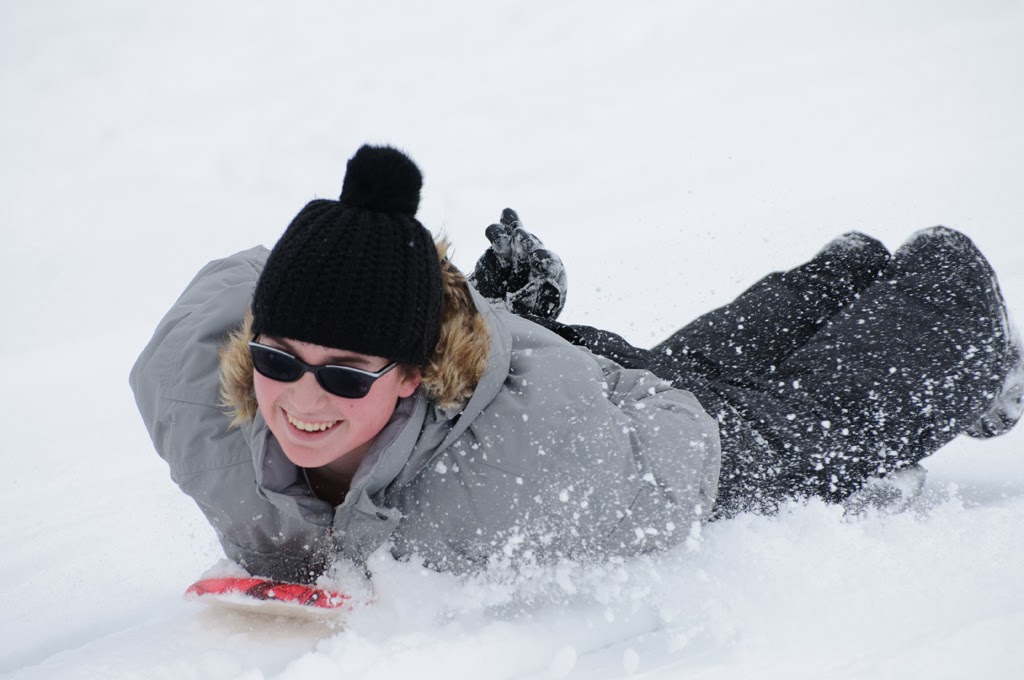
Nothing beats zooming down an icy, snow covered landscape on a small piece of plastic with nothing but your feet between you and certain death.
If you are heading out to enjoy a day of sliding and want to take some great photos, here are some tips! (Feel free to share with your friends via the Twitter/Facebook links at the end!)
CAMERA SETTINGS
ISO
The ISO you choose really all depends on the light. If you’ve got a bright sunny day, ISO 400. If it’s overcast, ISO 800. If it’s overcast and really dark, you may have to go to 1250-1600 .
AUTOFOCUS MODE
Since you are photographing a fast moving subject, you should be using continuous autofocus The setting is AF-C for Nikon, Sony, Pentax or AI SERVO on Canon. I would also suggest you set the focus point to the middle.
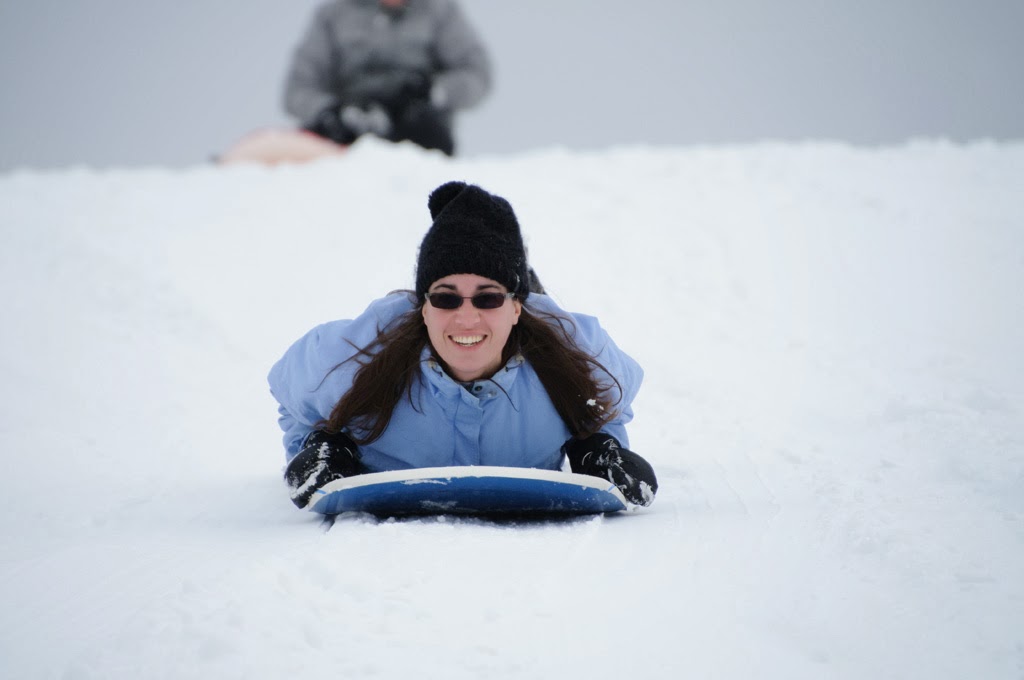
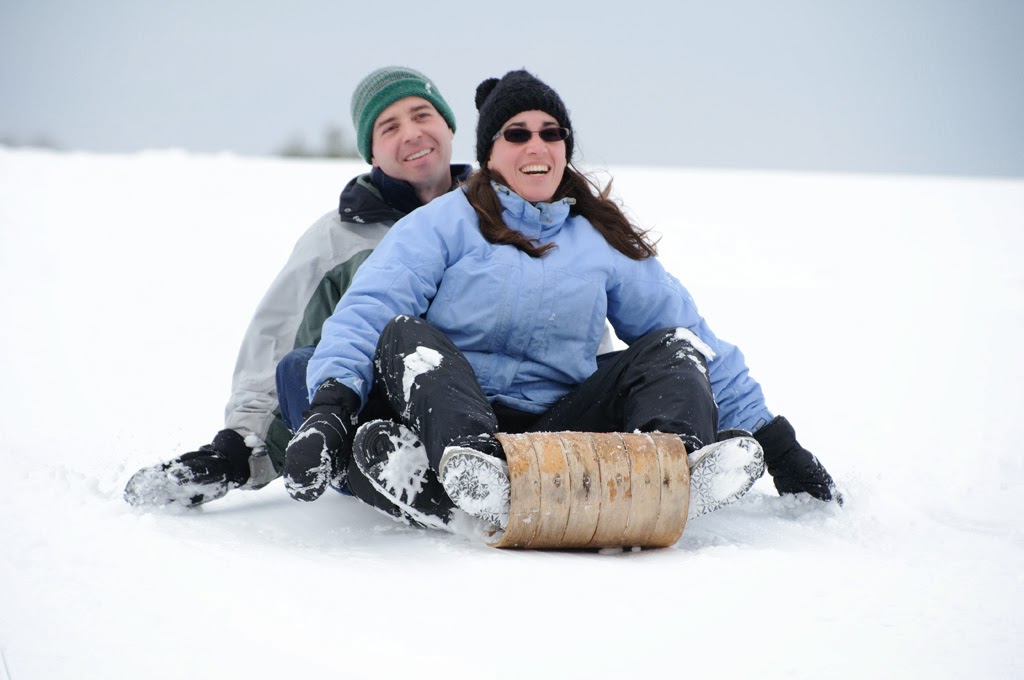
To see why, here’s a comparison of two sets of images, one taken with SINGLE SHOT(ONE SHOT or AF-S):
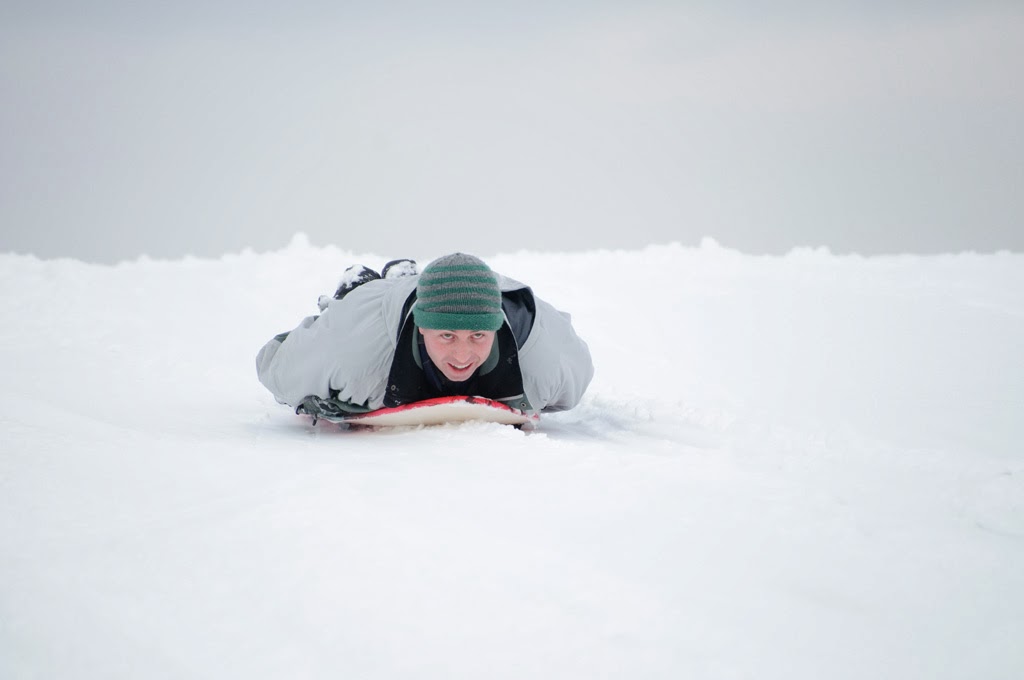
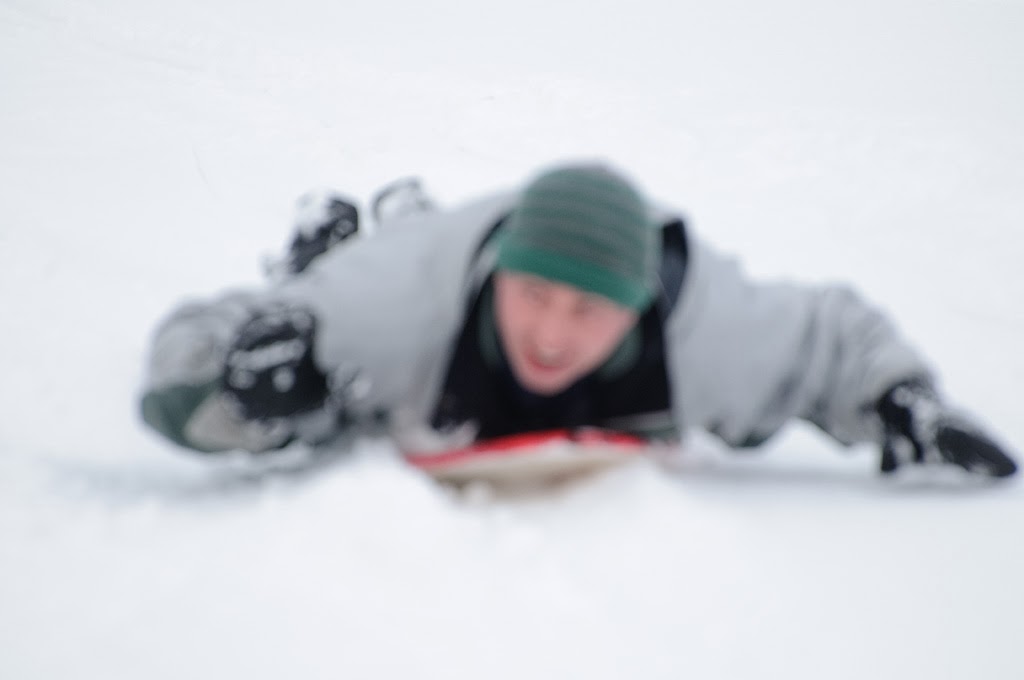
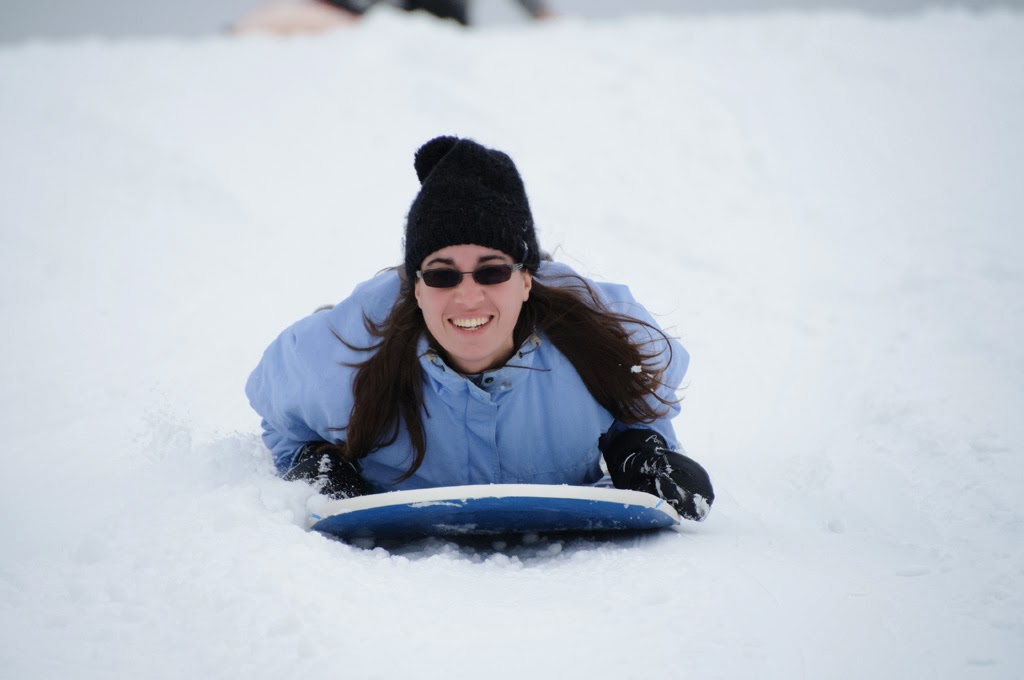
Only the first image is sharp, and the rest become more and more out of focus because the focus point is locked at the start.
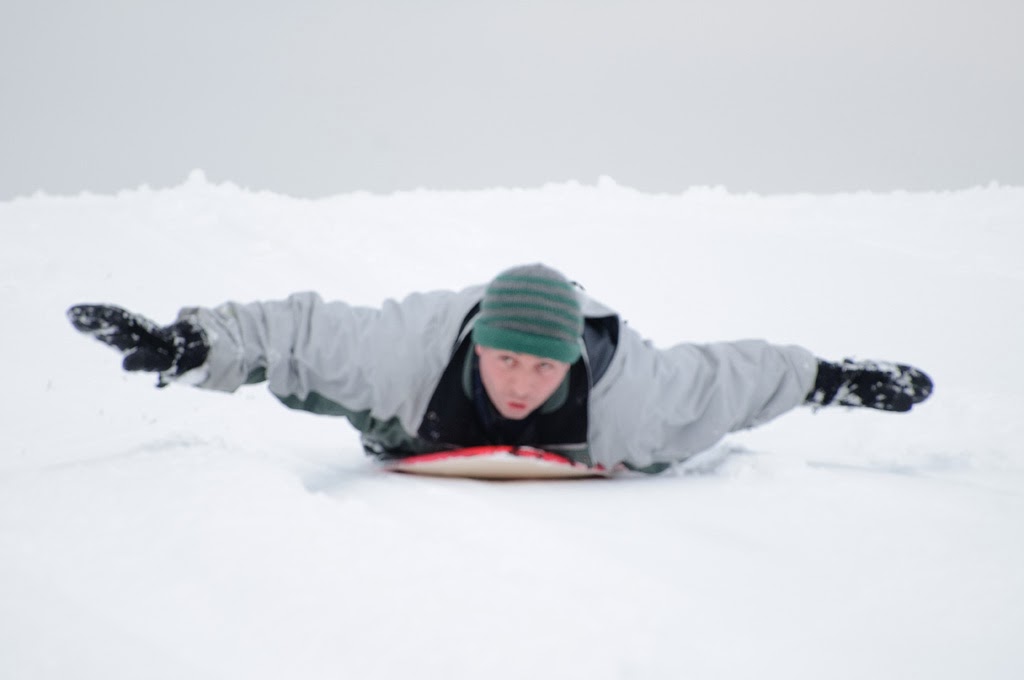
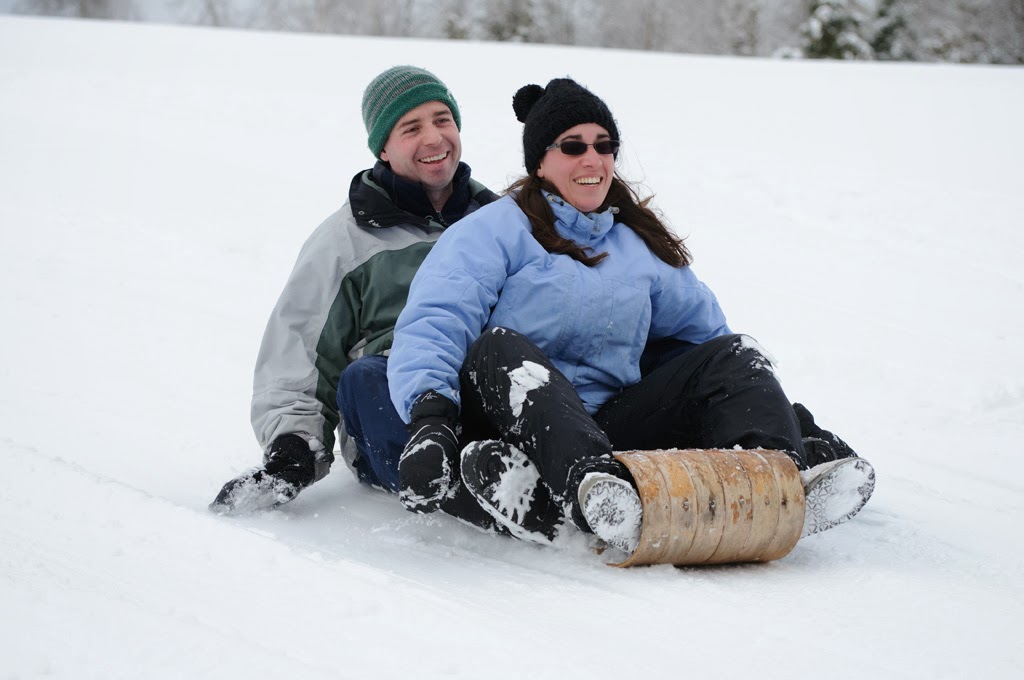
Now lets take look at one taken with CONTINUOUS(AF-C or AI SERVO)
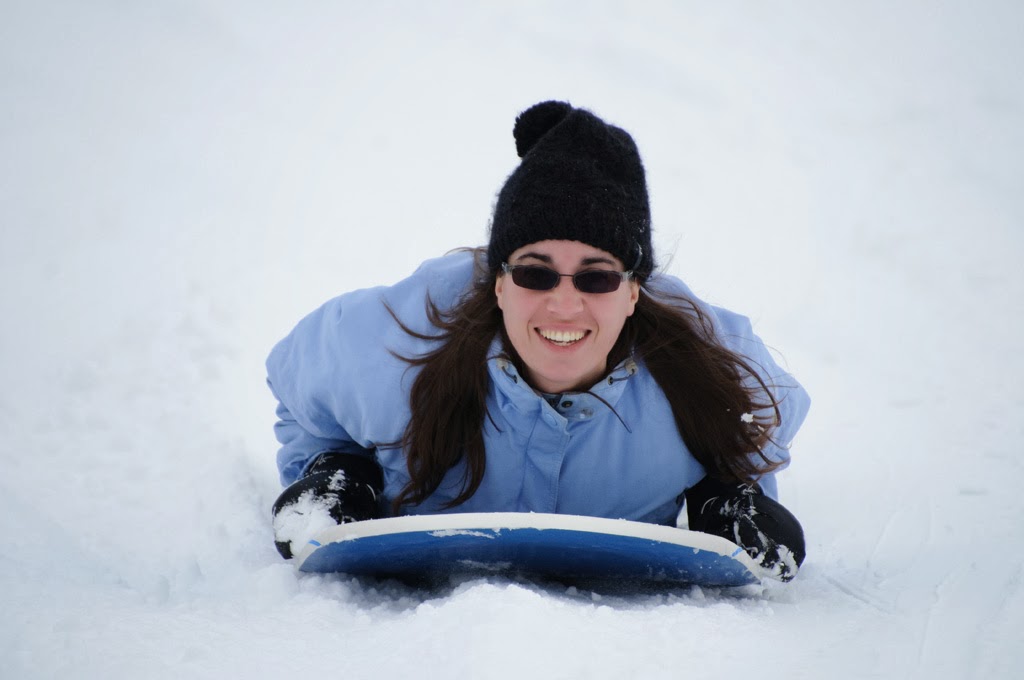
All nice and in focus as it constantly tracks the moving subject and refocuses each time!
DRIVE MODE
You want to capture the whole sequence, so set the drive mode to CONTINUOUS. If you have a high speed mode, turn that on.

By shooting the whole sequence, you’ll capture all the action, and can then choose the image that is the perfect moment or expression.
WHITE BALANCE
Best is to use the white balance setting for the light you are under (SUN FOR SUN, OVERCAST FOR OVERCAST) Or you can use auto, but I wouldn’t recommend it.
LENS
While you can use a variety of lenses, the best option is you telephoto zoom (55-200, 70-300, etc). This way you can stand at the bottom of the hill and fire away as they zoom down the hill. Since it’s a zoom, you can get in close as they start coming down, then zoom out as they get closer. (Just make sure to move out of the way when they get really close!!!) Or if you want to get kids going over jumps….don’t stand anywhere near the jump, as you are likely to get hit.

MORE TIPS BELOW!
I hope you find these tips useful!
If so, it would be awesome if you would check out my LearnPhoto365 Photography Assignment Generator Apps on the app store and the Google Play store, a unique photography app that's meant to inspire you to take great photos!
 Perfect for anyone taking part in a Photo 365 challenge, there are over a hundred individual assignments and hundreds of thousands of potential random ones. Versions available for both iOS and Android including free versions so you can try them out! Full details, including reviews and tour videos of the apps can be found at www.learnphoto365.com/apps Even if you only download the free version that would help get it up the app store lists!
MORE TIPS BELOW!
I hope you find these tips useful! If so, it would be awesome if you would check out my LearnPhoto365 Photography Assignment Generator Apps on the app store and the Google Play store, a unique photography app that's meant to inspire you to take great photos!
Perfect for anyone taking part in a Photo 365 challenge, there are over a hundred individual assignments and hundreds of thousands of potential random ones. Versions available for both iOS and Android including free versions so you can try them out! Full details, including reviews and tour videos of the apps can be found at www.learnphoto365.com/apps Even if you only download the free version that would help get it up the app store lists!
SHUTTER SPEEDS
The goal will be to FREEZE action, therefore you will need fast shutter speeds. The higher the shutter speed, the better. 1/1000th should be fast enough for most sliding action, but if the kids are really zooming, 1/2000th would be even better.
For younger children or if the hill isn’t all that fast, 1/500th would probably be fast enough.
METERING
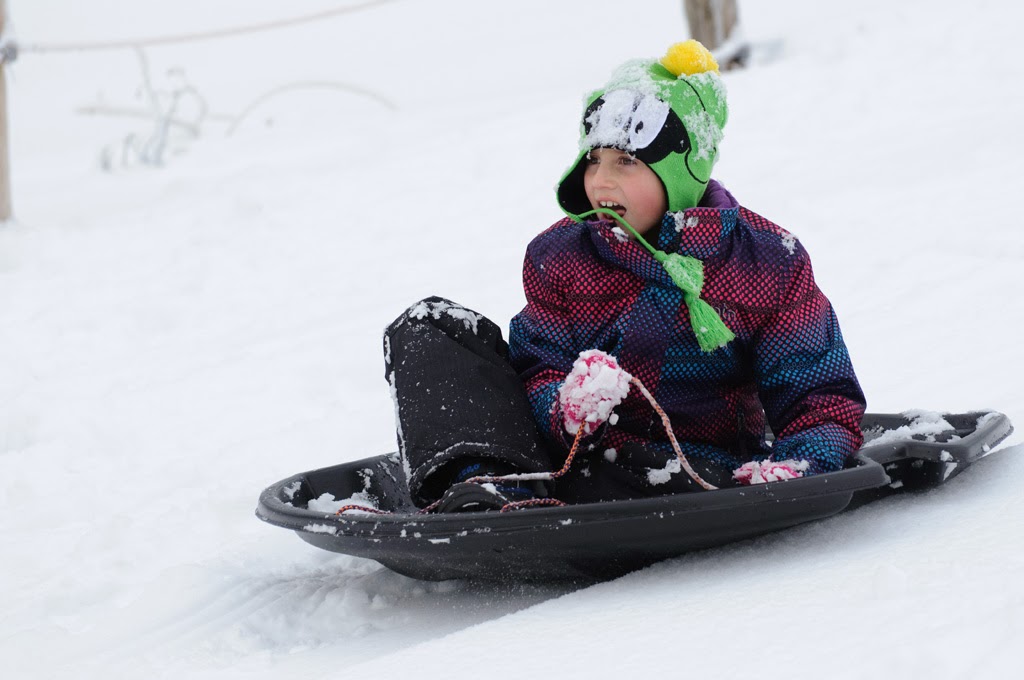
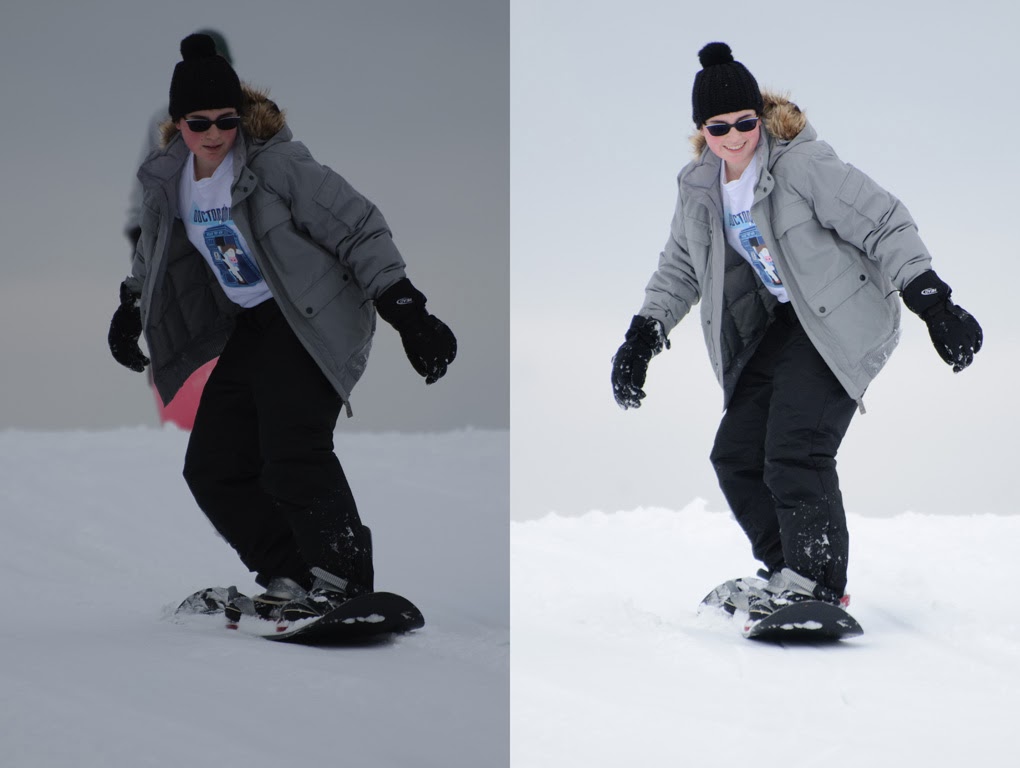
One of the biggest issues with photographing in the winter is all that lovely bright white snow messes with your camera’s meter. Since it sees a ton of white, the camera thinks there is more light than there really is, and will give you an exposure that results in an image that is too dark.
How to correct for this depends on the mode you are in.

MANUAL METERING MODE
For this mode, the best way to get proper exposure is to meter from a mid-tone. Fill the frame with the mid-tone, choose your shutter speed, adjust the aperture until the meter is in the middle. That’s it.
Another option would be to fill the frame with nothing but snow, set the shutter speed you want, then adjust the aperture so the meter is at +2 (NOT zero, you want it to overexpose)
Once you’ve got your exposure, fire away. Now, your meter is going to fluctuate while you are shooting, but unless the light changes, you can just using those settings.
IF the light changes (for example, it clouds over, or the sun comes out, or darker clouds roll in), then yes you’d have to re-meter.
SHUTTER PRIORITY MODE
If you are shooting in shutter priority mode (TV/S), you choose the shutter speed, and the camera worries about the aperture to balance the meter.
Your options for adjusting the exposure are to
a) Set the EXPOSURE COMPENSATION (+/-) to overexpose (in the plus) to compensate for the snow. (Depending on how much of the frame is snow, +1 is usualy a
b) Use your SPOT METER and ensure the subject stays in the middle so the exposure will be based on them.
To be honest, MANUAL mode is much better, because SHUTTER PRIORITY mode will keep adjusting the exposure on you as the tones in the frame change (more/less snow, bigger subject, etc). Even using the spot meter in TV/S mode would give you the wrong exposure if the subject was wearing a bright/white or dark/black colored jacket.
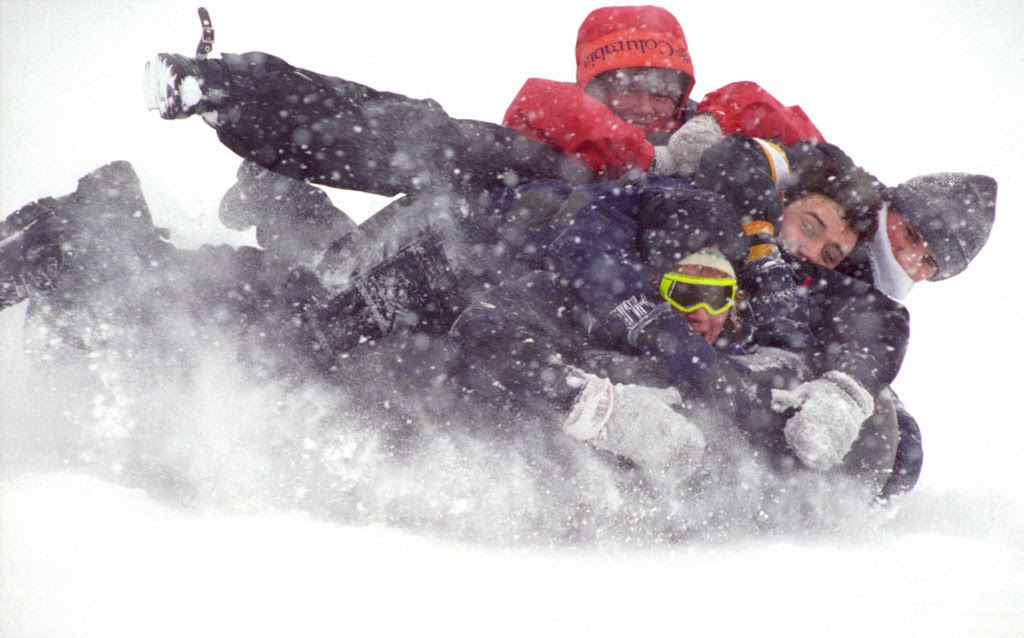
GETTING CREATIVE
Of course once you’ve gotten the nice sharp images of the action, you could also try some more creative techniques.
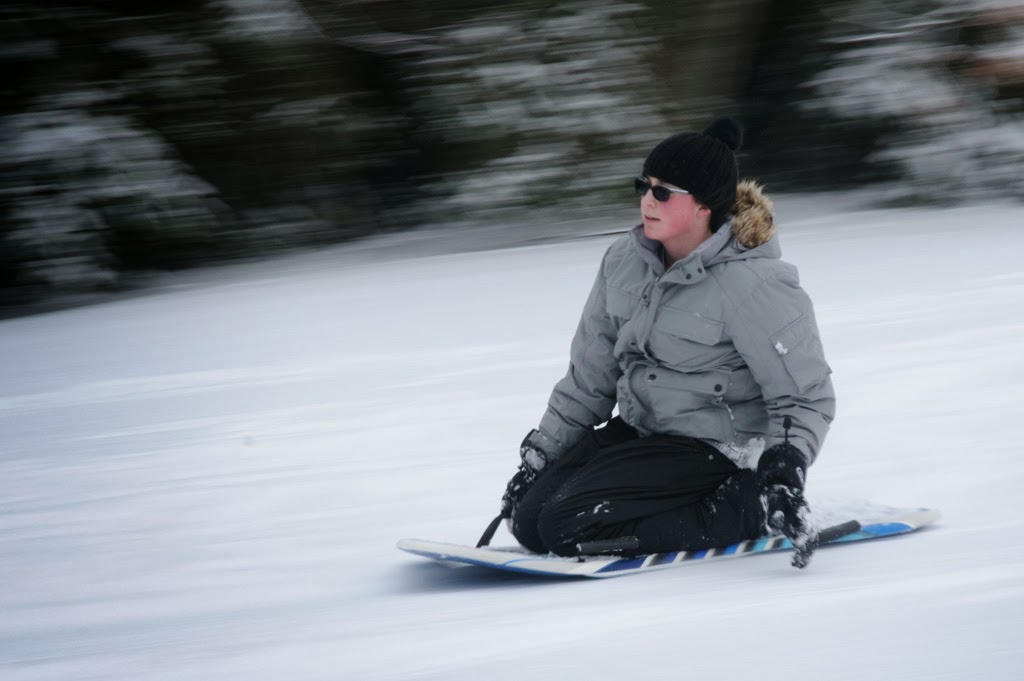
PANNING
Use a slow shutter speed and pan the camera with the subject as they move past the lens. Make sure they are moving PARALLEL to you, not coming towards you.
Use your lowest ISO (100), set your shutter speed to 1/30th-1/15th, and pan away!
This will be easier to do under overcast, but if it’s sunny you will want to use your polarizer or a neutral density filter to cut out light.
ZOOMING
Use the same settings for panning, but zoom the lens as the sliders come towards you.
SETTINGS RECAP:
ISO 400-800 (higher if required)
MODE: MANUAL or SHUTTER PRIORITY (TV/S)
SHUTTER 1/500th-1/2000th (depending on speed of subject)
AF MODE: CONTINUOUS (AF-C/AI SERVO)
DRIVE MODE: CONTINUOUS
LENS: TELEPHOTO ZOOM (55-200/70-300)
Want to make sure you get all the latest posts and info? Subscribe!
Noel Chenier
———-
Photographer and teacher
Connect with Noel on INSTAGRAM or TWITTER or via EMAIL
Photography Assignment Generator Apps now available on the app store!
Noel’s Portfolio
Work Done by My Students!
More Photo Tips

Some Friday the 13th Themed Photo Tips!
Valentine’s Day Themed Photo Ideas
Get Great Back To School Photos!

Tips for Shooting the Atlantic Balloon Fiesta in Sussex
Photo365 success with thousands of ideas from the Learn Photo365 app V2.0!
(870)